Pictures are essential parts of the webpages in the website. While creating the website using Adobe Dreamweaver, we shall understand the options of Images in the webpage.
Let us see how we can add images in the webpage using Dreamweaver. We will work on the same index webpage for adding them.
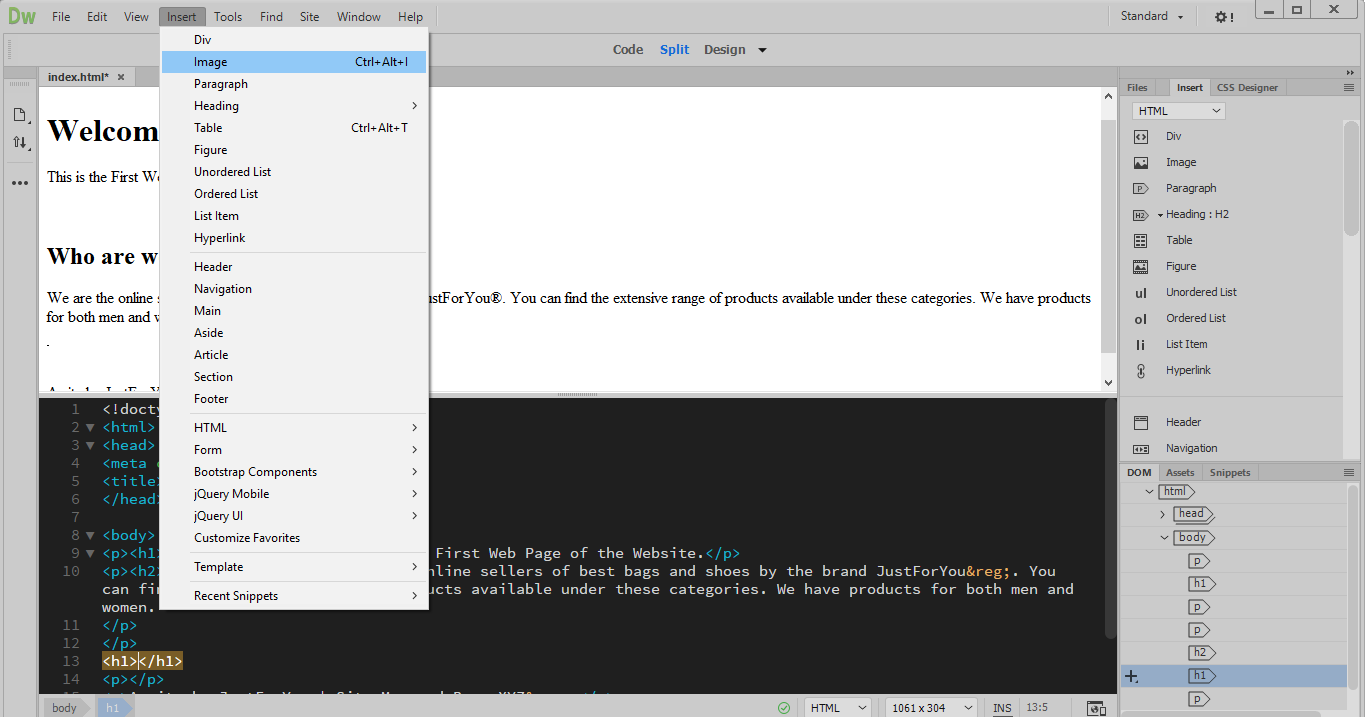
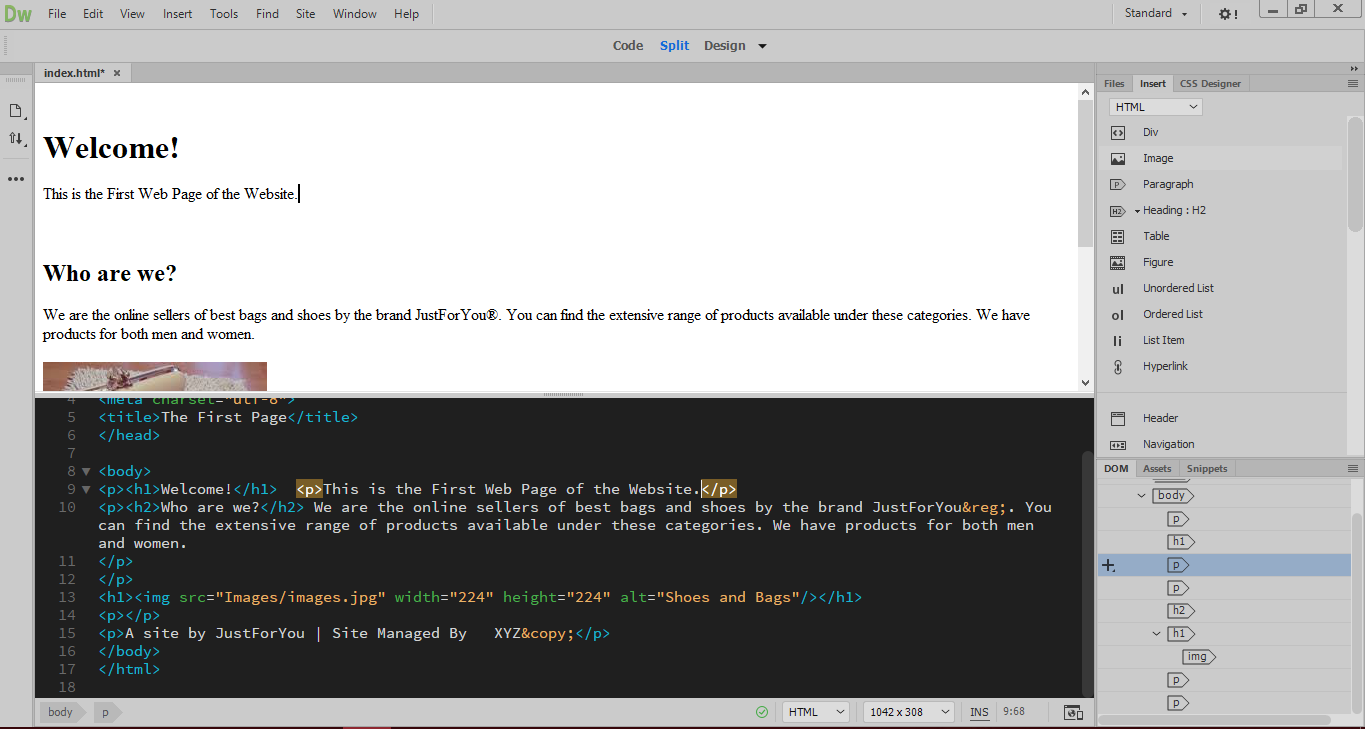
1. Place the cursor at a position in the webpage where you want to insert the image. Go to the Insert menu and click on Image.
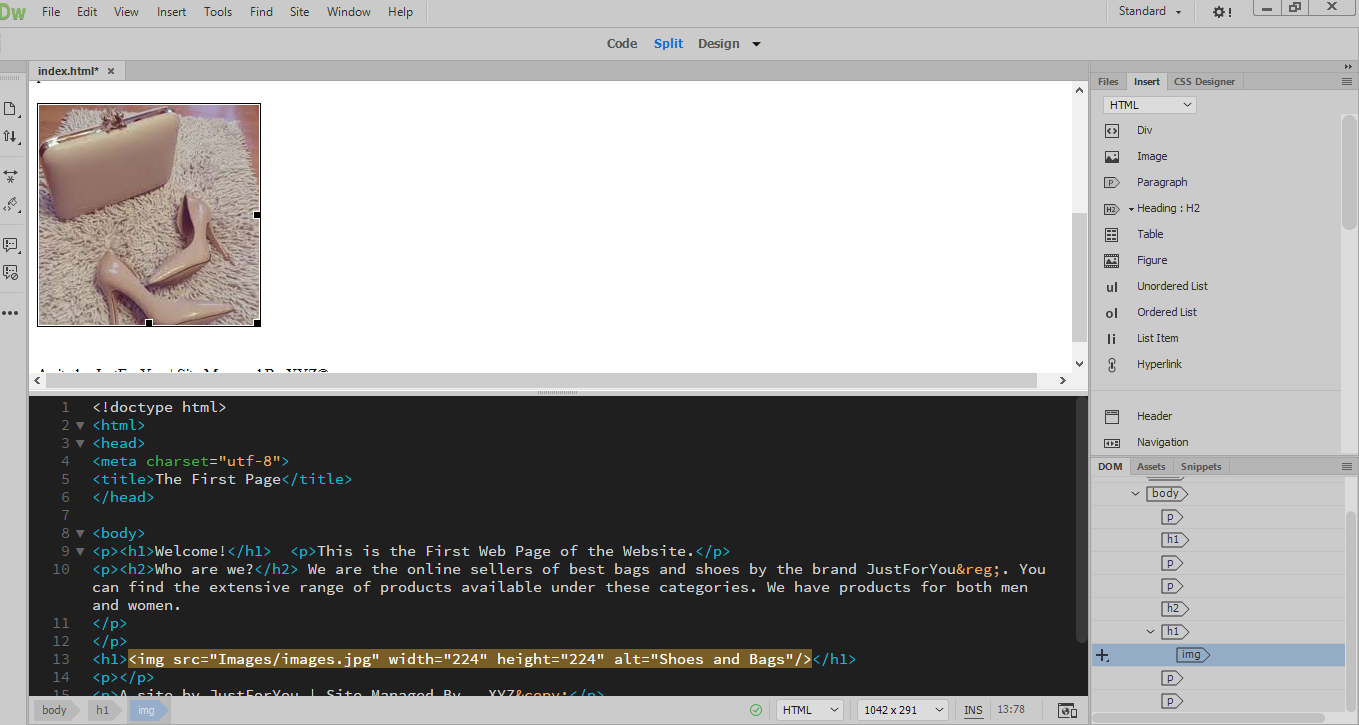
2. Browse the drive and select the image from your drive. Once you have added the image, go to the code and add alt text in the alt=”” option of the img tag. This Alt text is the alternative text that can be helpful for the visually impaired people.
3. In the webpage, select the text that is to be made a link.
4. You can go to the right part and select on Image option under the HTML selection.
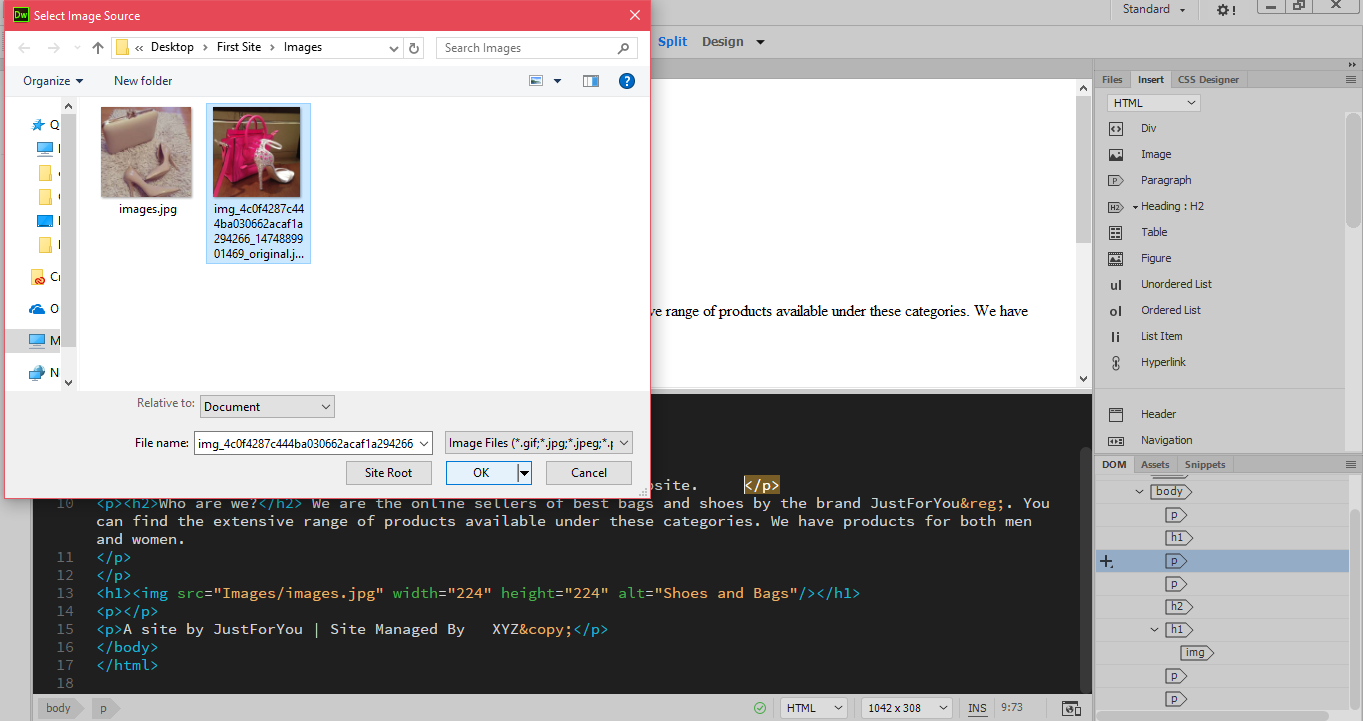
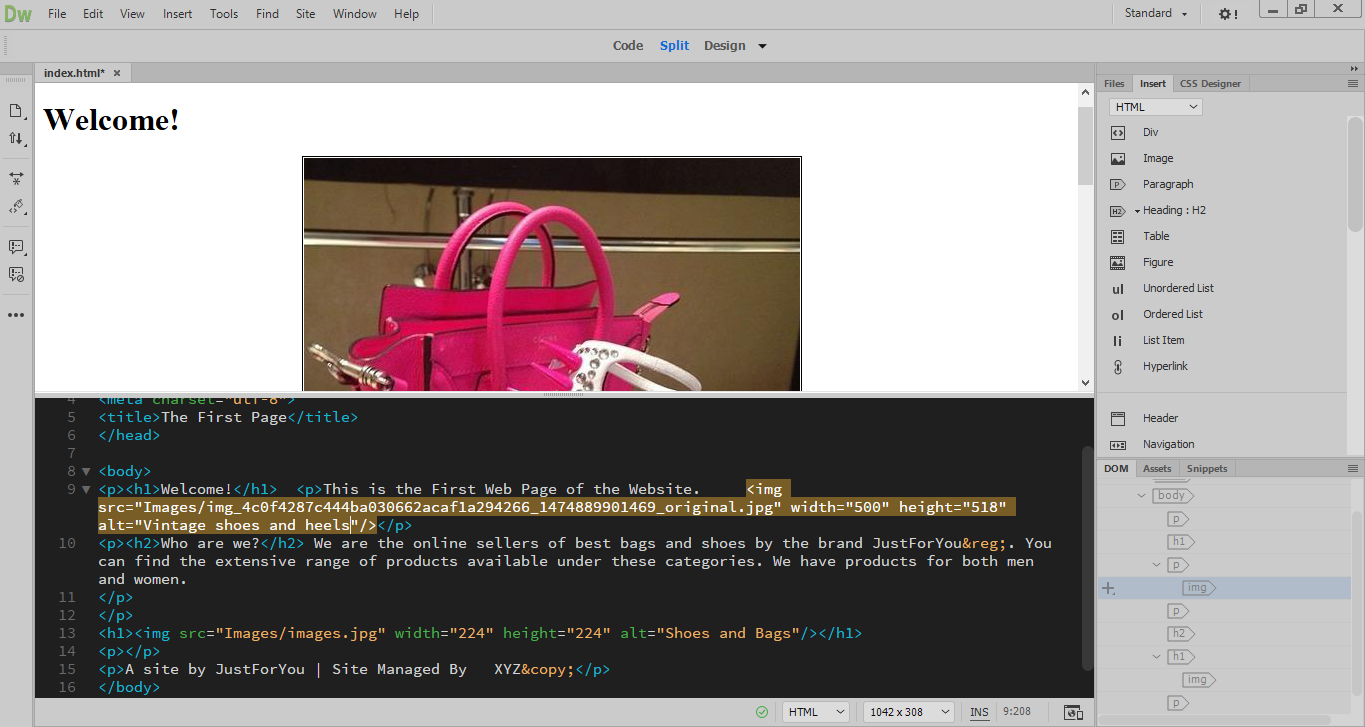
5. Select the image from the Images folder from the website drive and click OK.
6. In the img tag, add the Alt text in the alt option.
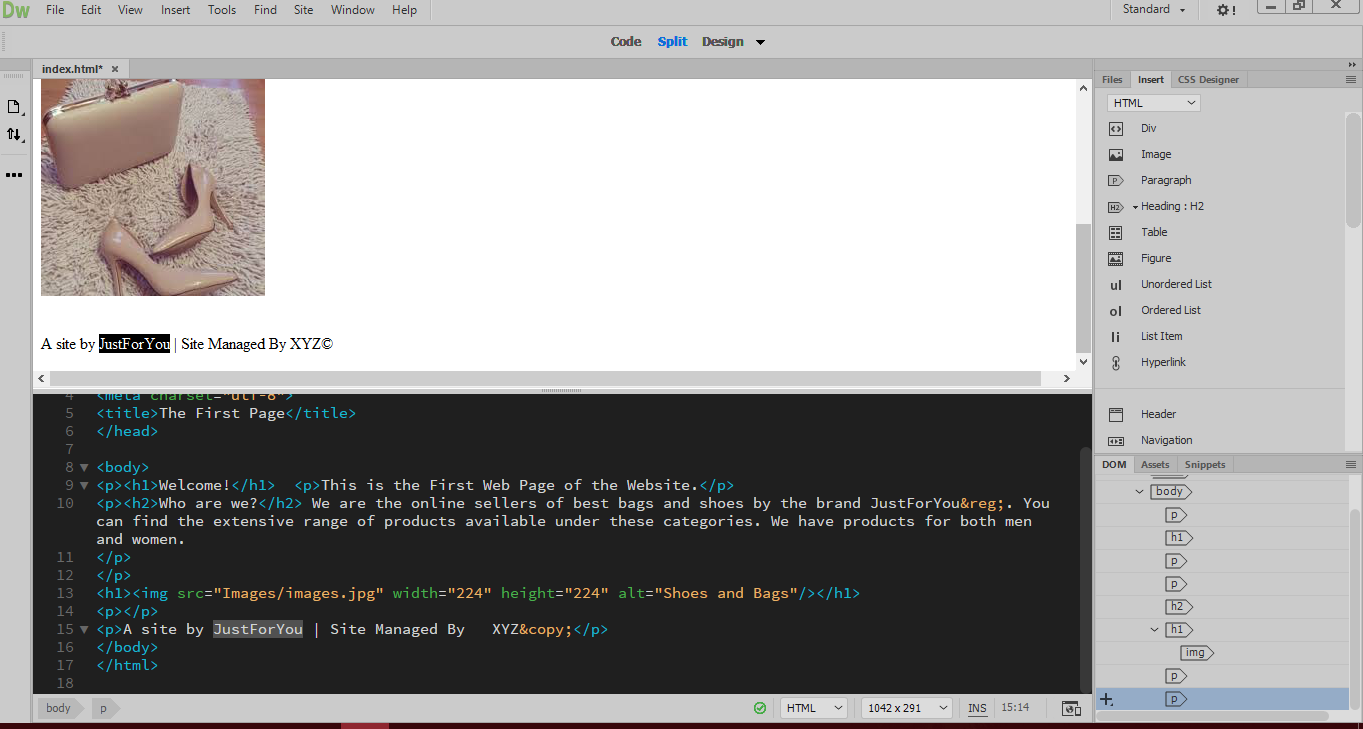
7. Go to File menu and click on Save.
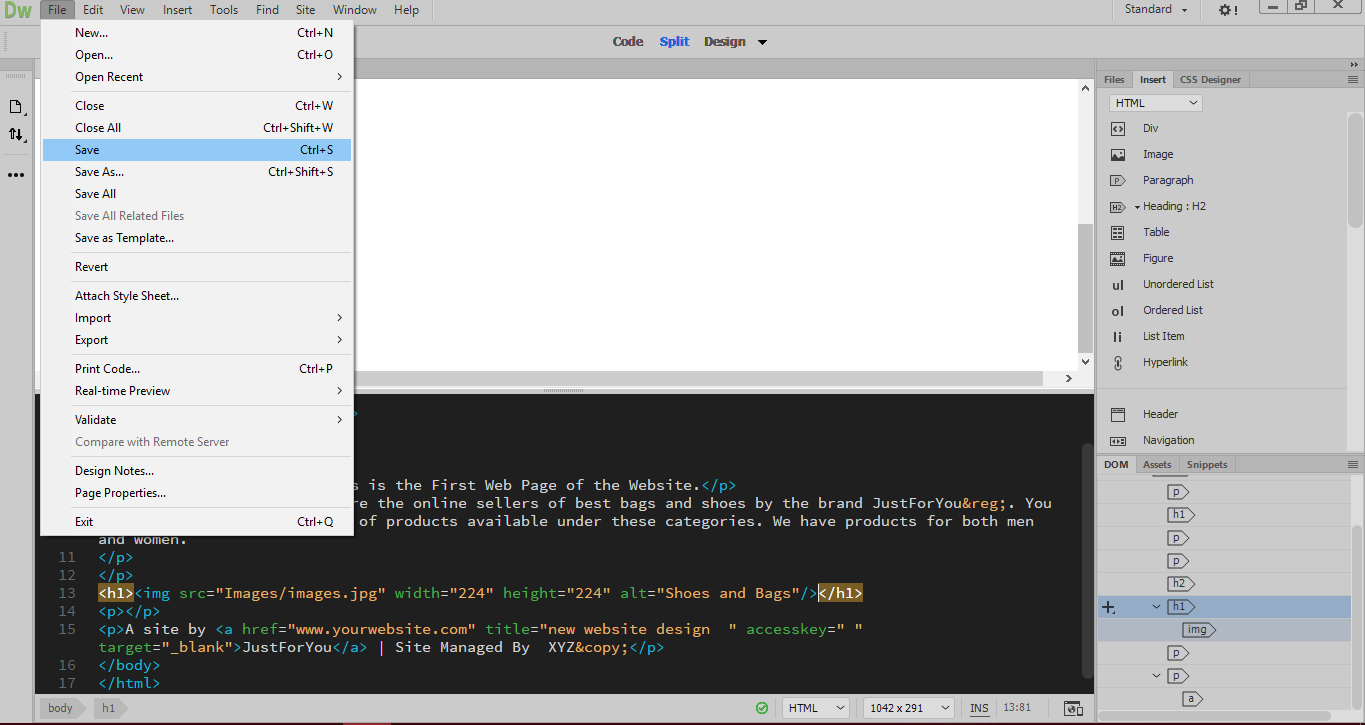
8. You can preview the changes by going to Real time Preview > Google Chrome under the File menu.
