
As you’ll learn in this tutorial, using CSS to create styles for your images instead enables you to quickly and easily align images to the right or left of a page, and add margin space exactly where you want it to create as much, or as little, space as you want between the image and any text or other elements around it.
I routinely create two image styles for every site I work on, one that aligns an image to the right, with a little margin space on the left, and another that aligns images to the left, with a little margin space on the right. I often include a little margin at the bottom as well, just to make sure that text and other elements don’t bump into the bottom of my pictures.
If you’re still using V space and H space, this tutorial is for you. Thank your designer stars that CSS has given us a little more design control on the Web.
STEP 1 Insert Images
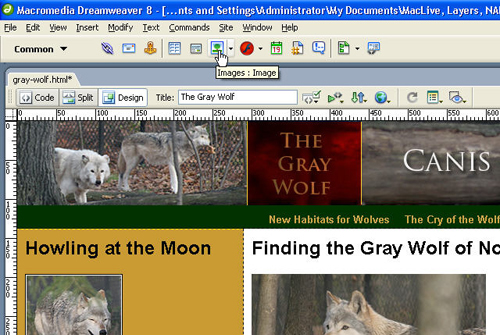
Insert images into your page using Dreamweaver’s standard insert image features. You can choose Insert>Image or click on the image icon in the Common insert bar at the top of the screen. Select the image you want to insert and click OK.
STEP 2 Create a New Class Style
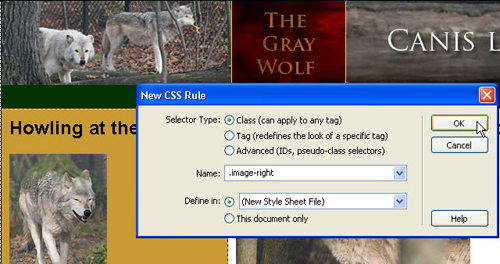
Next, you’ll want to create a new style for your images. Choose Text >CSS Styles>New. In the New CSS Rule dialog, select the Class radio button. Class styles are ideal for image styles like this because they can be used as many times as you want on each page and can be applied to images and other elements.
Enter a name for your style in the Name field. For this example, I called the style .image-right. Note that all class styles must begin with a period. If you don’t type one yourself, Dreamweaver will automatically add a period to the beginning of the style name when you create a class style.
If you choose the radio button next to This document only, your style will be saved in the head area of your HTML file. If you choose Define in, you can save your style in an external style sheet. The advantage is that you can attach the same external style sheet to any page in your web site, a more efficient option than recreating styles for every page, and an easy way to make global updates later.
To create a new external style sheet as you create a new style, choose the radio button next to Define in and click OK. In the Save Style Sheet File dialog, enter a name for the external style sheet, and click OK to continue.
STEP 3 Use Floats to Align Images
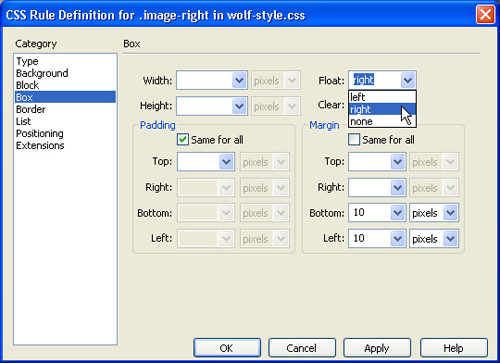
In the CSS Rule Definition dialog, choose the Box category from the left side. Click on the drop-down arrow next to Float and select Right.
Then set the Margins. First make sure the Same for All check box is not checked. When I align an image to right, I generally like to include 10 pixels of margin on the left, to create a margin between the image and the text that will wrap around the image when it is aligned right. I also like to include 10 pixels of margin on the bottom. Of course, you should set the amount of margin that works best for your design. Click OK to save the new style.
STEP 4 Apply the New Style
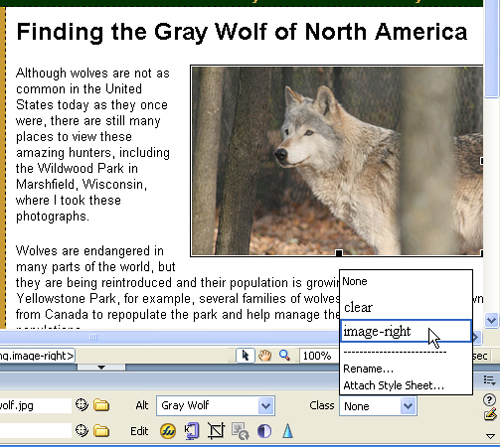
To apply the new style, click to select the image you want to align, and then use the Class drop-down list in the Property inspector at the bottom of the page to choose the new style name. In this example, I’m selecting the style I just created called .image-right. When you apply the style, the image is immediately aligned to the right and 10 pixels of margin space are added to the left and the bottom.
STEP 5 Create Additional Image Styles
Next, you’ll want to create a style to align your images to the left. Choose Text >CSS Styles>New. In the New CSS Rule dialog, select the Class radio button and enter a name in the Name field. In this example, I called the style .image-left.
Choose the radio button next to Define in and select the name of an external style sheet from the drop-down list. Alternatively, you can save your style in the document you are working on by choosing This Document Only. Click OK to continue.

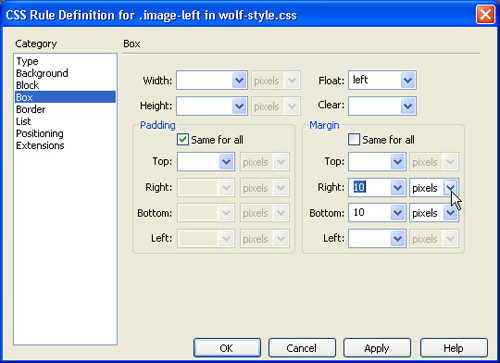
STEP 6 Define Box Category Settings
In the CSS Rule Definition dialog, choose the Box category from the left side of the dialog box. Use the drop-down arrow next to Float to choose Left. Then set the Margins. First make sure the Same for All check box is not checked. When I align an image to left, I generally like to include 10 pixels of margin on the right, to create a margin between the image and the text that will wrap around the image when it is aligned left. I also like to include 10 pixels of margin on the bottom. Click OK to save the new style.
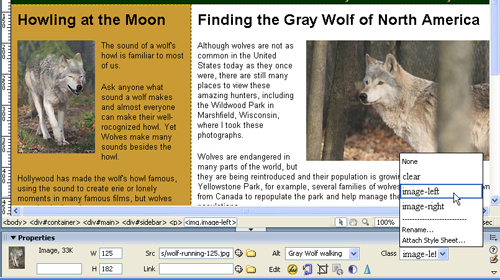
STEP 7 Apply the New Style
To apply the new style, click to select the image you want to align, and then use the Class drop-down list in the Property inspector at the bottom of the page to choose the style name. In this case .image-left. When you apply the style, the image is immediately aligned to the right and 10 pixels of margin space are added to the left and the bottom.
You may want to create additional styles for images with varying amounts of margin space for different uses within your design, but I find that these two styles, image-right and an image-left, solve most of my basic image alignment needs. And if you save them in an external style sheet, as I’ve done in this tutorial, you can attach that same style sheet to other pages in your site and use the same styles for all your images.