Server Side Includes (SSI) and Libraries in Dreamweaver help you to centralize areas of your site that are common to many pages. This helps you to easily make site-wide changes to these common areas and thus helps in maintenance and consistency. When you design a website it is better to design it for easy maintenance. As you add pages your menus will change to incorporate that. You might want to change the mast, footer etc.
Server Side Includes
The advantage with server side includes (SSI) is that when you make a change to an include you don’t have to update all the pages that access it. The changes will automatically get reflected in them. You will not have to upload all the pages that use the include every time you make a change, just the include itself.
Note: All the html page you create and apply this template to must have the extension .shtml or .shtm.
It is useful to create include files for:
- header
- footer
- menus
- sub menus
To create an include:
- Copy the part of the page that you would like to make into an include.
- Create a new html page [File > New > Blank Page > HTML > none]
- Go into the HTML code [View > Code] and delete all the default code that Dreamweaver puts in.
- Go back to design view [View > Design ] and paste the code that you had copied previously.
- Make sure all links in the include file are relative to site root.

- Finally save this file in an ‘Includes’ folder.
To insert an include into the template:
- Click where you would like to insert the include
- Insert > Server Side Include.
Dreamweaver Library Items
If you do not wish to create files with the shtml extension or your server does not support it you can use Dreamweaver Library items for common areas that might be different in different sections e.g. sub menus. However changes to library items will update the files in which they exist and these files will need to be uploaded again.
To create a library item:
- Copy the portion of the template you wish to convert to a library item
- File > New > Blank Page > Library Item
- Paste
- Save with appropriate name
Once created, you will need to insert the library item into the template (or later on into a web page). To do so:
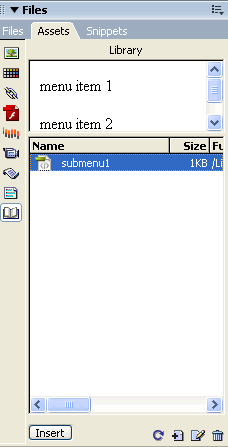
- Window > Assets
- Click the library icon
 in the Assets Panel
 - Select the appropriate library name
- Click the ‘Insert’ button at the bottom of the panel