Adobe Dreamweaver CC is a collection of great tools for the web designers. Website creation is a creative platform for making websites and designing easily and quickly.
Website is a collection of data from different files and directories. To start creating the website on Adobe Dreamweaver, first we need to set the folder for the assets of the site.
The images, pages and media associated with the site are placed in this folder. This is called the local root folder/directory of the website. It is important that all these things are stored in one place as they are linked. Hence use one dedicated folder for each website you want to create.
Here are the steps to define the website with Dreamweaver.
- Launch Adobe Dreamweaver CC.

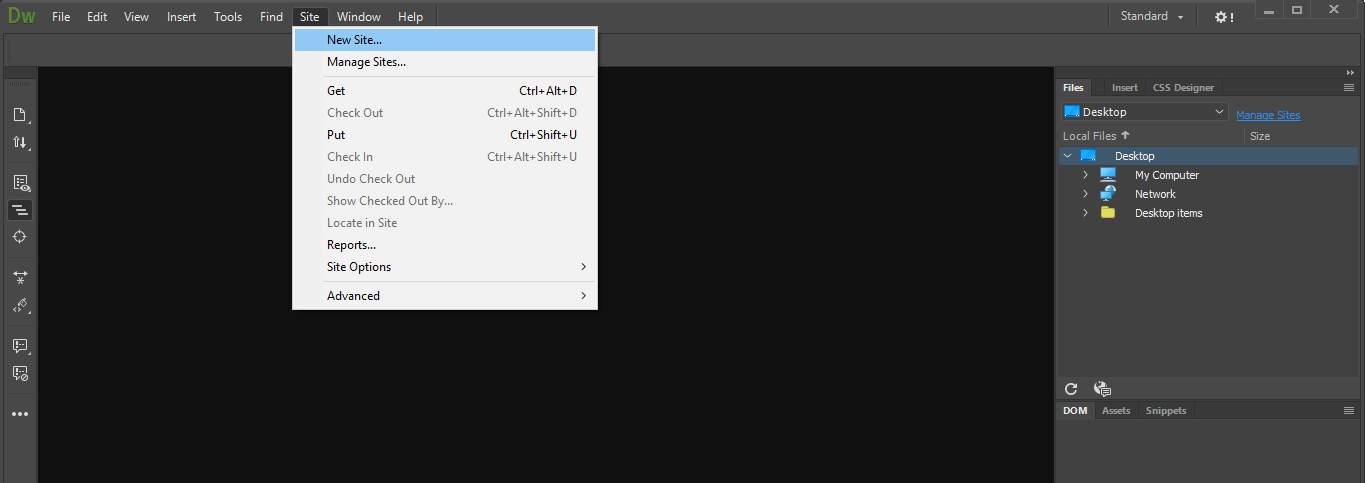
2. Go to the top menu bar and click on Site. From the options under Site menu, select New Site.
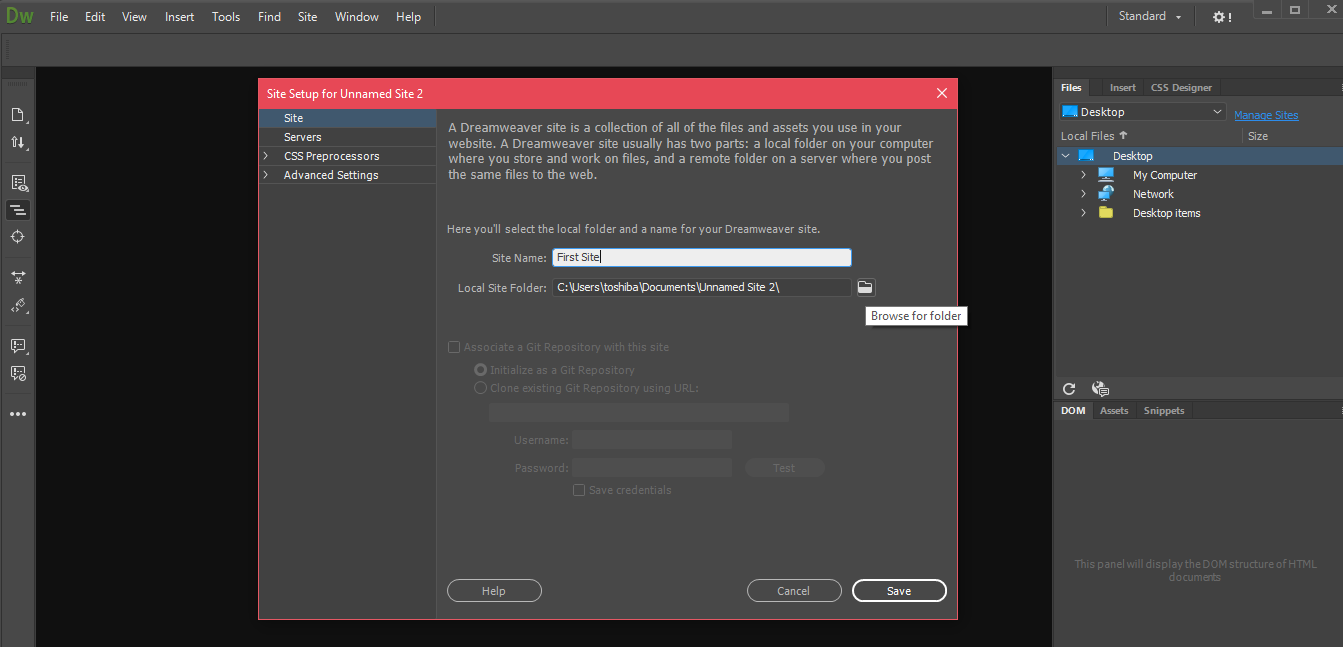
3. In the pop up box, provide a name to your website in Site Name.

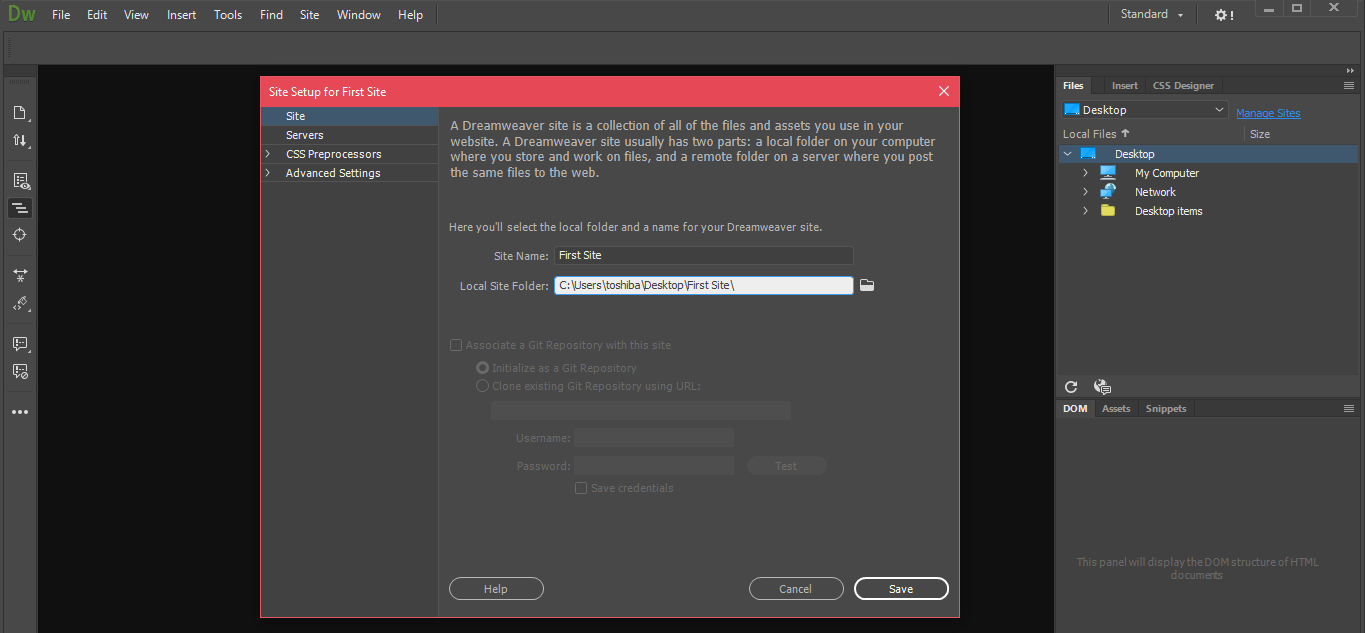
4. The second option is where we need to set the Local site folder on your hard drive. In the option ‘Local Site Folder’, click on browse icon.
5. Go to the location for the folder you want to create and add the folder for the website. Give the folder a similar name to that of website.
6. Go to Advanced Settings and select Local Info.
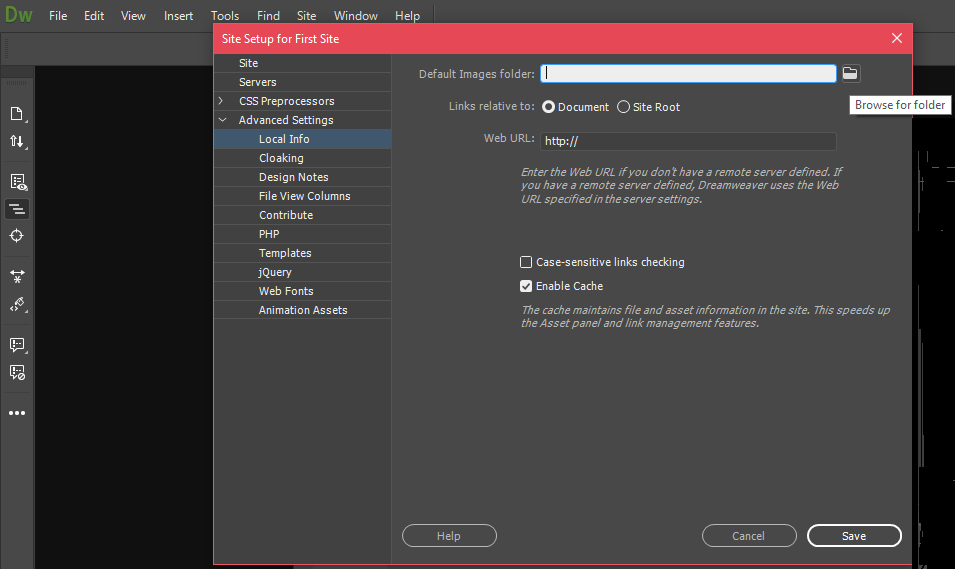
7. Here we have to select the location for the images. This folder is generally called Images or img folder. In the option ‘Default Images folder’, click on browse button and add a new folder ‘Images’ in the parent directory of your website.
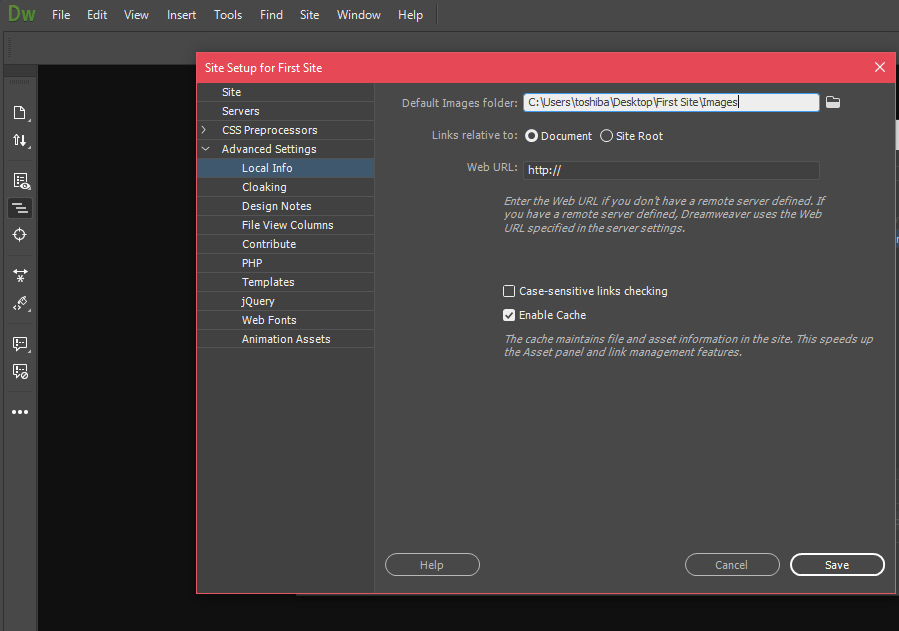
8. Click on Save.