This tutorial will show you how to use Hue and Saturation image adjustment in Photoshop.
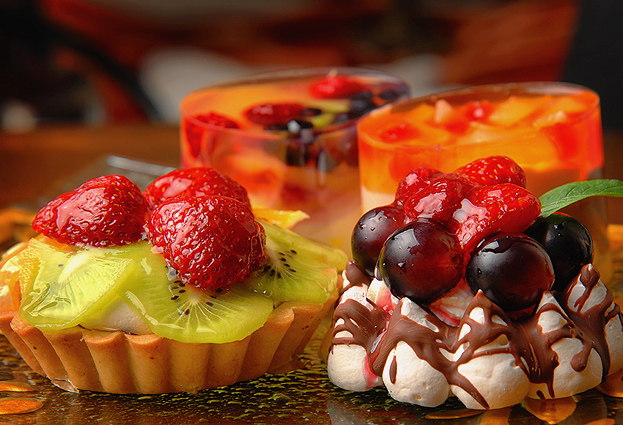
01. Open a picture you’d wish to experiment with the colors or make the color more vibrant.

02. You can find the Hue and Saturation at Image – Adjustments – Hue/Saturation.

03. A new small window will open with three options – Hue, Saturation and Lightness. First we are going to look at the Saturation. If you move the saturation bar to the left, the colors on the image start losing color til they turn to black and white. If you raise the bar to the right side, the colors become more and more bright. It is suggested not to make the colors too bright to get a natural and believable effect.

04. This is an example of Saturation – when lowered, the colors lose the color, when raised, colors become brighter.

05. Next we are going to look at the Hue bar. With that whichever way you move the bar, all the colors on the picture are going to change. It’s best to just play around with it til you are very satisfied with the colors.

06. Just a fraction of color examples applied with Hue.

07. Last option is the Lightness which is also the least used option of them all. If you lower the bar, the picture will go darker and if you raise the bar, the picture will gain lightness.

08. Here is an example how the picture goes lighter or darker.

09. And now you know how to use the Hue and Saturation to either change a color theme of the picture, make the picture’s colors more vibrant or darken/lighten the picture, all in Photoshop.
