This tutorial will show you how to change your picture into a watercolor picture in Photoshop.
01. Open a picture you wish to make into a watercolor painting. Double click on it once and press OK to make it into a regular layer. Then make a new layer (Layer – New – Layer) and fill the layer with white. Be sure that the white layer is under your picture layer..

02. Go to Filter – Artistic and choose Dry Brush. There move the values so that the picture would look more like a painting. Press OK.

03. Duplicate the layer you just made by right clicking on its layer and choosing Duplicate. Then go to Image – Adjustments – Curves and move the line downwards so that you’d make the tones considerable darker. Press OK.

04. Duplicate the dark layer (right click on the layer and choose Duplicate), go again to Image – Adjustments – Curves and this time move the line upwards so you’d make the picture considerably lighter (much lighter that the original). Now your layers window should look like shown below.

05. Hide the 2 top duplicates by clicking on the eye icon next to them. Then add a mask to your lowest picture so it would look like below. Then take the brush tool, choose the color black, click on the mask (red circle around it), right click on the picture so that the brush options would show and choose a brush that has irregular edges. Change the Size to somewhat big, but surely change the size all the time and now brush over the edges of the picture to make the white show from below.

06. When you are done with the original layer, turn the next, dark layer to visible. Again, add a mask, but this time, after adding the mask press Ctrl + I to invert it. Again, take the brush tool, set the color to white, click on your black mask and color over the parts that you want to make more darker.

07. Now turn to visible the toppest layer and repeat the 6th step by making a mask, inverting it and brushing over the light parts.

08. Now go to your lowest layer, click on the picture, not the mask and go to Image – Adjustments Hue and Saturation and move the saturation bar to the right to bring out the colors. Press OK. Repeat the step with dark and light layer.

09. Now open a random brush strokes picture.

10. Set the new layer to Overlay.

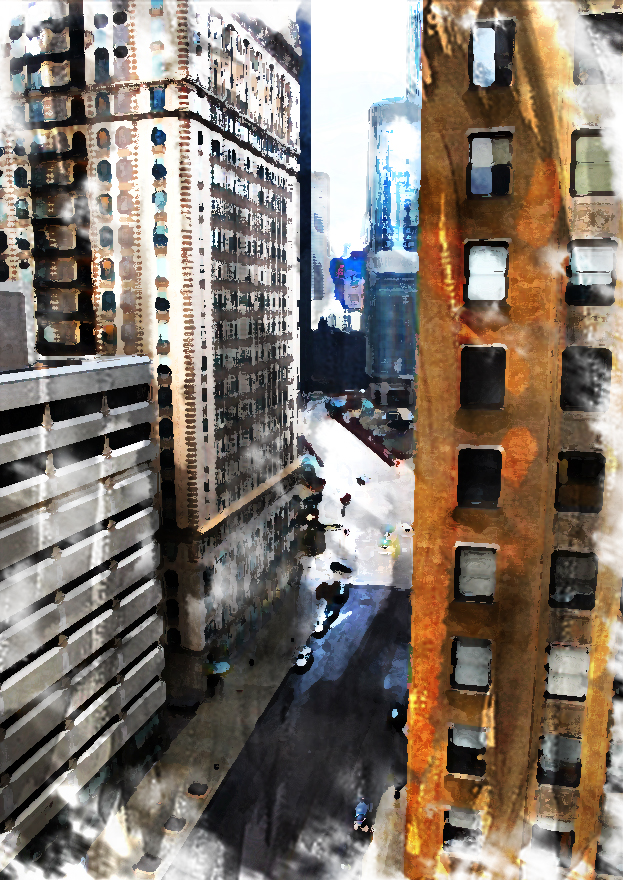
And your watercolor painting is ready for exhibition!
