This tutorial will show you how to retouch furniture in Photoshop so it would look as in catalog picture. All you need is:
- Adobe Photoshop (intermediate level of using it)
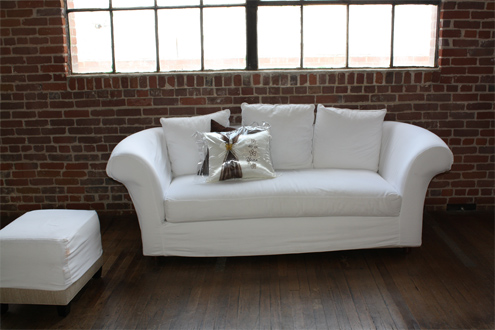
- Picture of a couch or any other piece of furniture
01. Open the picture of your wish in Photoshop
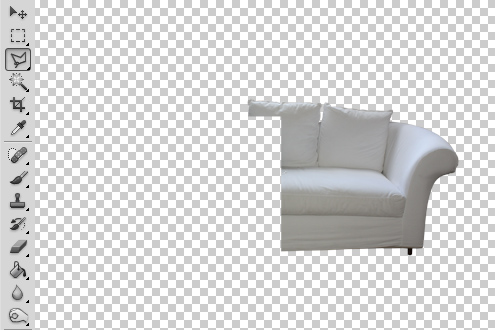
 02. Cut the object out by using the Polygonal Lasso tool. To accomplish the best balance between different parts of the furniture, cut out just one side of it – the better – clearer, cleaner, sharper side.
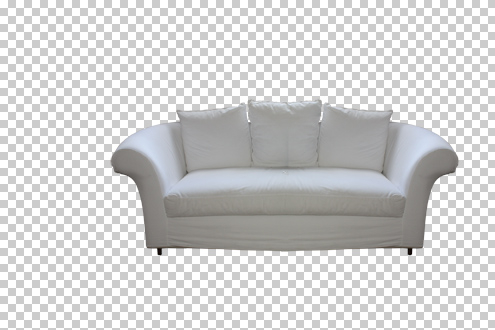
 03. Now duplicate the layer by right clicking on the object’s layer and choosing Duplicate layer. Now flip the duplicate at Edit > Transform > Flip Horizontally. Now attach the two sides and start making them match by deleting the edges with soft brush so that the sides would fade in to each-other.
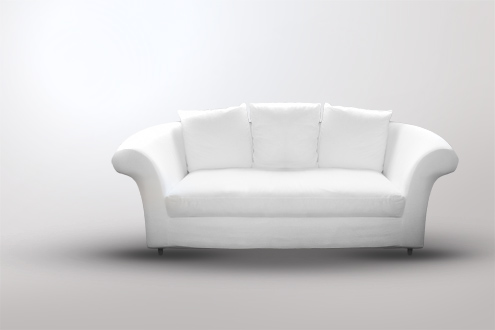
04. Now clean the object with healing brush and also adjust the color/lightness of it at Image > Adjustments > Curves and create a S curve. Press Ok.
 05. Create a new layer under the object layer and fill it with some sort of gradient. It can be any color.
 06. Now create a new empty layer, take a black color and soft brush and under the object brush in some shadows. And you are done!
How to Retouch Furniture in Photoshop
