Book’s pages are as important as the cover because its the pages where the reader will spend the most time. This tutorial will teach How to design a Book Text Page Layout in Adobe Photoshop.
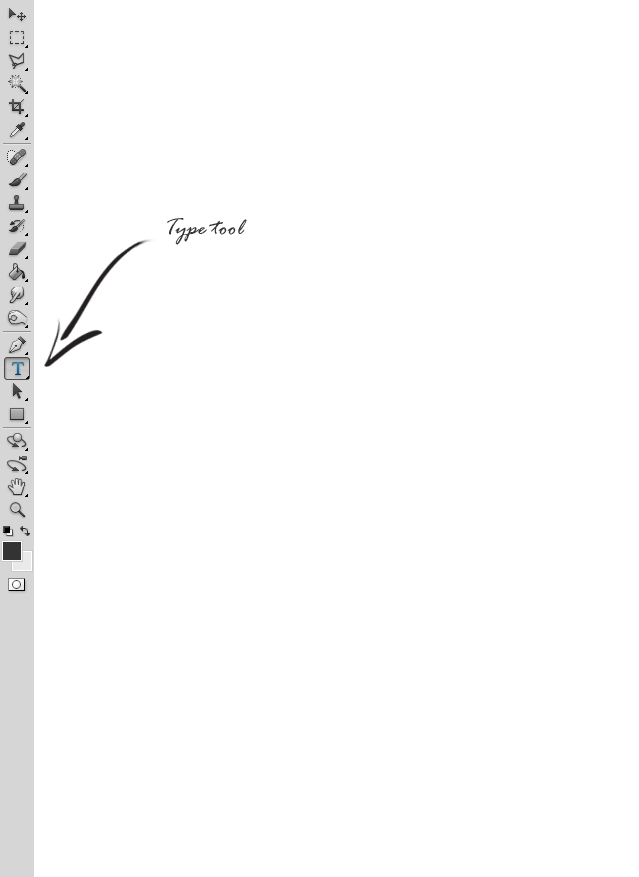
01. Create a new document, size A5 (New > Preset > International Paper > A5). Then select the Type tool.
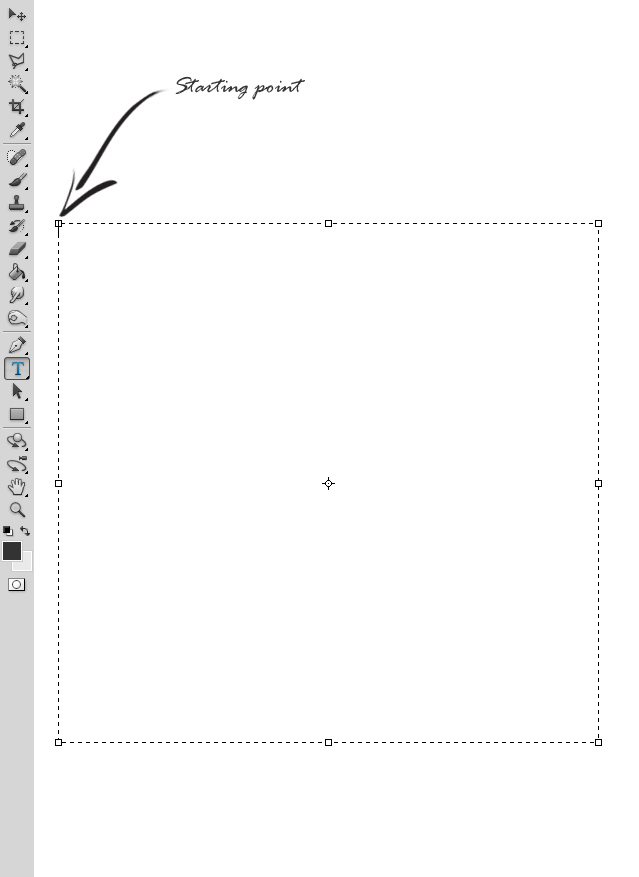
02. Now, not click with the type tool but drag a box with it. A box that has enough room from each side. Since we are creating the very first page, leave some more space above the text.
03. Now paste your text inside that box. It is also important to choose a readable font, like Trebuchet is. Also, the spacing between the lines should be good. To increase (or lower) it go to Window > Character and raise it a bit from the place shown below.
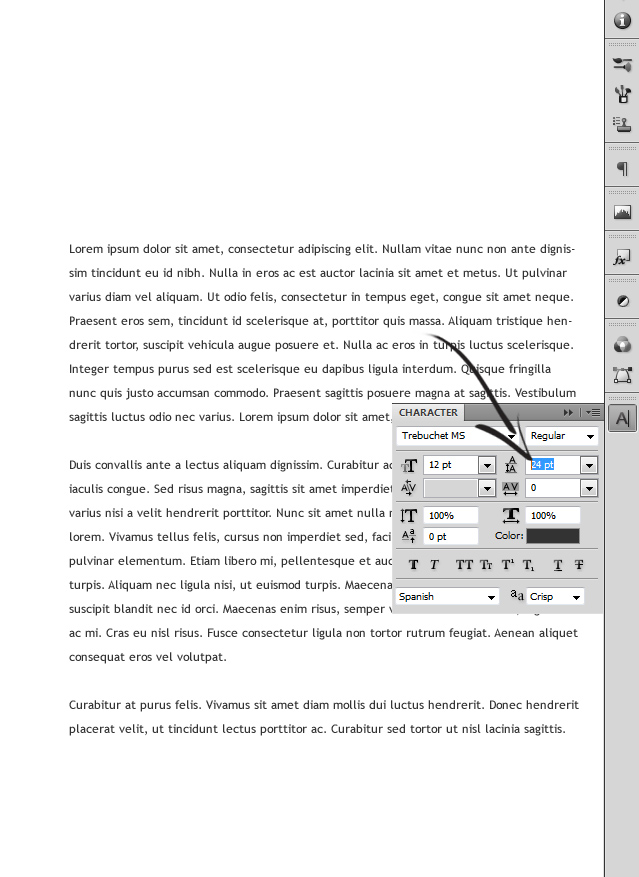
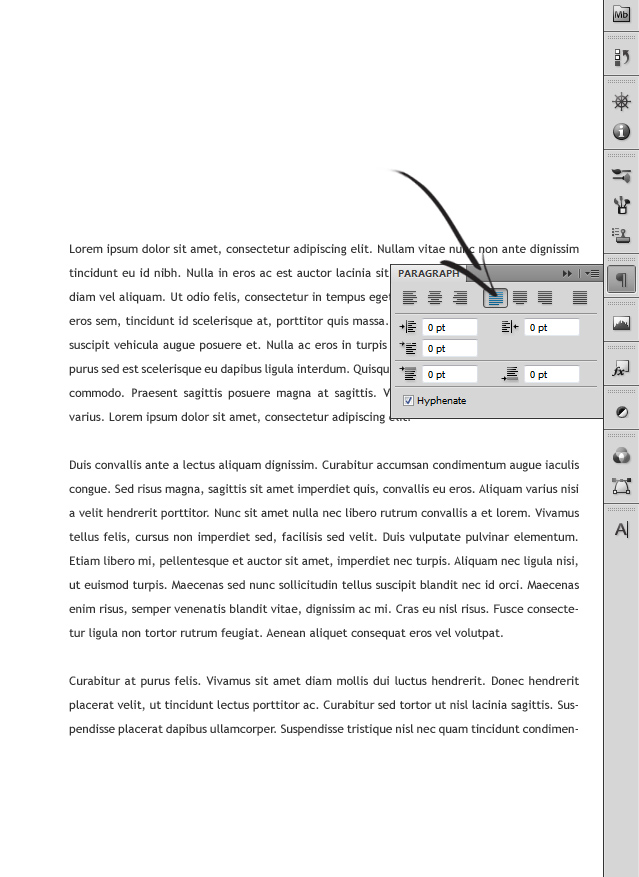
04. Also, make the text lines all the same length, for that go to Window > Paragraph and there choose one of the icons shown below.
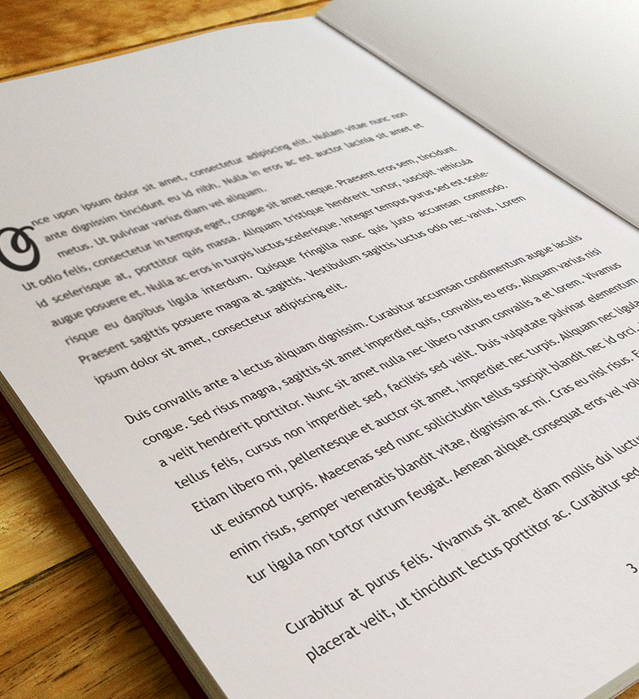
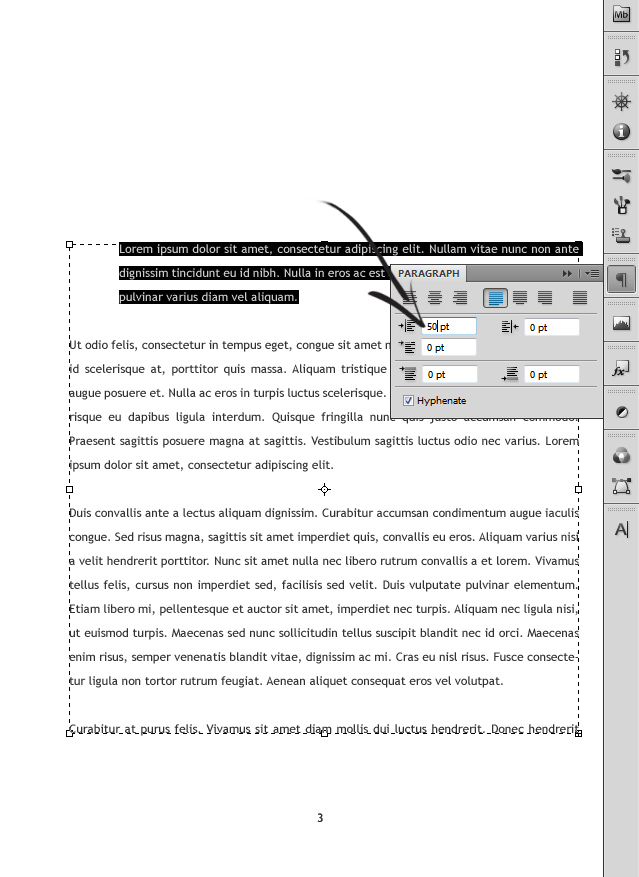
05. You can also make some space for a bigger starting letter. For that, hit Enter to separate the text you don’t want to move and select the one you’d want to. Then go to the Paragraph window and set a pixel number that you’d wish the text to move. Also, add a page number.
06. Now you have enough room to set a bigger letter there. This letter can also be in another font and doesn’t need to be readable.
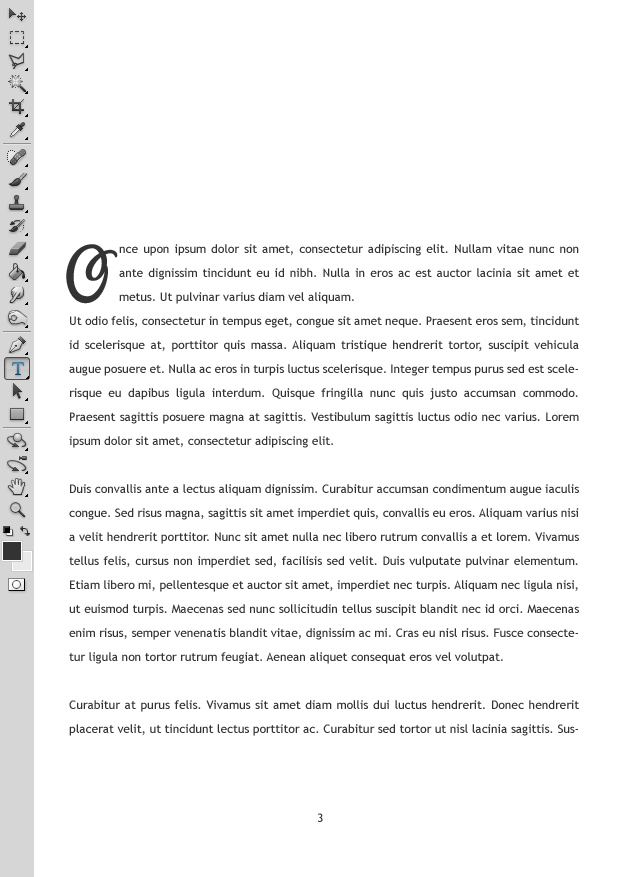
07. And your page design is ready to be read!

Hurray!! Using this tutorial now you’ve learnt “How to Design Book Text Page Layout in Adobe Photoshop”. Go ahead and try it out yourself. Remember to follow the above mentioned for getting a perfect design of book text page.
Visit www.orangetutorials.com for more interesting tutorials on Adobe Photoshop.