Learn “How To Create Stars In The Night Sky” in Photoshop
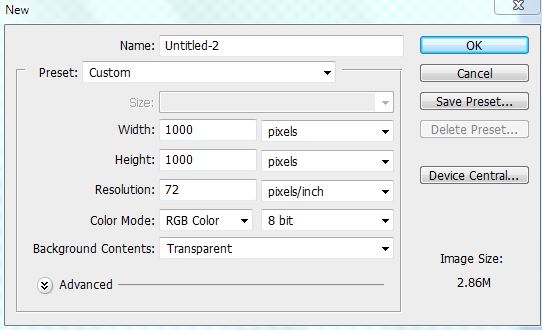
Step 1. Create a Document with these dimensions
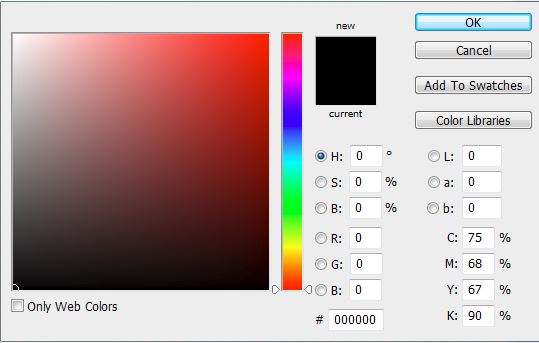
Step 2. Press G on the keyboard to select the Fill Tool, make the background color black:
Step 3. Should appear like this:

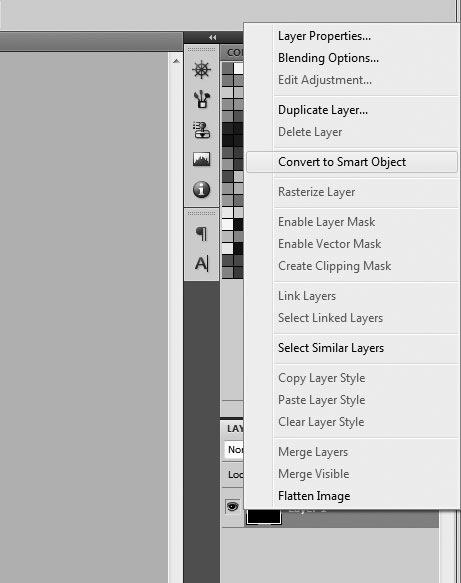
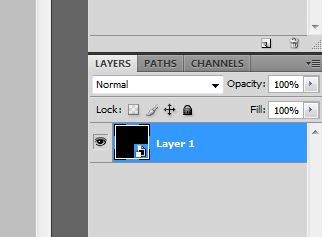
Step 4. Right click the Layer and Convert To Smart Object. We do this so that we can apply filters without permanently changing the layer itself:
Step 5. Should have a small icon on the Layer to represent the layer has been converted to a Smart Object:
Step 6. Now go to Filter > Noise > Add Noise:
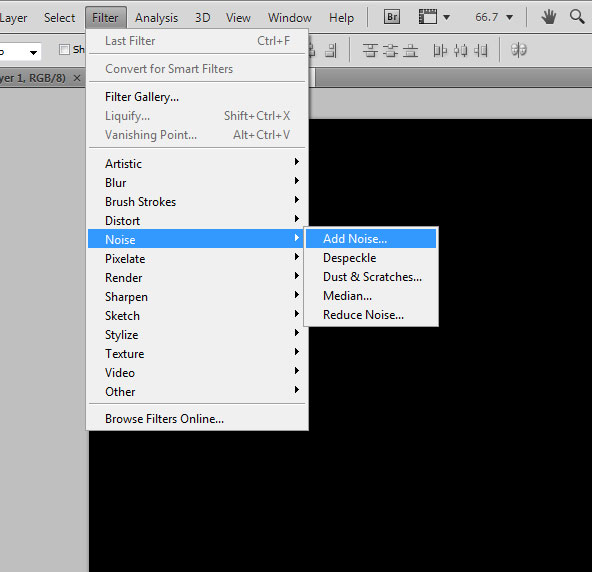
Step 7. Choose these Settings and click OK:

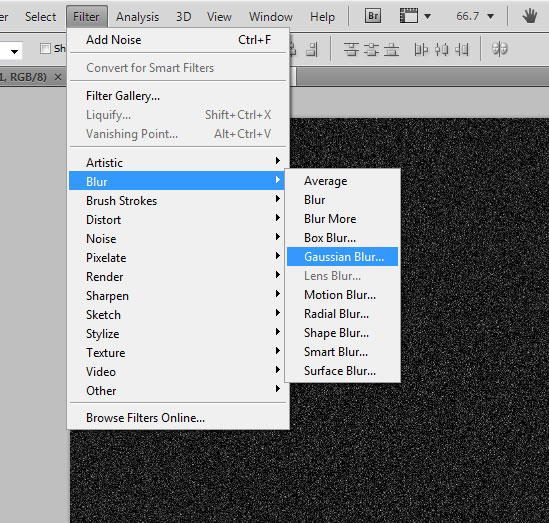
Step 8. Now you will want to go to Filter > Blur > Gaussian Blur. Choose 2.0 as radius and click OK to Apply:
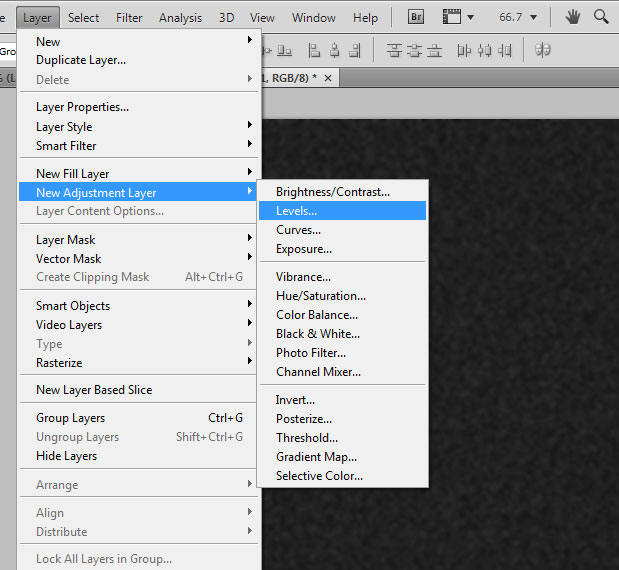
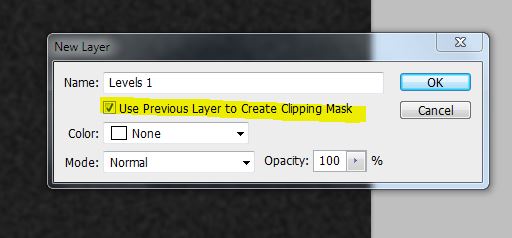
Step 9. Now that the filters have been added it’s time to Adjust the Layer levels to expose the black and white in the image. Go to Layer > New Adjustment Layer > Levels:
Step 10. On the Pop up check the box that says “Use Previous Layer to Create Clipping Mask”. This will clip our adjustment layer to the noise layer below it. In other words anything we do with the Levels adjustment layer will affect only the noise layer. The original image on the Background layer will not be affected.
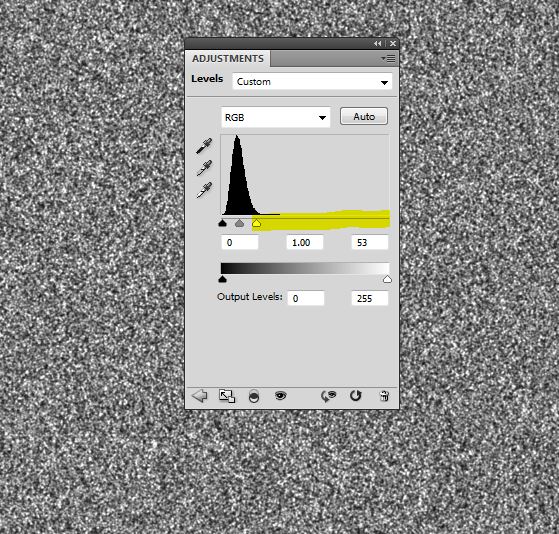
Step 11. You will now see the Histogram of levels. You want to drag the White bar to the far right of the black peaks:
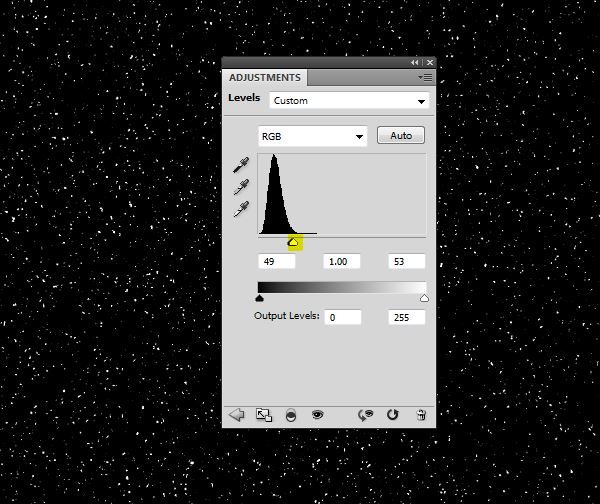
Step 12: And you want to do the same for the Black arrow, dragging it all the way to the right:
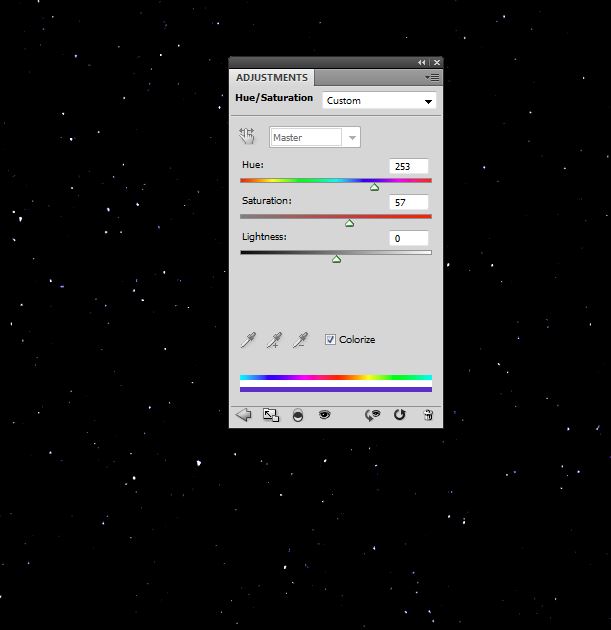
Step 13. You will get different desired effects depending on the layer adjustments on your Smart Object. Let’s add some color hue’s to make it look more like “space”. Click Layer > New Adjustment Layer > Hue/Saturation and set these options. Be sure to select Colorize too:
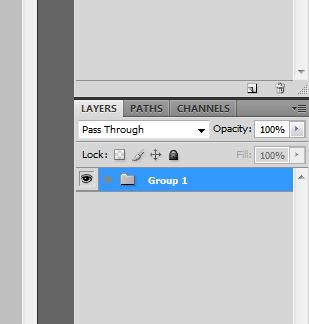
Step 14. Let’s duplicate this smart object so we can double the amount of stars. But first, we need to get organized. Select all the layers from the layers panel and then press Ctrl + G (or Command + G on Mac) and this will group the layers into one folder. You should see this:
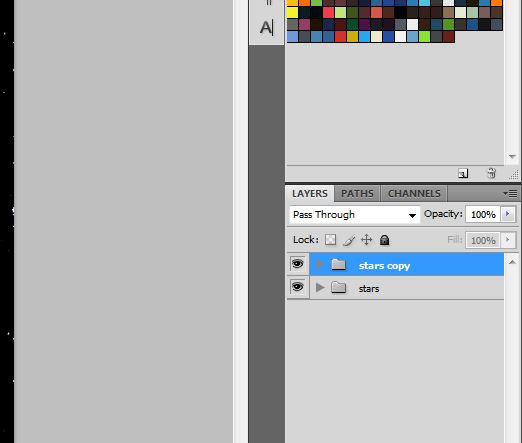
Step 15. Rename the folder to “stars” and now you can right click that Folder and choose Duplicate Group:
Step 16. With the duplicated folder created you can now press CTRL + T (Command + T on Mac) to resize and skew with Transform Selection. Once you see the resize handles you can go to the top left corner, wait for the cursor to change into the curve and simply drag it down like so:
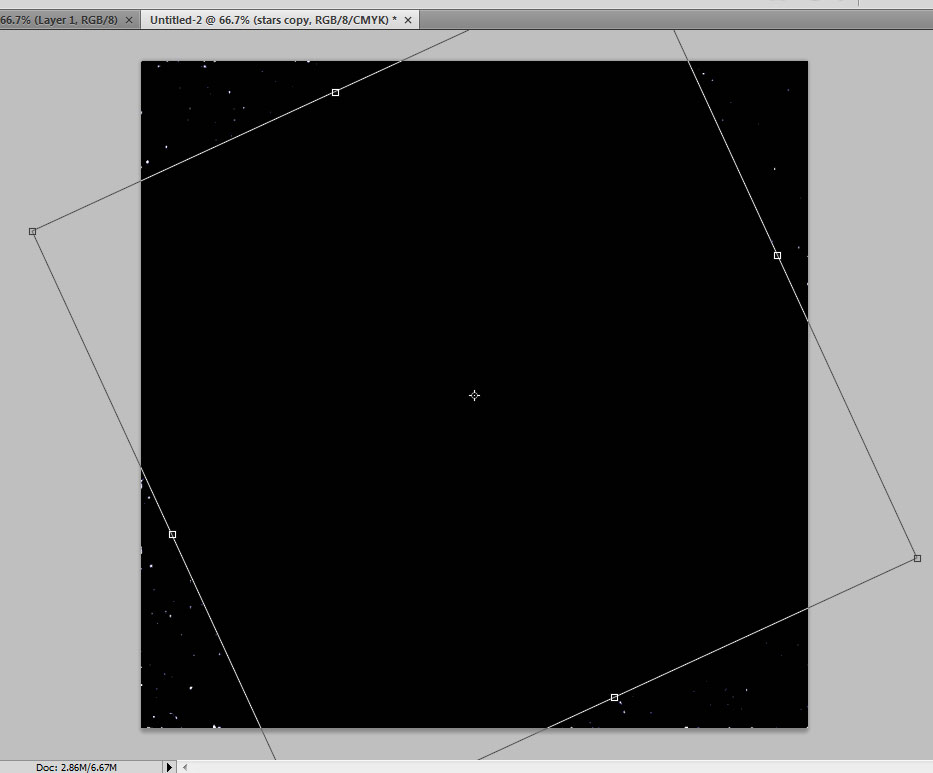
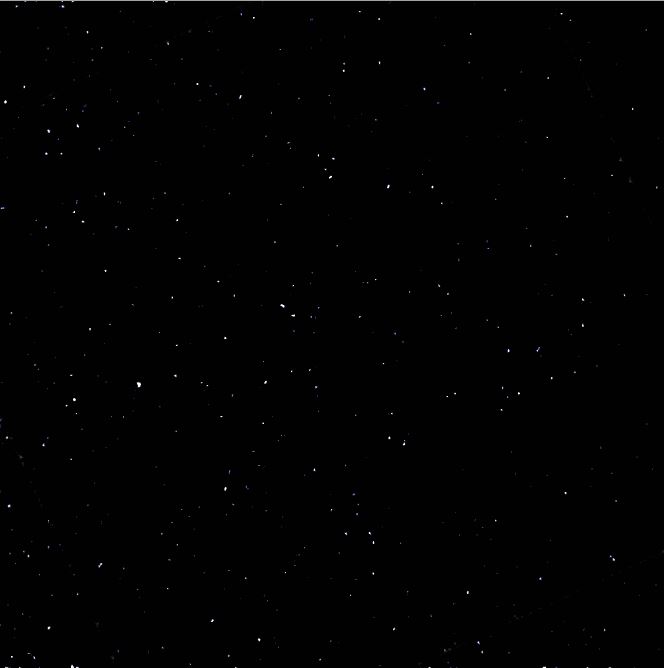
Step 17. You can now press Enter to save changes on the Transform Selection tool and your final image should look like this:

The cool part is since we used Smart Object you can now go back to those layers and individually adjust them and it will not affect the original layer background.
Hurray!!! Now You Know “How To Create Stars In The Night Sky” in Photoshop.