
This advanced tutorial will show you How to Create a Photomanipulation Human Body, Animal Head in Photoshop.
This tutorial requires you to have:
- Adobe Photoshop (any version) with good level of understanding it
- Picture of a model that wears good amount of clothes
- Picture of an animal head
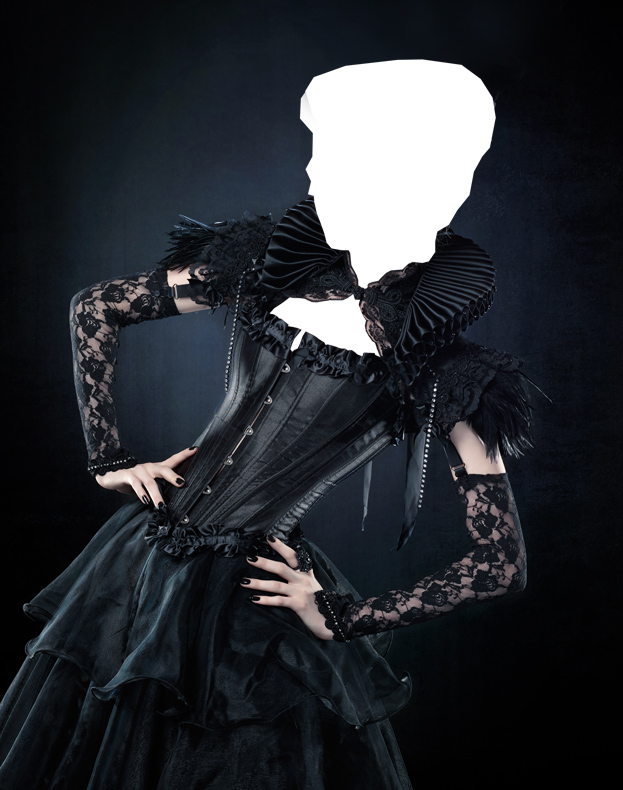
01. Open your picture with your model. Its best to choose a model that has all or most of the body covered, at least the top area where the animal head goes for the easiest matching. Now cut out the head of the model.
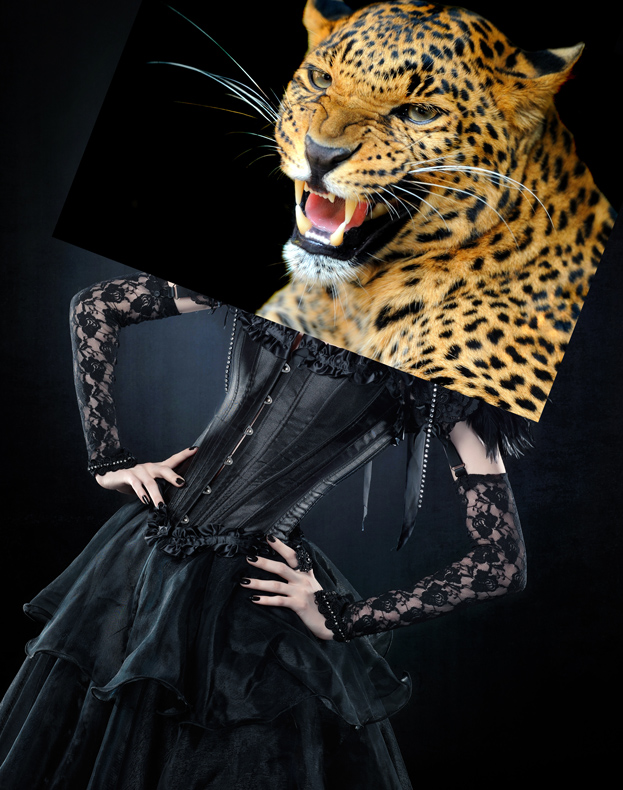
 02. Open a picture of your animal and place it and resize it at the location you’d want it.
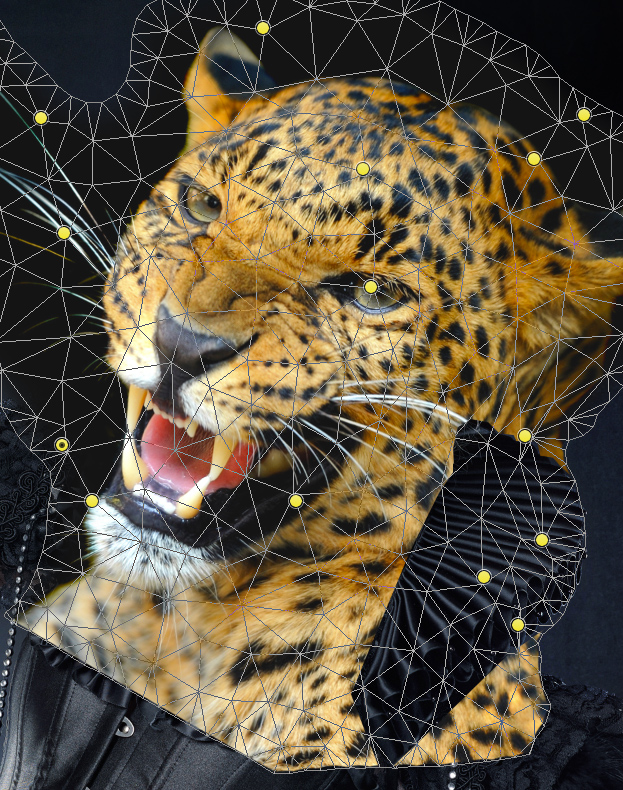
 03. Go to Edit > Puppet warp, set some points on the grid and start dragging some places inwards, especially the neck area, for the head to match the position of the model. Press Enter.
 04. Now cut the edges of the animal’s picture out. Also gut out the parts where the clothing shows. But pay attention to how the clothes would stay if a new head is there. Some parts of the clothing will be behind the head and some, in front.
 05. Fill in all the areas that were left empty because of the missing model head and hair.
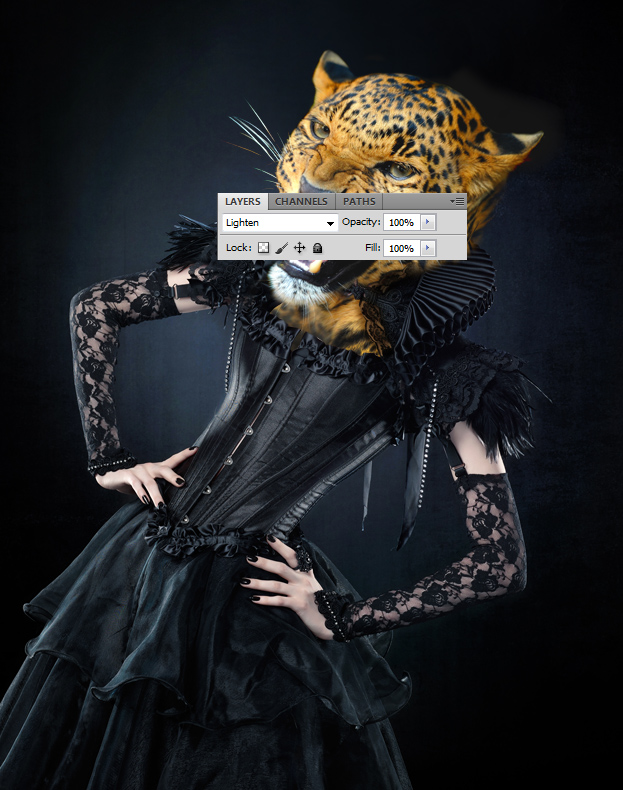
 06. If you are dealing with some fur that stick out, then cut the fur out on a separate layer and set a different blend mode to it.
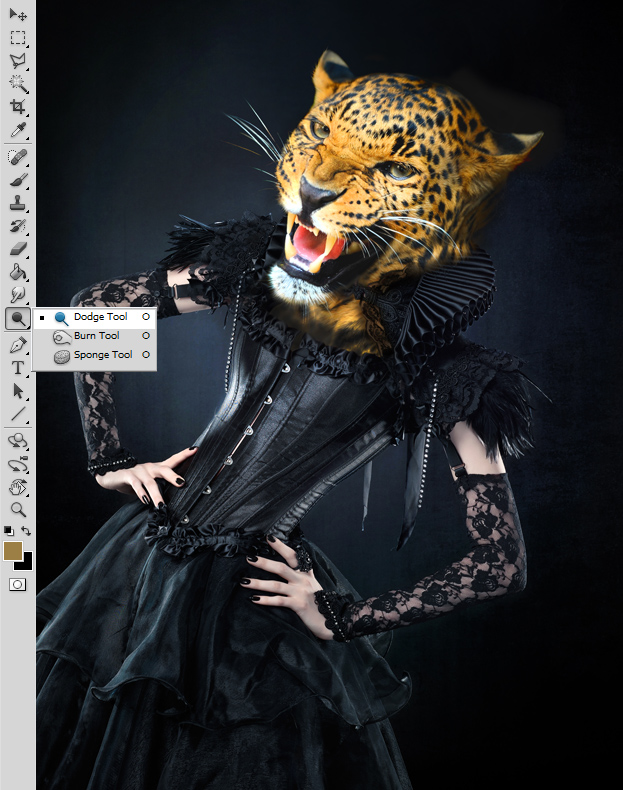
 07. If everything seems so and so right, merge the layers (Ctrl + Shift + Alt + E) and use dodge to give highlights to the places that should be highlighted and burn to give some shadow to some places so that the head would look more natural in its new place.
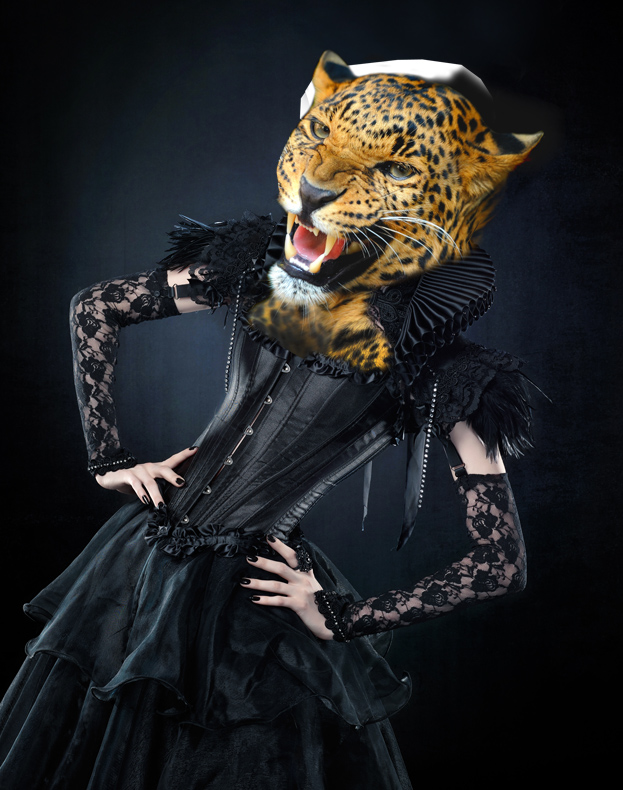
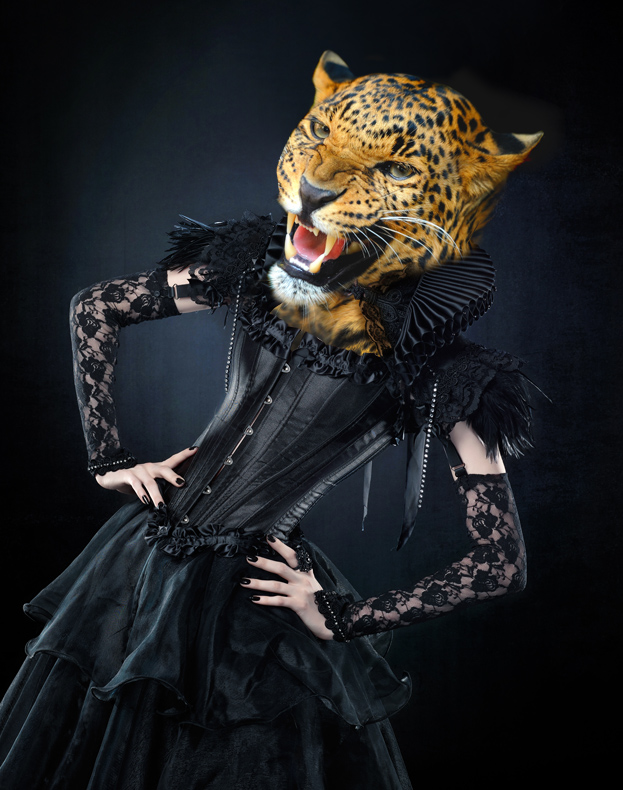
 08. And your picture is done!
How to Create a Photomanipulation Human Body, Animal Head in Photoshop
