This tutorial will show you How to Create a Facebook Timeline Cover Picture in Photoshop.
01. First thing what you need to know is that Facebook timeline has two different places where different (or the same) pictures go. The small square is an avatar that is displayed right next to your name if you post something and such and the other is the timeline cover that is only displayed on your page.

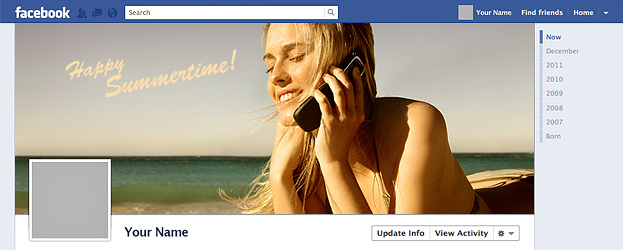
02. Now create a document with a size of 851 px (width) x 315 px (height). This is the dimensions of the cover picture that fits Facebook the best. Now open any picture and drag it onto the new document that you just created with the right dimensions. For the best results, you place the object either on the left or on the right side and leave the opposite side empty for background.

03. If you want to send out a personal message or just insert your company’s logo then this is the time to do it.

04. If you are done creating the perfect cover then it is time to save it. For that go to File > Save for Web. There select the JPEG and set the quality to 90. Why do this? For the best file size and quality. Now save your image.

05. Now there is nothing else left to do but to upload your cover and enjoy!

How to Create a Facebook Timeline Cover Picture in Photoshop