This tutorial will show you how to create a web interface for your product or service display in Photoshop.
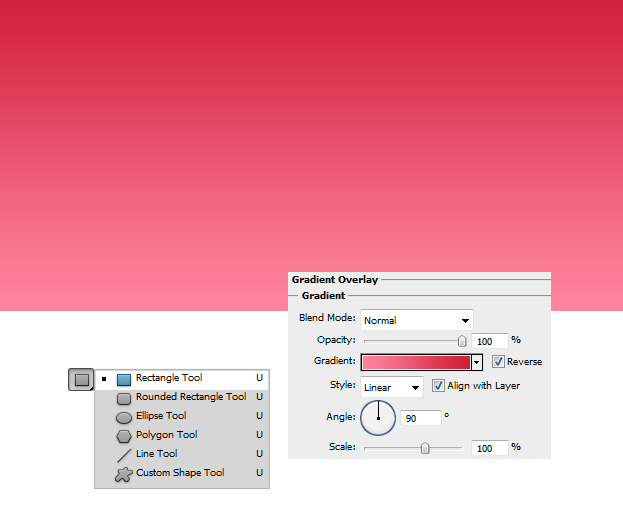
01. Make a new document. Take the Rectangle tool and about in half of the document add a square. Draw the square wider on the edges than actually fits on the document. Now double click on your new square layer to enter the Layer Styles window and go to Gradient Overlay. There set your color.
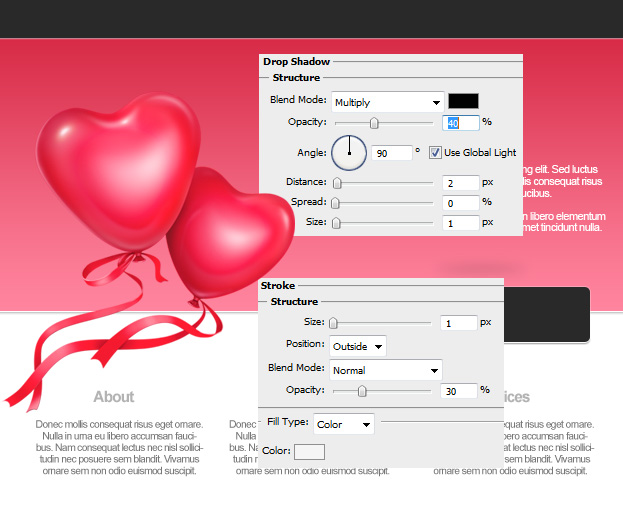
02. Then, in the same window, go to Stroke and add a 1px size, color white. Then go to Drop Shadow and add a small black shadow under your shape. Press OK.
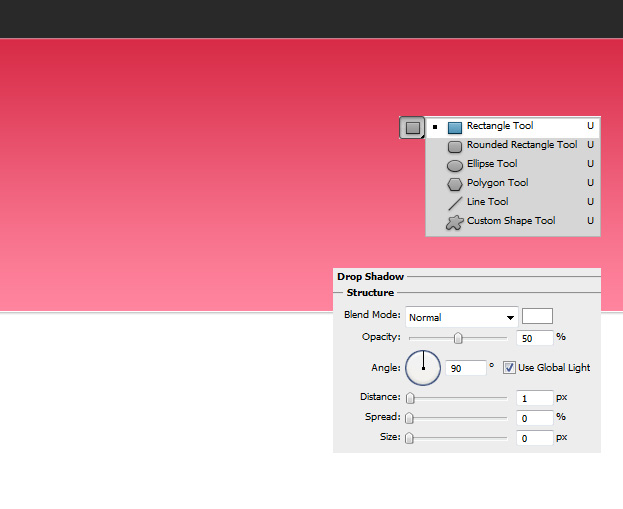
03. Now take the Rectangle tool again, set the color to grey and as before draw a shape that goes further from the document edges. Double click on your grey stripe layer and go to Drop Shadow. There add a small 1px white shadow. Press OK.
04. Set your product on the background so that it would be on the pink and a bit on the white background.
05. Take the text tool. On the colored background add your product name and a shorter description of it. On the white part add other texts about the product that aren’t so important.
06. Take theRounded Rectangle Tool, radius about 5 px, and draw a button of a grey color. Preferrable the same grey as your upper stripe is.
07. Double click on the button’s layer and 1st go to Stroke to add a 1px size white stroke around the shape. Also, lower the opacity of the stroke. Then go to Drop shadow and add a small black shadow under the button. Press OK.
08. Enter your button’s text with the Type tool.
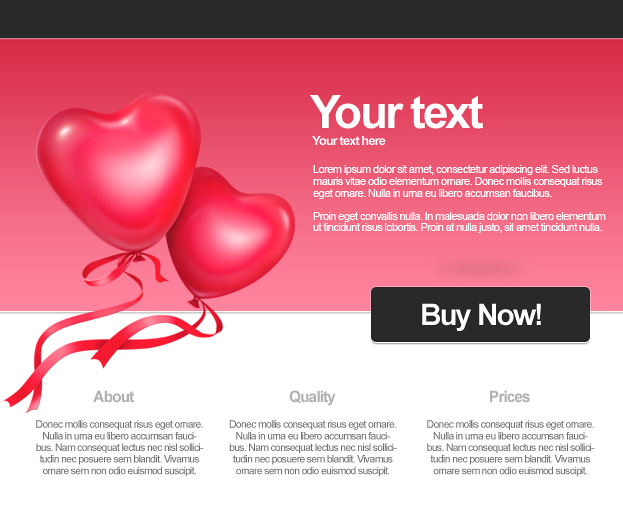
09. And your product is ready for dispaly!
