This tutorial will show you how to create a coloful falling stars text presentation in Photoshop.
01. Open a new document, create a new layer (Layer – New – Layer), fill it with any color, double click on the layer and in the new popup enter the Gradient Overlay. Set the lower color to white and upper color to light grey.
02. Take the Custom Shape tool and create 3 stars the lower being the largest and upper the smallest.
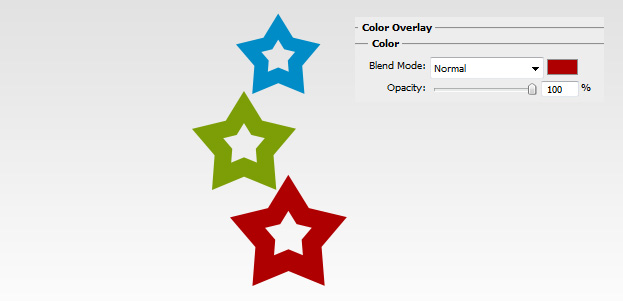
03. Double click on the first star layer and enter the Color Overlay. There set your first color. Press OK. Repeat the same with the 2nd and the 3rd star each time choosing a different color.
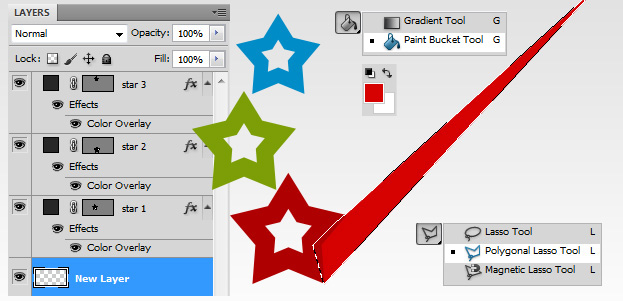
04. Create a new layer (Layer – New – Layer) and drag it under the star layers. Now take the Polygonal lasso tool and create a longer shape between the two tips of the star. Then take the paint tool and color the selection with lighter color than the star is.
05. Create another new layer, a new selection and this time color it with even lighter shade of your main color.
06. Create a new layer, set it under the red layers. Make your first selection and color it a bit lighter than the main shape. Create another new layer and another shape even lighter than the previous one.
07. Again, create a new layer, make a selection and fill it with the 3rd star color. Then create the last layer, make another selction and color it with lighter color.
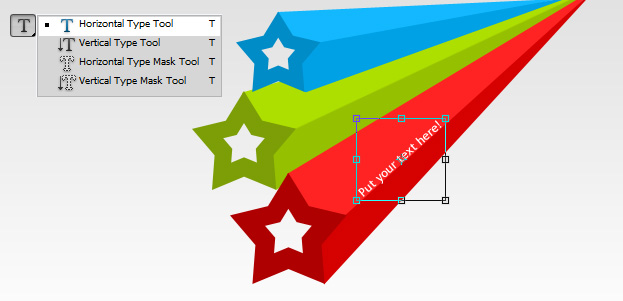
08. Pick the Type tool and insert your color. Change the position and angle of the text by going to Edit – Transform – Scale. Press Enter when done.
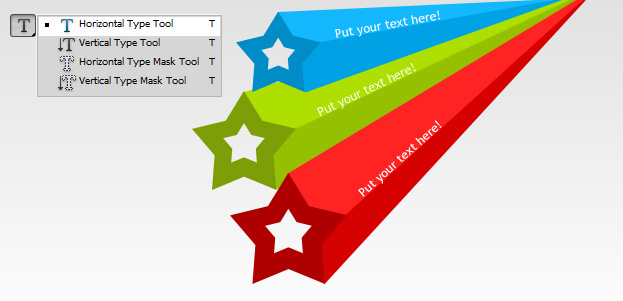
09. The same way as in previous step, add 2 more texts.
And you are done!


