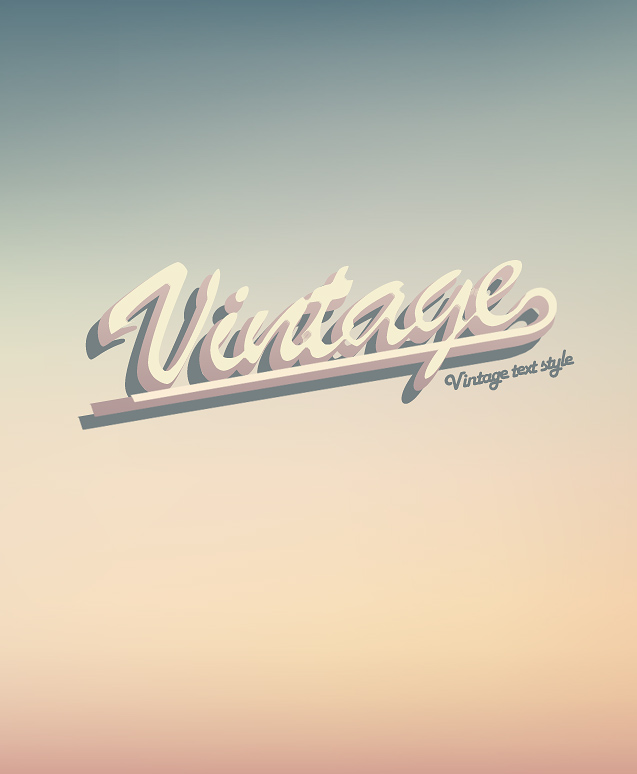
This tutorial will bring back the good old 60s and 70s by creating a retro text style in Photoshop.
1.
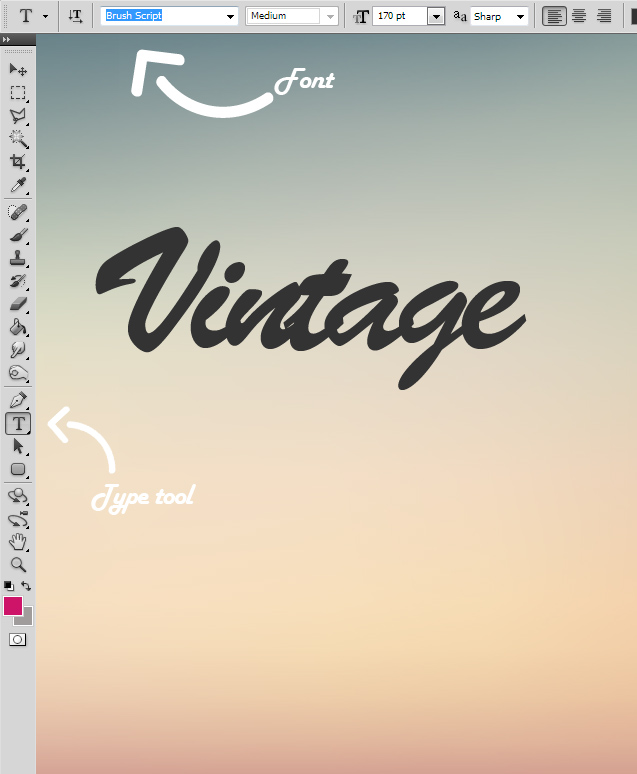
Open a new document and fill it with any color, gradient or background though a small retro feeling to it wouldn’t hurt. Now grab the type tool and type in your word(s). The right font also contributes a lot to this style. This tutorial uses Brush Script font.
2.
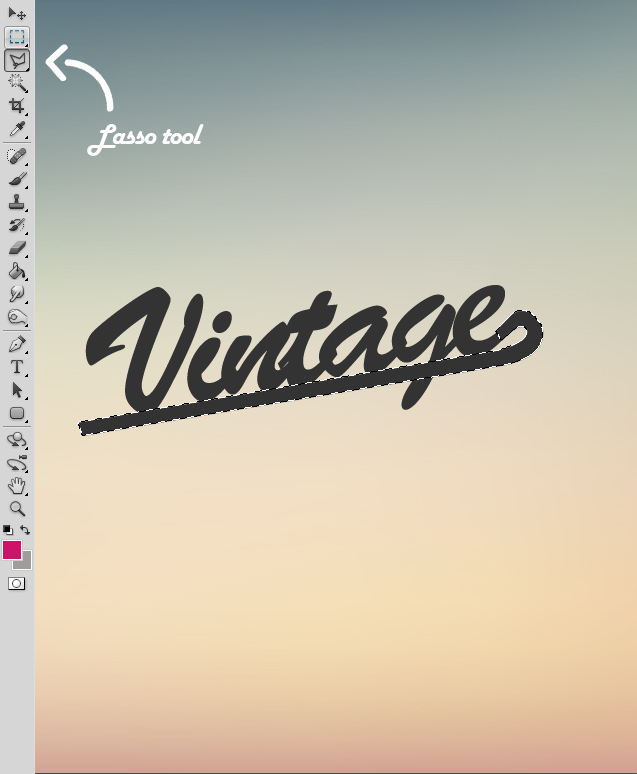
Rotate your text a bit so it wouldn’t be straight. Create a new empty layer (Layer > New > layer), take the lasso tool or pen tool and create a nice line under the word(s).
3.
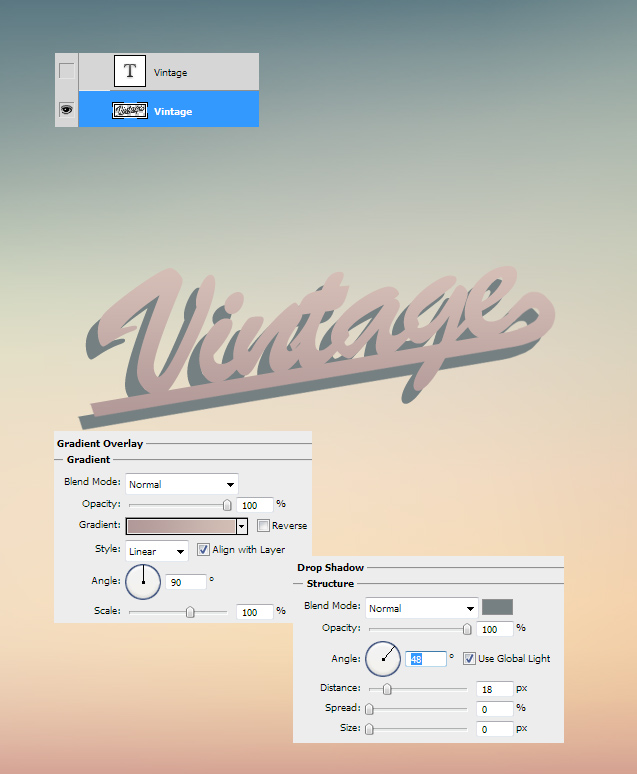
Now, first thing you should do is make a duplicate from your text layer (so there is 2 times the text you wrote), then merge (select both layers and press Ctrl/Command + E) one text layer with the line layer so they’d become one. Hide the 2nd text layer for now. For some color, select the just merged layer and go to Layer > Layer Style > Gradient Overlay and set the gradient to something soft. No bright colors, soft and pastel goes best. Move on to the Drop shadow tab and add a strong shadow under the text, be sure the color here also is a darker pastel. Press OK.
4.
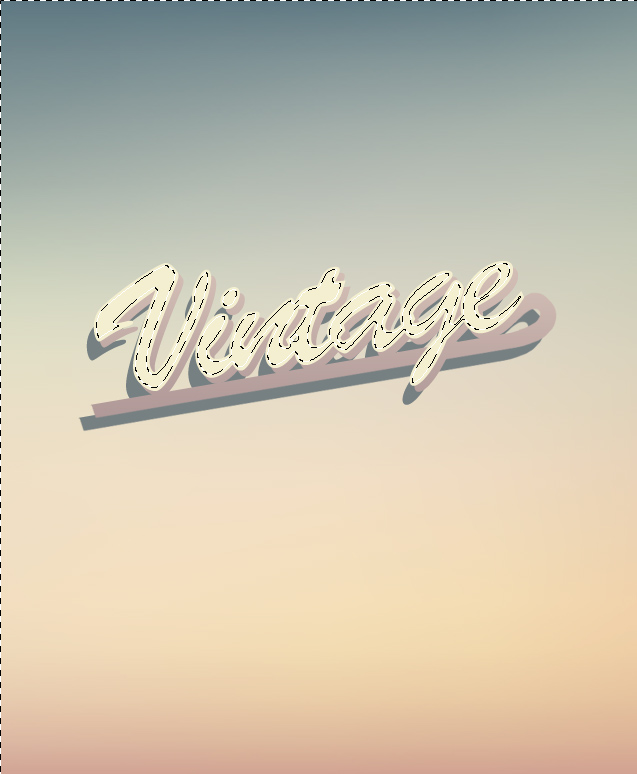
Now show the duplicate text layer again and set it to a lighter color.
5.
Create a new empty layer, select the new layer and the text layer and press Ctrl/Command + E to merge them into one. This way the text is rasterized layer and can be cut etc. Ctrl/Command click on the thumbnail of the text layer so it’d get selected. Now locate in the menu Select > Modify > Contract. Set there a number 3 or 2, press OK. The selection got smaller now and let it be like that. Go to Select > Inverse and hit delete. Now the text is a bit thinner.
6.
Create another line under the light text and your retro text is ready to take the memory lane!
Hope you’ve learnt, Creating Retro Text Style in Photoshop through our “Photoshop Retro Text Style Tutorial”
