
Its always useful to know how to create your own backgrounds either just to use as desktop wallpaper or as a nice background for your phone. This tutorial will show you “How to Create Retro Background in Photoshop”.
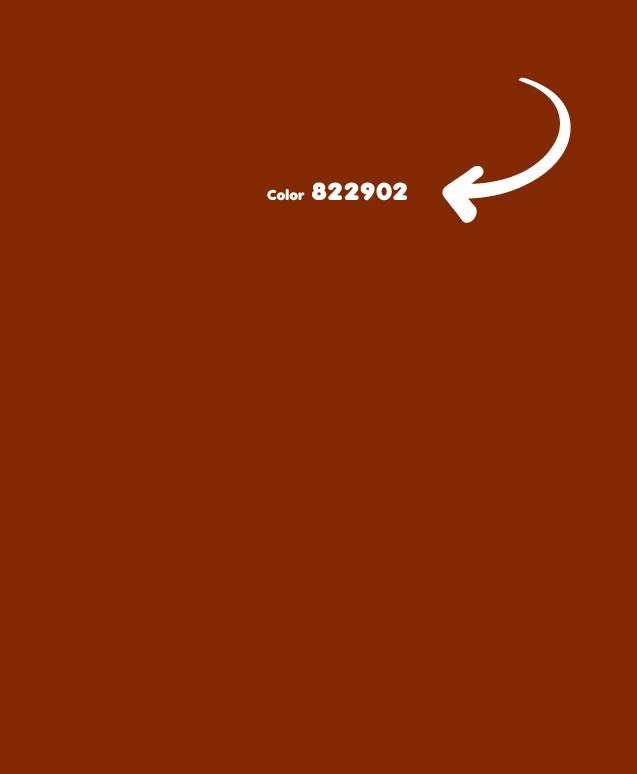
01. Open a new document the size of how large of a background you need. Fill it with any color. This tutorial will start out a nice retro red – a bit brownish.
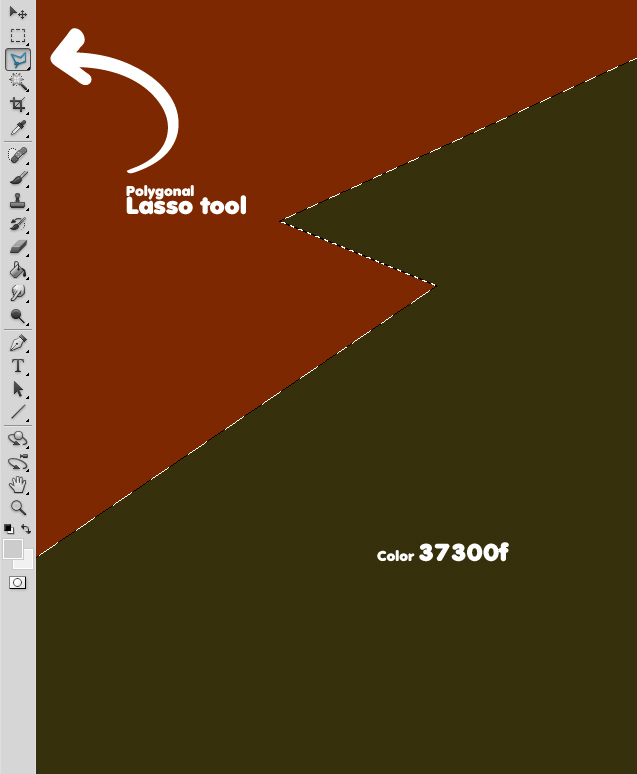
02. Now think of a shape you’d like to add to your background. Create a new layer (Layer > New > Layer), take the selection tool and create a shape either something like a lightning bolt or something more round – its all up to you. When you have created the shape, fill it with any color. A dark brownish green will always do as a retro color.
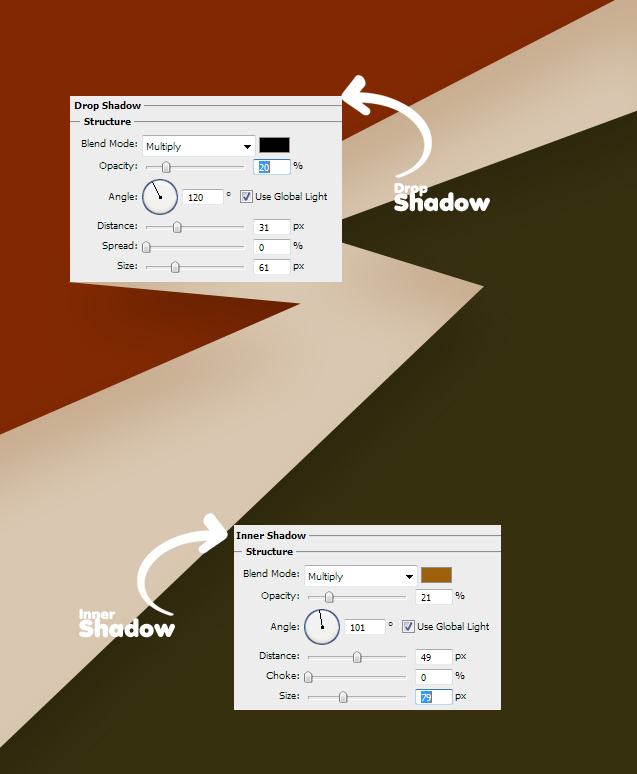
03. Create a new layer again and make another shape. This time fill it with something lighter.

04. Add some effects on the last shape by going to Layer > Layer Styles > Drop Shadow and from there move to the Inner Shadow, press OK.
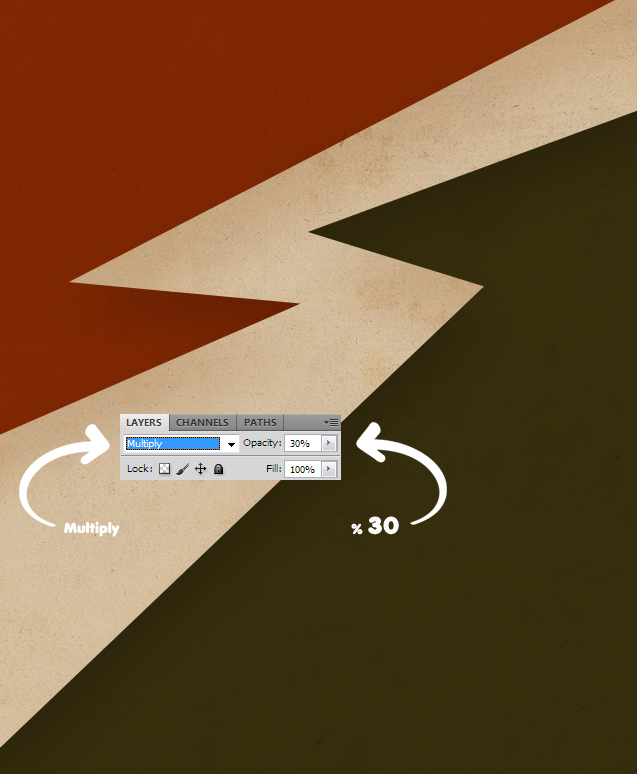
05. Take an old paper texture and place it on top of all the layers. Set the paper’s Blend Mode to Multiply and Opacity to 30% or more according to how strong texture you’d like.
06. Finish the background by adding a nice halftone pattern to it. And your background is done!
Now you’ve learnt “How to Create Retro Background in Photoshop”.