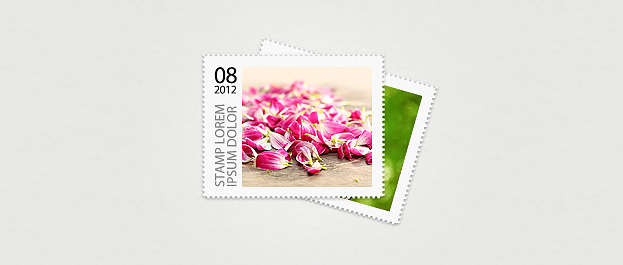
This tutorial will show you how to create a postage stamp from scratch in Photoshop.
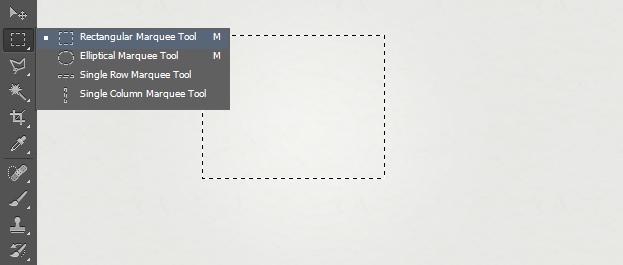
01. First step and very important is to create a new empty layer. You can do that by going in the menu to Layer > New > Layer. Then take the Rectangular Marquee tool and create a basic shape for your stamp.
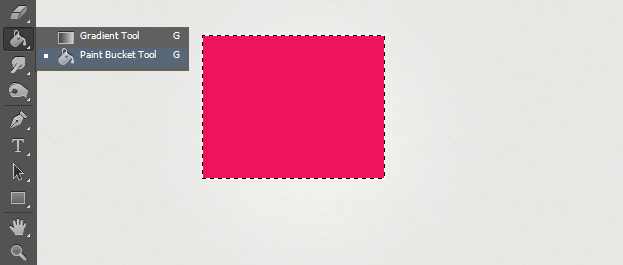
02. Now take the Paint Bucket tool and fill the area with any color of your liking, but usually it is white. This tutorial uses pink to make the changes very clear.
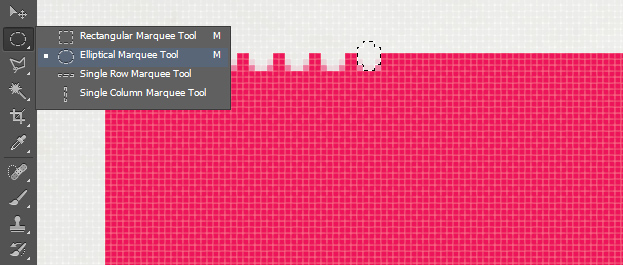
03. Now take the Elliptical Marquee Tool and make a small rounded selection on the outer edge of the square. Then press the delete button and move the selection sidewards and press delete again. Repeat the step till all the sides are done.
04. If all the edges are done, it should look something like below. It may look like hard work, but actually, its just mark press delete – move with arrow – press delete – move – press delete etc and is completed very fast.
05. Now go to Layer > Layer Style > Color Overlay. There set the color to white if it isn’t so yet. Then, from the same window, move to Drop Shadow tab and add a very small shadow around the edges of the stamp. Press Ok.
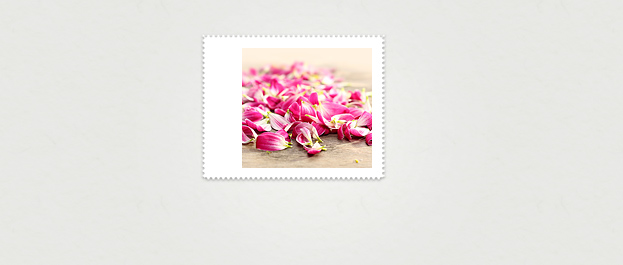
06. Now add a picture on your stamp. The picture can be whichever you wish. Leave a little bit more room on the left side.
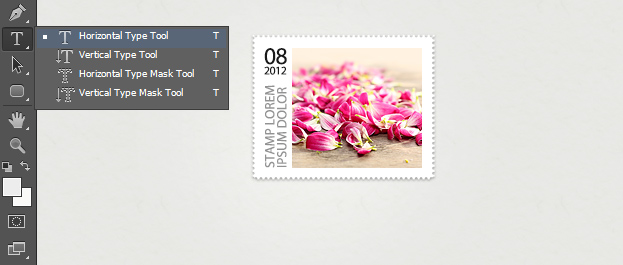
07. Now take the Horizontal Type tool and add a text. You can also pick the Vertical Type tool to add text vertically.
08. And now you know how to make a postage stamp from scratch inside Photoshop.
