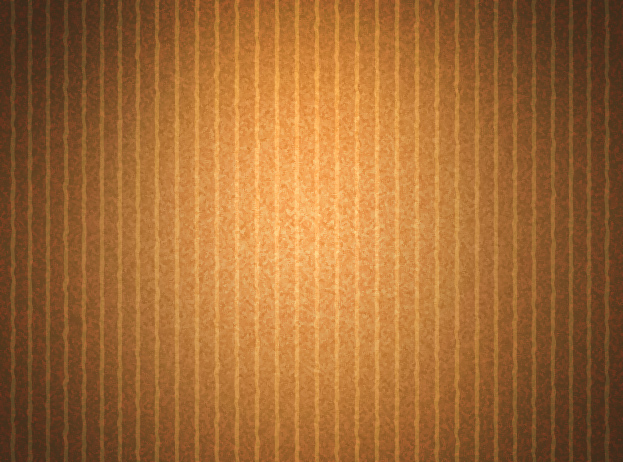
This tutorial will show you how to create a cardboard texture that you can use as a simple texture to texturize something or as a background.
01. Create a new document and fill the bacground with a cardboard brown color. You can also choose a lighter brown.
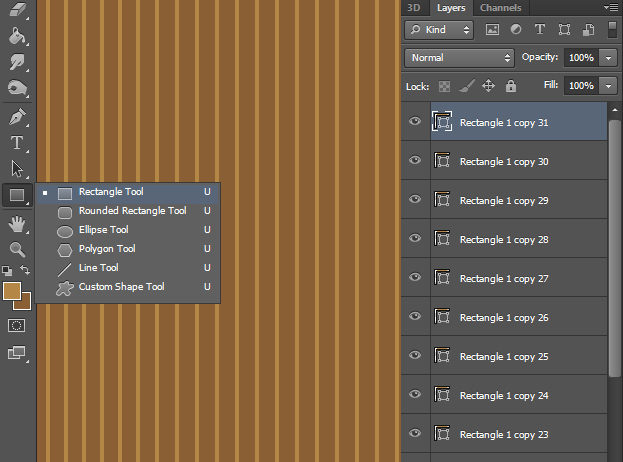
02. Now pick a lighter brown from your background color, pick the Rectangle tool and make one stripe. Now repeat that stipe all over the background with normal to small gapes between them. Just press Ctrl (Command) + J to duplicate them. In the end you should have pretty many of them in the layers panel.
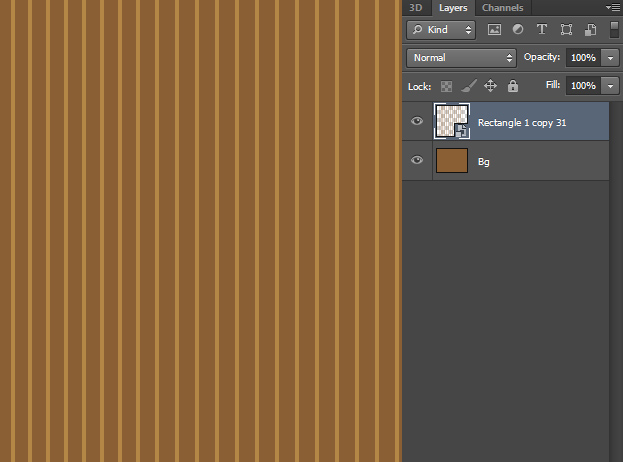
03. Now select all of those stripe layer and press Ctrl + E to make them into one. You should have 2 layers now – background and stripes. Then right click on the stripes layer and choose Transform into a Smart Object.
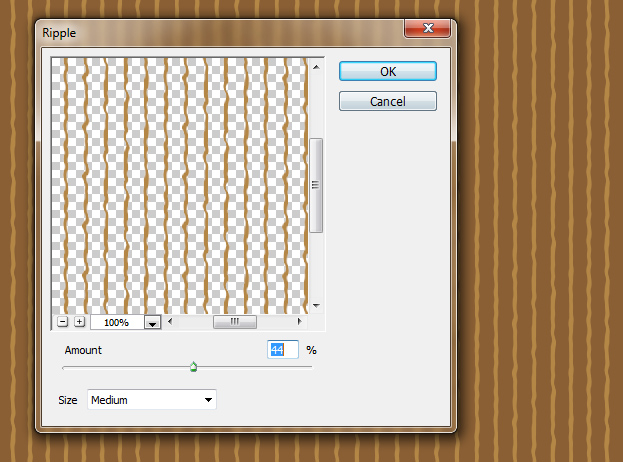
04. To make the stripes more wavy and natural, go to Filter > Distort > Ripple.
05. A small new window will open. There give a small wave to the lines. Press Ok.
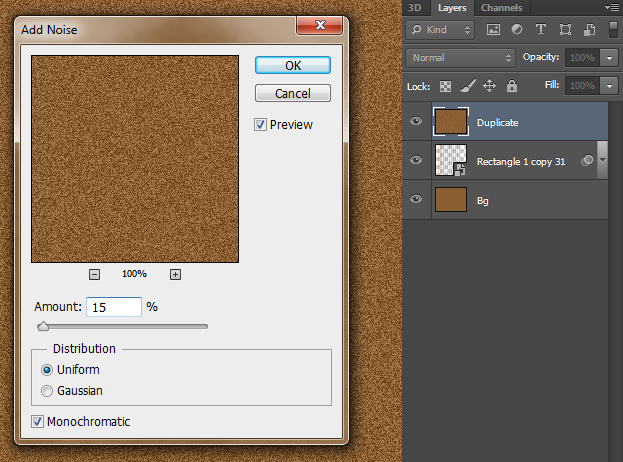
06. Duplicate the background layer by right clicking on the layer and choosing Duplicate layer. Then drag it to above all layers. Now go to Filter > Noise > Add Noise and add a generous amount of noise to your picture. Press Ok.
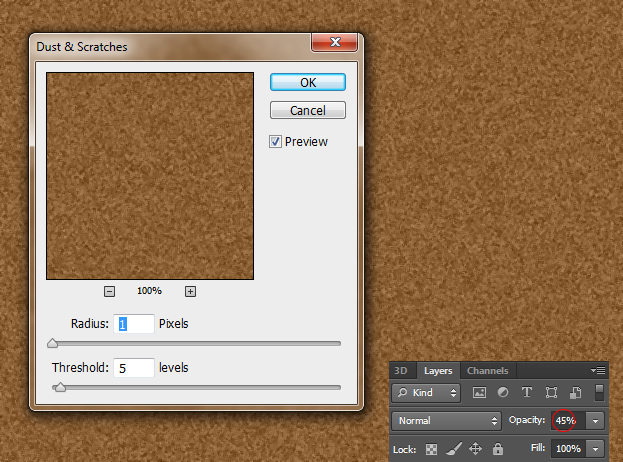
07. Move on to Filter > Noise > Dust and Scrathes and blur the noise out a bit. Press Ok. Now lower the layer’s opacity to 40-45%.
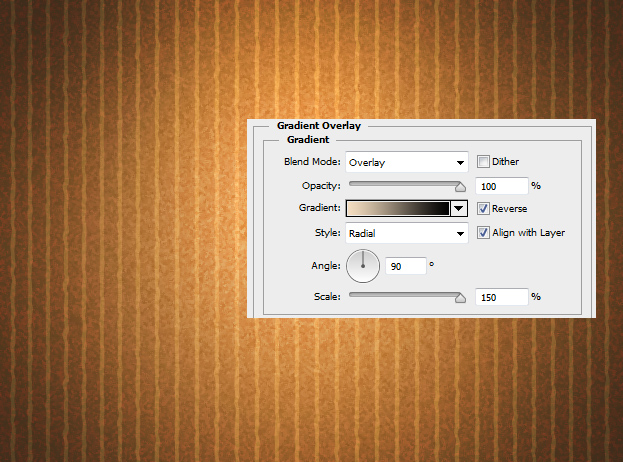
08. To give more depth to the cardboard, go to Layer > Layer Style > Gradient Overlay. There set the style to radial, make sure the darker color is on the outer edges and set the blend mode to Overlay. Press Ok, if all set and the cardboard looks nice and contrasty.
09. And now you know how to make a cardboard texture in Photoshop.
