
This tutorial will show you a very simple way to create your own Detailed Facebook 3D Icon using Photoshop Tutorial
- Adobe Photoshop
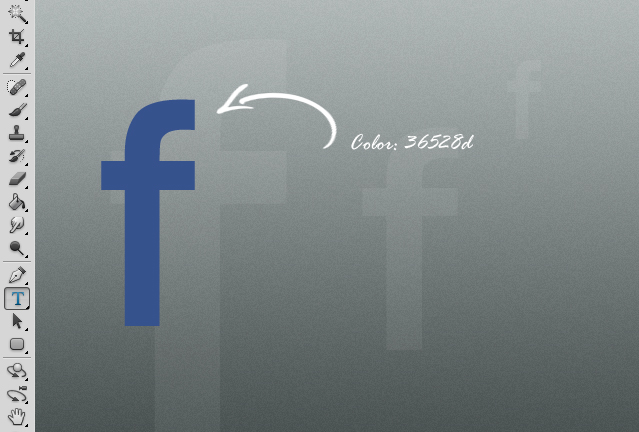
01. Start out by creating a new document and filling the background with any color or picture. Then select the Type tool from the toolbar and type in the letter f. Try to choose a font that is similar to Facebook’s own f and use a blue color for the letter. In this tutorial we use Franklin Gothic font.
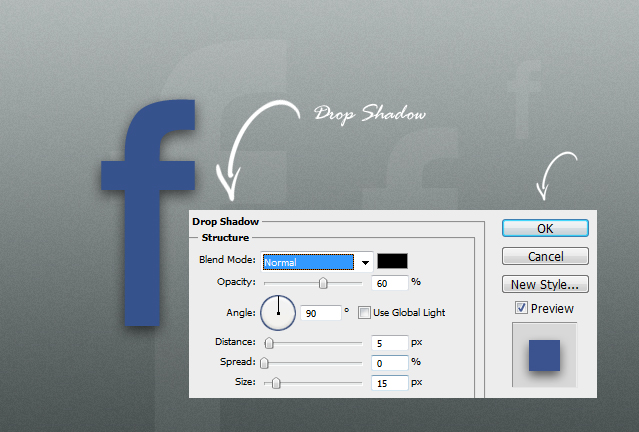
02. Now go to Layer > Layer Style > Drop Shadow and add a generous amount of shadow to your letter. Press OK.
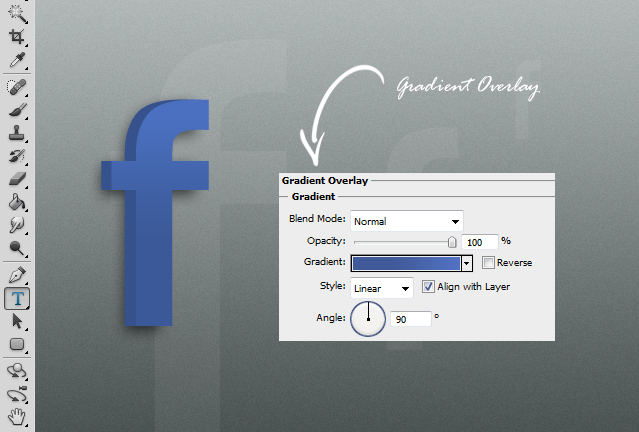
03. Take the Type tool and create a new f with exactly the same size and font. Move it on top of the 1st f but be sure that the previous f would show from either one of sides. Now go again to Layer > Layer Style > Gradient Overlay and set some gradient on your f. Do not press OK yet.
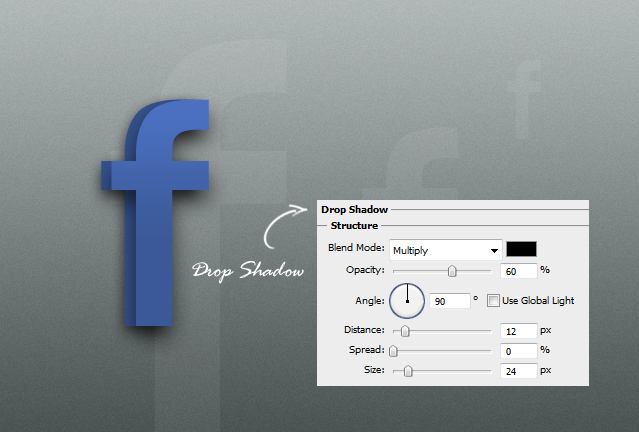
04. Move to the Drop Shadow tab and set some shadow options there.
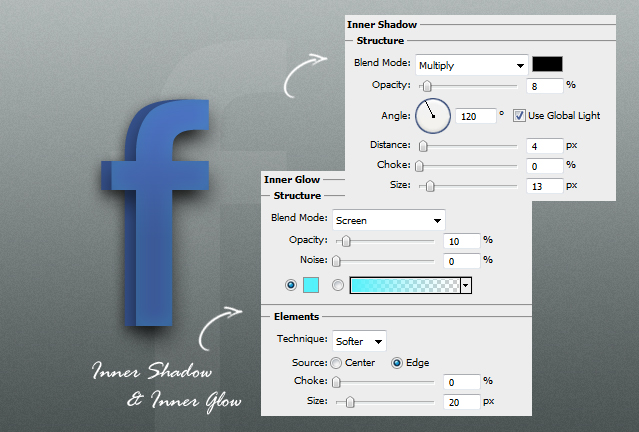
05. Move to Inner Shadow tab, set the values shown below and then move to Inner Glow tab and again, set the values shown below.
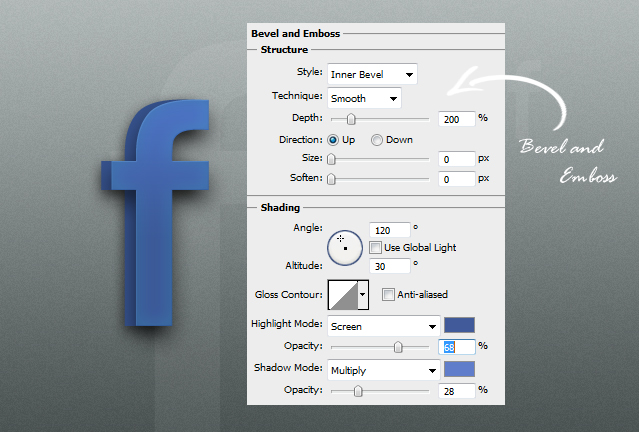
06. The last tab where to set some values is Bevel and Emboss for some shine. Press OK.
07. And your Facebook icon is ready to be used!
Detailed Facebook 3D Icon Photoshop Tutorial