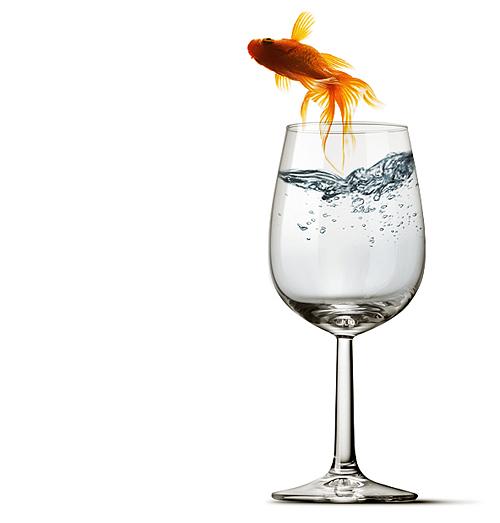
This tutorial will show you how to make a photomanipulation of a fish jumping out of a Wine glass in Photoshop.
01. First open three picture – a glass, a fish and some sort of a splash or irritated water. If your glass already has water inside, the more easier for you to follow the tutorial.

02. Position your glass on the document the way you’d wish it to be. Then drag the splash picture on your glass picture. Go to Edit – Transform – Scale (or just Ctrl + T) and scale the water in the right size and rotate to the right position by using the small squares.

03. Then go to the Layers window and set the water to Multiply so the glass under it would pass through.

04. If you need to transform the water even more, then go to Edit – Transform – Warp and position it any way you’d wish. Then take the Eraser Tool and delete all of the water that is outside the glass.

05. Now take the Smudge Tool, set the strength to 50% or higher, and drag the cut off part of the water downwards so you’d “fill” the glass with water.

06. Drag the fish on your glass picture, take the Polygonal Lasso Tool and cut the fish out of its background.

07. Then go to Edit – Transform – Scale and turn and resize the fish as much as needed.

08. Then go to Layers window and set the fish to Multiply. This step is especially needed when part of the fish is still in the glass, so all that needed becomes transparent.

09. Hold Ctrl down and select the glass and the water layer, right click and choose Merge Layers. Now the glass and the water is one layer. Then go to Image – Adjustments – Color Balance and try to give the glass a shade of the same color as your fish has. Press OK when ready.

10. Then go to Image – Adjustments – Hue and Saturation and Drag the Saturation bar into the minus to wash away all the unecessary colors. Press OK when you are satisfied with the result.

And your fish is ready to jump out of the glass!
