This tutorial will show you how to add realistic lightning to your picture in Photoshop.
01. Open a picture that has some storminess to it and preferrably is a bit dark with some clouds.

02. Make a new layer (Layer – New – Layer in the menu), take the Paint Bucket Tool and color it blue. Put the blue layer to Soft Light and lower the Opacity a bit.

03. Create a new layer again, take the Brush tool, set the color to white and just draw a lightning. It is not complicated, just zig-zaggy lines with some branches. Also try to use smaller size of brush at the branches.

04. Double click your lightning layer and enter Outer Glow. There set the glow color to white or blue, Blend Mode to Linear Dodge and size to about 9 depending on your picture’s size. Press OK when satisfied with the results.

05. Create a new layer again, drag it under the blue layer and above the picture layer. Then take the Brush tool, color white and draw some highlights on the clouds and on the lightning. But don’t brush over all the parts, just selectively. Then set the layer to Overlay and also lower the opacity.

06. Merge all the layers by selecting them all, right clicking and choosing Merge Layers. Now go and take the Dodge tool and make some parts even more lighter – the gound and some other parts of your sky.

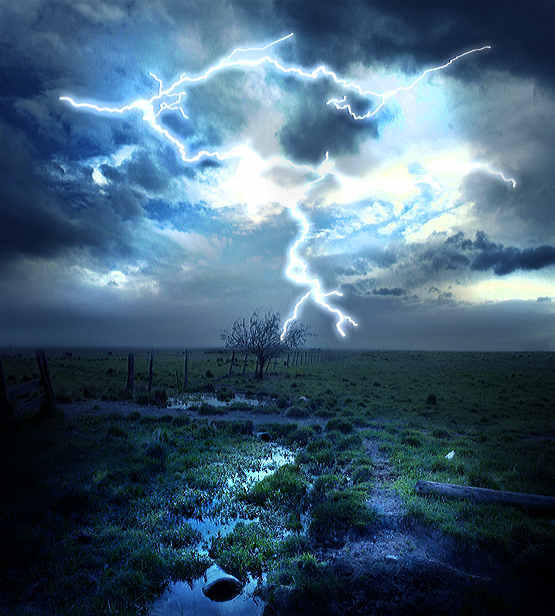
07. And now you know how to add lightning on your picture!
