This tutorial will show you how to create an amazing sunset picture in Photoshop.
01. Open a picture you’d wish to add a sunset. Ideally the picture should have a nice clear sky and a calm water. If the sky has some small clouds or stripes of its own, try to remove them using the Healing tool by just clicking on the object.

02. Open a picture of a nice colorful sunset, set it above the sky with a blend mode of Multiply. You may also lower the opacity a bit to make the original sky show through just a bit.

03. Duplicate your sky layer by right clicking on the layer and choosing Duplicate layer. Then go to Edit – Transform – Scale and flip the sky the other way. Press Enter when satisfied.

04. Take the Eraser Tool, set the brush to really big soft brush and delete the lower part of the sunset that is on the water. Also delete the sunset on anything else it shoudn’t be, such as a rock or even a boat if you have one on your picture.

05. If everything looks very nice then select all your layers, right click and choose Merge Layers. Now you have only 1 layer. Go to Image – Adjustments – Curves and set 3 dots on the line. Lower or raise the 1st one to make your darkest parts lighter or darker, raise the 2nd one to lighten the mid tones and raise the 3rd one even more to lighten up the lightest parts. Press OK. Now your picture has even more vibrant colors.

06. Select the Burn tool, set the brush strength about 50% and brush to large. Now darken the edges of the sky gently and carefully. If you went too far, just press Ctrl + Z to go one step back or keep pressing Ctrl + Alt + Z to go many steps back.

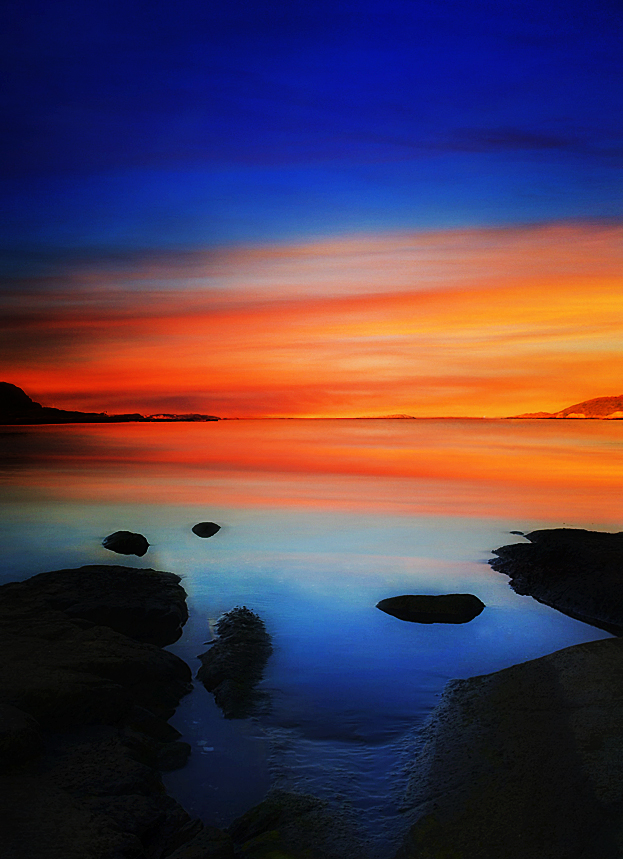
07. And your amazing fantasy sunset is ready!
