This tutorial will show you how to create completely your own wedding invitation in Photoshop.
01. Take the Rectangle Tool, choose your color and draw a square. For the perfect square hold Shift done while dragging the shape.

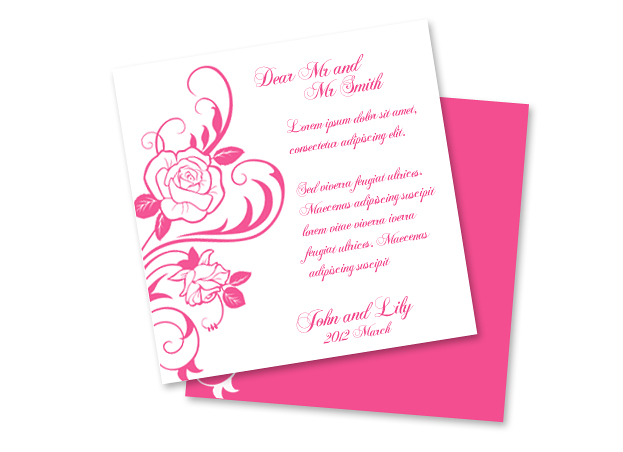
02. Create a new layer (Layer – New – Layer), take your brush tool or a shape tool, choose the color white and place your flower or other ornamental shape. With the Rectangular Marquee tool delete all of the exess parts that are not on the pink background.

03. Select both of your layers and go to Edit – Transform – Scale and tilt your card a bit. Then double click on the pink layer and go to Drop Shadow. There set a small shadow, angle 132, distance, 5 and size 8. Press OK.

04. Take the Rectangle Tool again, draw another shape on top of your old shape, this time white. Double click on the white square layer and add the same Drop Shadow as for the previous shape. Press OK.

05. Again, take the Brush tool or a shape tool, set the color to pink this time and add the same shape on your white card. Again, select the parts that go off the card with the marquee tool and delete them.

06. Take the Type tool, select a font that has more curves in it and type in your text.

07. Select your 3 layers (text, pink ornament, white card), tilt them a bit and your card is ready for presenting.
