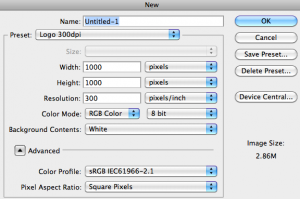
1. In this tutorial I am going to show you how I created DIU ATTORNEY logo in Photoshop. We want to start 300 dpi resolution.
2. Next we want to select a nice Font. I chose a heavy font like “Impact” so I can add some effects to it.
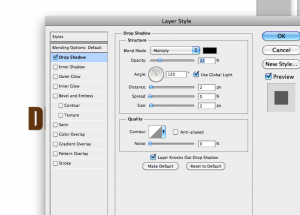
3. Right click the Layer and choose Blending Options. Choose Drop Shadow and use these settings:
4. Select the Elliptical Marquee Tool and and draw a Circle on a new Layer, then fill it with a light color:
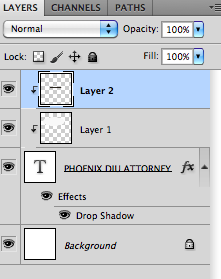
5. Now press CTRL and CLICK between those two layers to merge them
6. Change the light layer to 25% Opacity

7. Create a new Layer and paint a thin black line across the bottom of the word Phoenix
8. CTRL Click between the layers again
Looks like this..
9. Now change the Opacity of that Layer to 50%
10. Set the background color to #F3F3F3
11. Select the Rounded Rectangular Tool and draw a shape around the Logo text
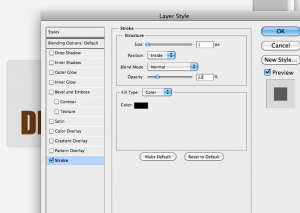
12. Choose Blending Options on that Layer and use these settings
13. Repeat steps #4 and #5 and set the Opacity to 65%. Final Results looks like this:

