This tutorial will show you how to creatively display the Ying Yang sign.
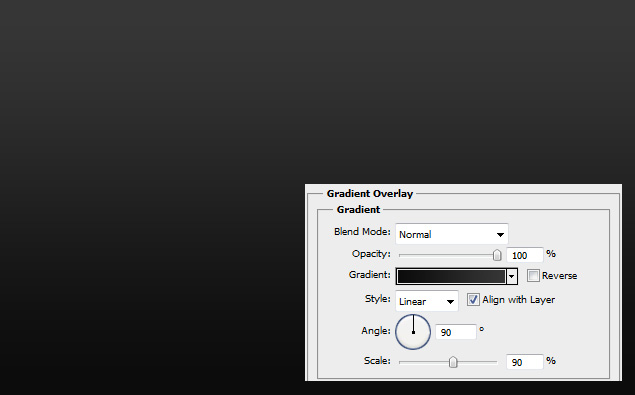
01. Create a new document, double click on the layer to make the background into a layer and double click again to enter Layer Styles window. There choose Gradient Overlay and set the color from darker to lighgter grey or black.
02. Take the Custom Shapet Tool and create a Ying Yang shape.
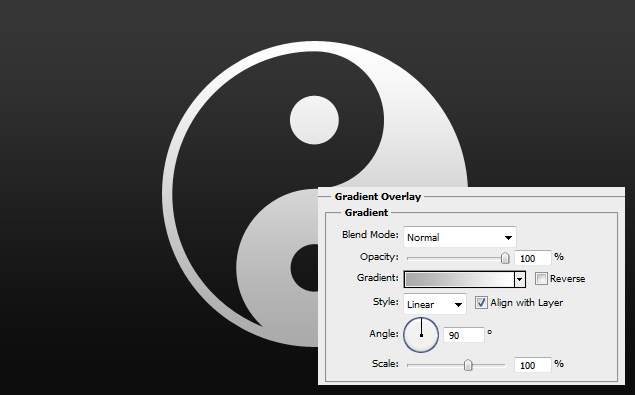
03. Double clink on your new shape and choose Gradient Overlay. There set the color from light grey to white.
04. Right click on your shape layer and choose Raterize. Then take Marquee Tool and delete the lined parts.
05. If not everything got deleted then finish it up with Eraser Tool. Careful not to delete the parts that are necessary.
And you are done!


