This tutorial will show you how to use a basic but essential tool in Photoshop – a gradient tool. This is a tool without we wouldn’t be able to create perfect soft transitions between colors. No other gradient tool works as easy and as flawless as this.
01. Firstly, you may want to know where to find the Gradient tool. That is easy – from the toolbar that is usually located at the left of your Photoshop. The place on the toolbar is shared by gradient tool and paint bucket tool, so be sure to click and hold to get the selection of the tools out and then just select the Gradient Tool.
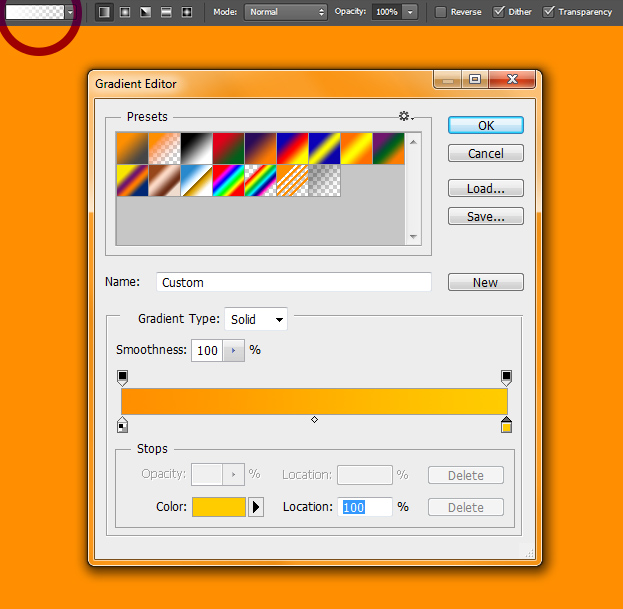
02. Clicking on the Gradient Tool will enable you access to adjustments of the tool that is located on the upper bar inside Photoshop. There you can see the current fill or change it, the fill types and other options.
03. If you click on the fill preview, you will see other fills that you can use or change the current one. Just press Ok to apply the color.
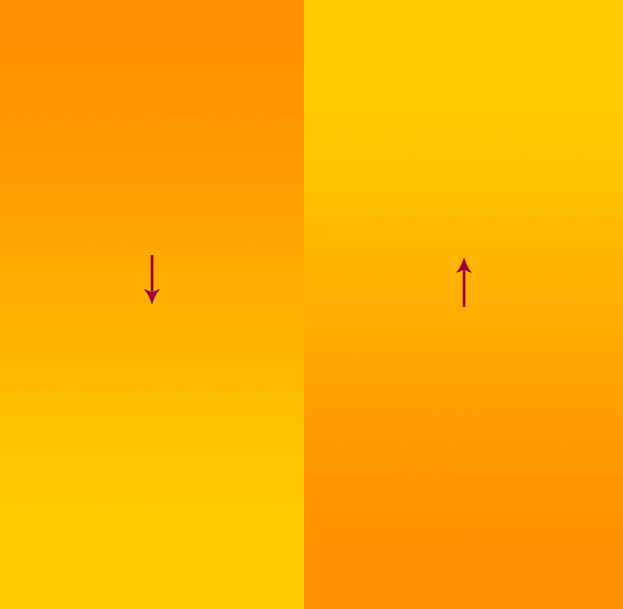
04. To add your gradient, you will need to either click on the spot or if you want the gradient on a certain angle – from up to down, down to up, from left to right, from left corner to right corner etc, the you will have to drag your mouse in desired direction and when letting go, the fill will be placed.
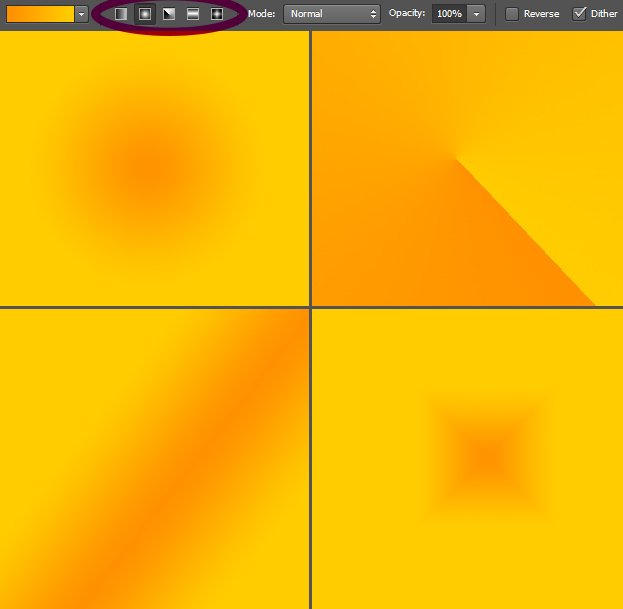
05. There are several different gradient types to choose from, the last 4 of them shown below.
06. To get partly transparent gradient, first lower the opacity and then add the gradient of your wish.
07. And now you know how to use a simple but essential Gradient tool in Photoshop.


