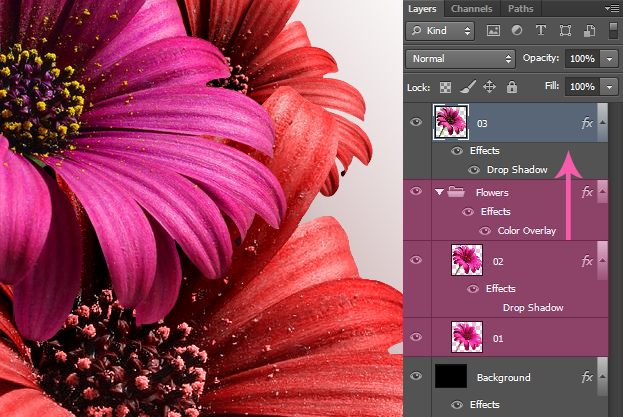
Photoshop CS6 brought many new features, one of which finally is an option to modify multiple layers at once. Lets explore this possibility closer.
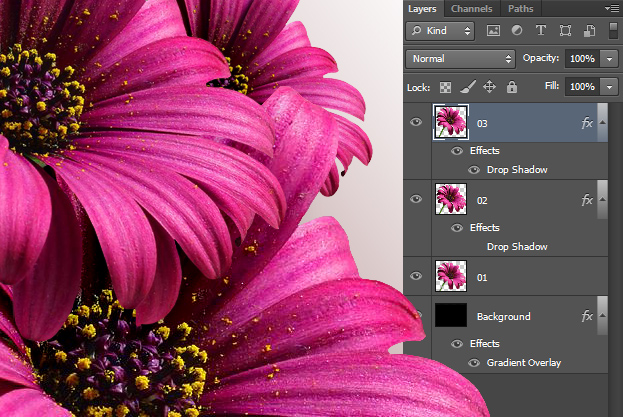
01. Lets say you have a picture that has many layers. We have a background and three flowers, each of them on a separate layer. In older versions of Photoshop, when we wanted to add an effect or change color of all the flowers, we’d have to do it one by one. Not in Photoshop CS6.
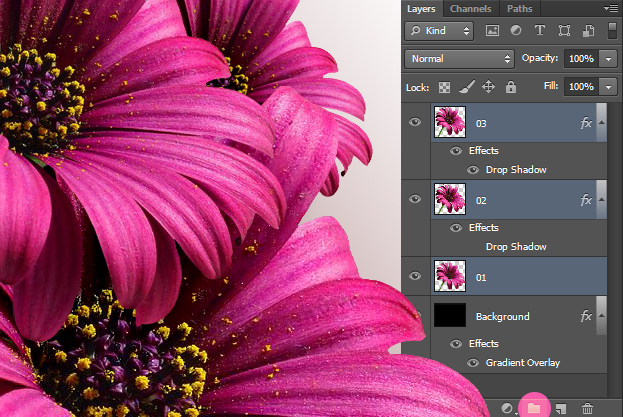
02. So lets change all the flower color at a time. First lets add them all to one group. For that, select them all holding down the Ctrl or Command key and then press a folder icon right under the layers panel or use the shortcut Ctrl + G.
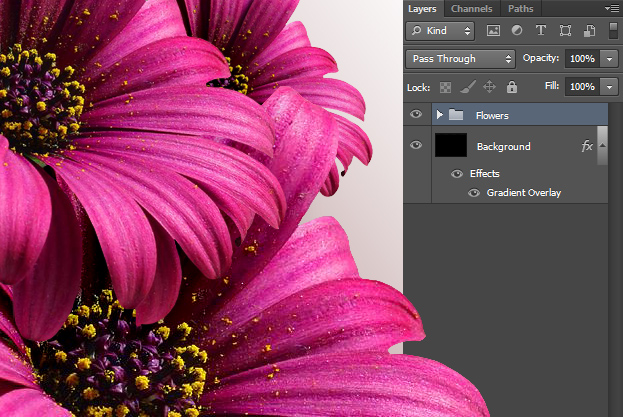
03. Now the flowers are in one group. Usually, when we’d want to change the colors now, we’d have to open the group and still start changing the colors one by one.
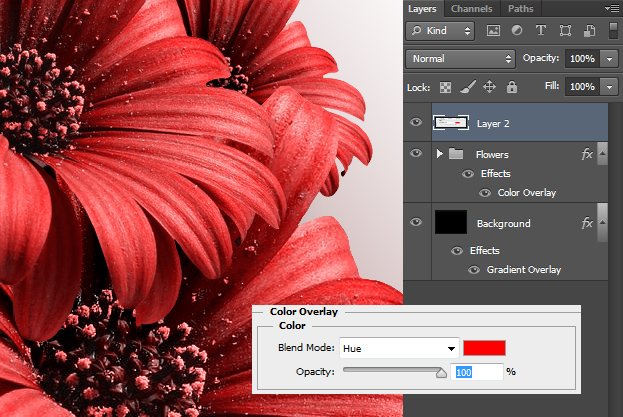
04. Go on, double click on the folder where all your flower layers are – a popup opens. There go to Color overlay, choose a color and press ok. Now all your flowers are different color. You can apply any other effects to them also – shadows, gradient, stroke etc. See how the effect has been added to the group and not to the layers? This means that everything that you drag inside that group is gonna have those effects and vice versa. Lets see that more closely.
05. Drag one of the objects out of that group. And immediately all the effects you added to the group do not apply to the layers that stay outside the group. This gives you an opportunity to exclude or include anything you want or not to have a certain effect.
06. And now you know how to modify multiple layers at once which will surely speed up your work in Photoshop CS6.
