This tutorial will show you How to Create a Metallic Web Button in Photoshop from scratch.
01. Select the Rounded Rectangle tool and set the radius to 30 or more. Pick a medium gray color and draw a longer shape.

02. Now go to Layer > Layer Style > Stroke. A new window will open. There set the stroke size to 1px, color to black and also lower the opacity a bit. From there move to Inner Shadow tab and set a small black inner shadow to your shape. Press Ok.

03. Again, take the Rounder Rectangular and create a shape on top of your old shape. Be sure the lower edge of the first shape would show under your newly made shape. As much as you let it show, the taller the button will look.

04. Move to Layer > Layer Style > Gradient Overlay and set a gradient for your button. Press Ok.

05. Create a new empty layer and select your second shape that you just put gradient on and the new layer. When both of the layers are selected, press Crtl (Command) + E to merge them. Now duplicate the newly merged layer by right clicking on it and selecting Duplicate layer.

06. Now go to Filter > Noise > Add Noise and add some Monochromatic noise to your shape. Press Ok.

07. Go to Filter Blur > Motion Blur, add some blur of angle 0 and raise the distance so that the noise will transform into metallic lines. Press Ok.

08. Keep the top layer selected and hold down the Ctrl (Command) key and click on the lower shape’s thumbnail to create a selection.

09. While the selection still on, go to Select > Inverse and press delete to delete all the unnecessary blur around the edges.

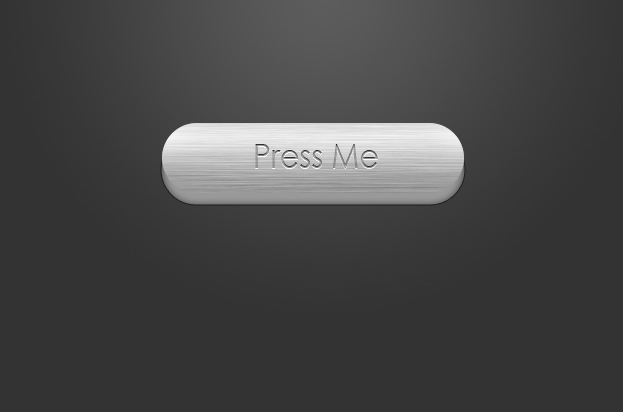
10. Add some text and your metallic button is ready to use!

How to Create a Metallic Web Button in Photoshop