This tutorial will show you How to Create a Christmas Party Flyer in Photoshop that you can either use as a personal party invitation to your party or as an invitation to something to a wider audience.
01. Open a new document exactly as you wish your flyer size to be or a bigger size to create a so-called mock-up of the flyer that is useful for presenting the flyer design, rather than printing it. In this tutorial the flyer is going to be mock-up sized so you get the idea of both. Now when the new document is created, for a mock-up, set a background with a picture or color that is going to be used on the actual flyer. Then take the rectangular tool and create a longer shape in the middle. For the non mock-up, just continue to the next step without doing any shapes with the rectangular tool since your shape is already set from the document size.

02. Now go to Layer > Layer Styles > Gradient Overlay and set a gradient that goes from lighter to dark and lighter again.

03. If you are creating a mock-up, then also set a stroke around the flyer by going to the stoke tab. Press Ok.

04. Now set some brush or a bit of pattern on the background to give it more depth. For that, create a new layer at Layer > New > Layer, then take the Brush tool, take a lighter shade of your main color and brush either some stars, shine or other shapes on the background.

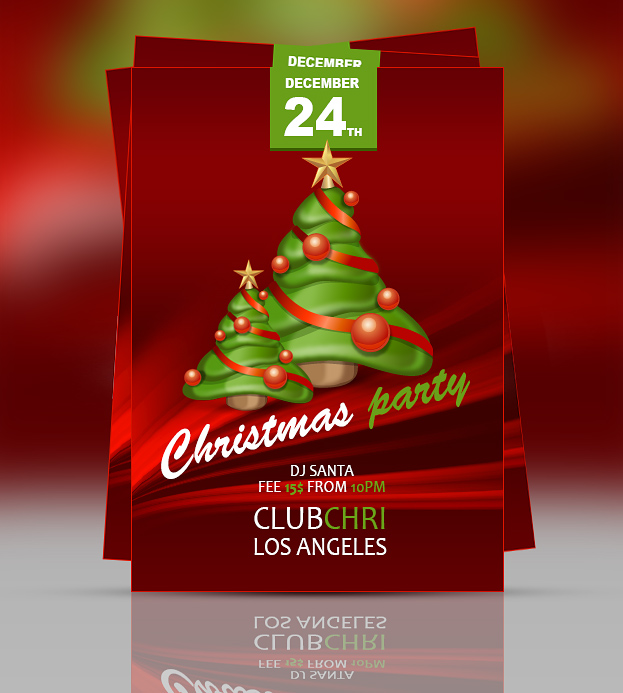
05. Now open a picture of a Christmas tree, presents or other Christmas related picture, make sure it is cut out or cut it out yourself using polygonal lasso tool or any other cutting tool that suits you best. Just place the picture right in the middle so some room would be left on the upper and lower part.

06. Take the rectangle tool again and this time make a smaller set of rectangles on the upper side of the flyer. This is going to be the date place.

07. And now all there is left to do is to add some text. Add a date, party text, what is going to happen, where and when. Go around with fonts, font sizes and even colors, but no more than two each. And your flyer is done.

08. In case you do not want to print your flyer out, then duplicate the flyer, move the duplicates behind the original and rotate them a bit – one to the left, the other to the right. Now add a reflection by duplicating the main flyer, going to Edit > Transform > Flip Vertical, move it right under your main flyer and lower the opacity.

How to Create a Christmas Party Flyer in Photoshop