Photoshop CS6 came with many new features and one of them were some new text features. Lets look at them more closely!
Text tool can be found as always, from the toolbar.

If you choose the Type tool, then an upper bar will appear where you can choose from many text options, one of them being choosing the Font. But what if the font previews are a bit too tiny for your eyes?

Here comes Photoshop CS6 with its new option. From the menu go to Type – Font Preview Size and choose the best option for you. You can choose from None, Small, Medium, Large, Extra large or Huge. The sample below is set to Large.

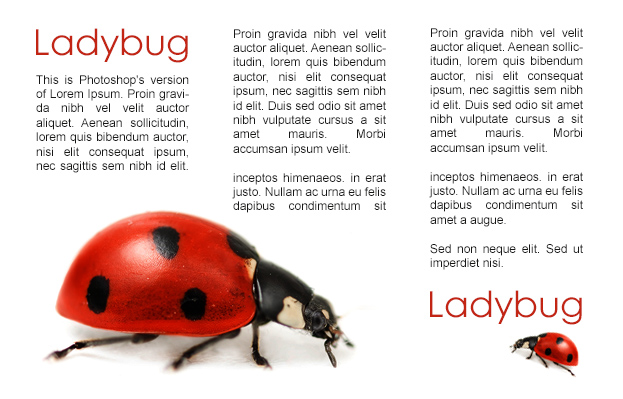
Another new feature is inserting the place holder – Lorem ipsum text. Just click anywhere with the type tool or select an area to fill with it, then go to Type – Paste Lorem Ipsum and you have a text there. Very useful to designer who before had to copy the text from outside and then paste it into Photoshop.

Another new feature is the ability to save your text style or create a new text style. For that go to Type – Panels – Paragraph Styles Panel.

A small panel will open at the right of the Photoshop. There click on the small paper sheet icon that represents you creating a new style. After you clicked on it, Photoshop will create a new list item where you see None at the moment.

Double click on that new list item and a new window will open. Here you can set all sorts of options to a text – the color, font, alignment etc. Press ok when you are done.

Now to add that style to your text, just select your text layer, select the style you’d wish to add from the list, press the ok icon (the check mark) and the style will be added. Like that you can create many styles and just add them fast and easy.

Now you know the main new text features in Photoshop CS6 that will make your working much faster and easier.
