This tutorial will teach you how to create a very massive and strong text effect in Photoshop.
01. First open a picture that has stone texture.

02. Now take the Text tool, choose fromthe upper bar a Font, preferrable something strong and bold instead of a thin text. Write a text.

03. Then double click on the Text layer (Window – Layers) and there click on the very first, Blending Options: Custom text and there set the Fill Opacity to 0%. Yes, your text dissapears, for now. Don’t close the window yet.

04.Now, from the same window, choose Drop Shadow, set the Blend Mode to Multiply, angle to 90, Size 0, And distance depending on your text size.

05. Next choose Outer Glow, put Blend Mode to Normal, choose the color black (or the darkest color of your rock picture), Spread to 0 and Size a nice 103 px.

06. Then go to Color Overlay, choose a light shade of your rocks color, set Blend Mode to Color Dodge and lower the opacity to about 40%.

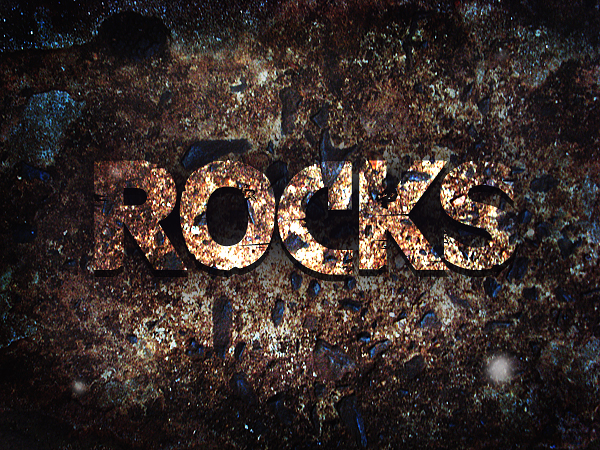
07. Merge layers by selecting all of them holding Ctrl down, right click and choose Merge Visible. Then go to Filter – Sharpen – Smart Sharpen and sharpen your picture a bit.

Click OK and your rocking text is done!
