This tutorial will show you how to create a text that is in flames in Photoshop.
01. Open a new document, double click on the background layer to make it into a regular layer. Double click on it again to enter the layer styles window. There go to Gradient Overlay and set the gradient from black to brown. Press OK.

02. Create a new layer (Layer – New – Layer) and go to Filter – Render – Clouds to add a cloudy effect. Now set the clouds to Overlay 70%.

03. Go to Image – Adjustments – Hue and Saturation to make the orange less colorful. Then take the type tool and insert your text.

04. Double click on your text layer and go to Gradient overlay. Set the color from brown to orange. Then go to Stroke and add the same color stroke. Press OK.

05. Open your fire picture and set it to Overlay. Then with an eraser tool delete all the parts that are not flames.

06. With the polygonal lasso tool start taking bits of the flames and putting them on your text. Delete anything that might be out of place.

07. Repeat it with all the letters of the text. Try to use different parts of the flames so it wouldn’t look repetitive.

08. Create a new layer and take the Brush tool with the color yellow. Color on the parts where the flame starts on the text.

09. Set the yellow circles to Overlay.

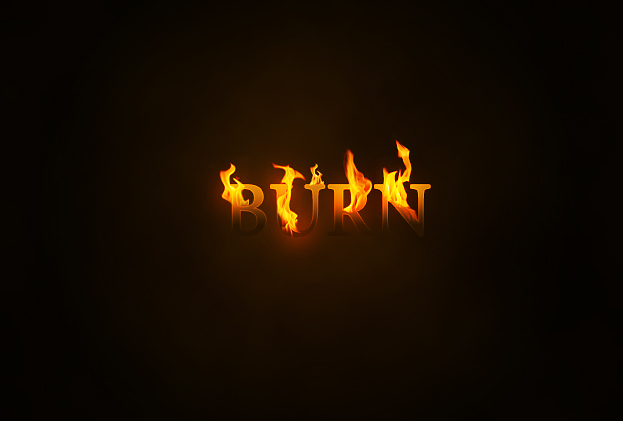
10. Merge all the layers by selecting the layers, right clicking and choosing Merge Layers. Then go to Image – Adjustments – Curves and drag the line into a small S-shape to add some more contrast.

11. And your text is ready!
