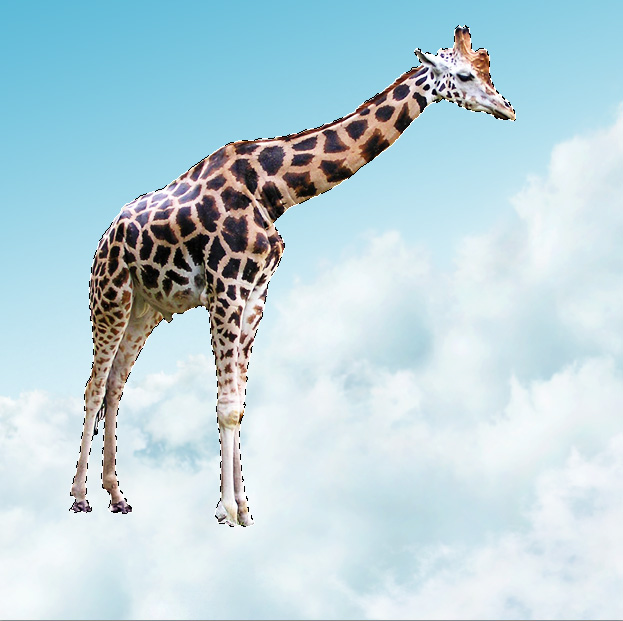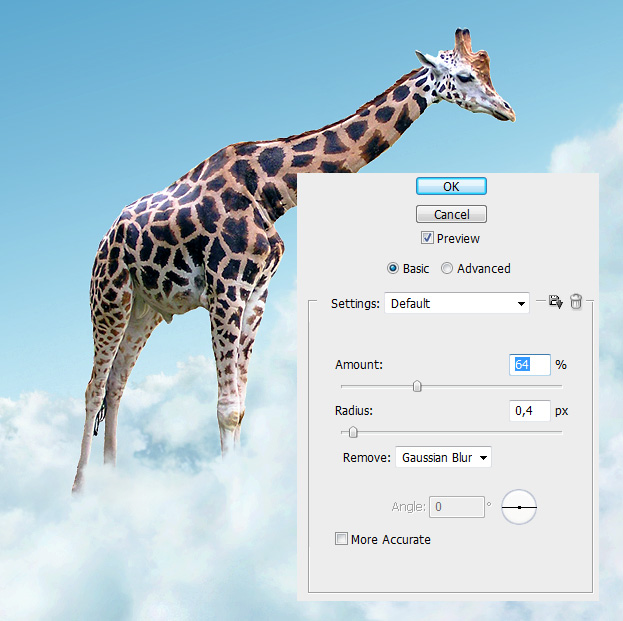
This tutorial will show you how to create an imaginative photomaipulation of a giraffe standing on the clouds.
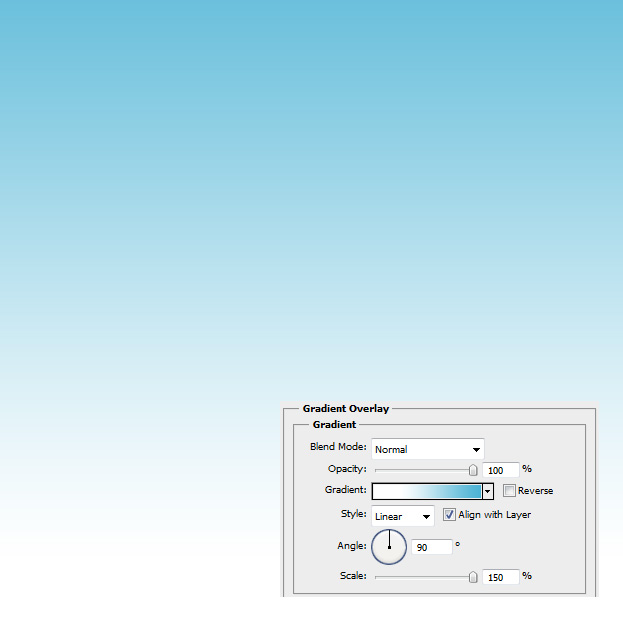
01. Open a new document, create a new layer (Layer – New – Layer), fill it with any color, double click on the layer and in the new popup enter the Gradient Overlay. Set the lower color to white and upper color sky blue.
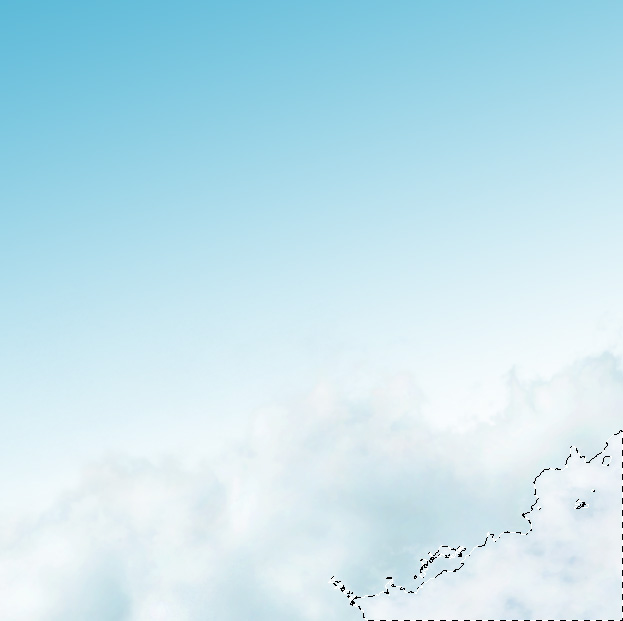
02. Open your clouds picture and cut the clouds out of the sky and set them on your new background.
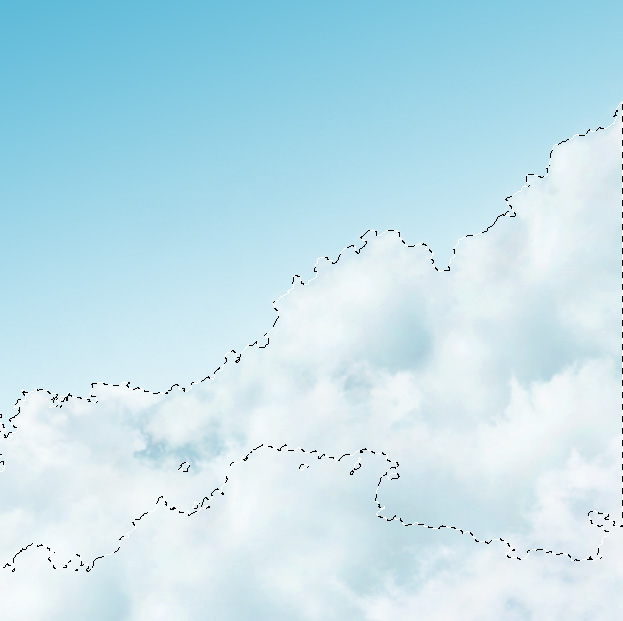
03. Add some more cloud pieces where needed and to make the sky more cloudy.
04. Set a bigger cloud behind the smaller cloud by dragging the bigger cloud layer under the smaller cloud layer.
05. Move your animal to the background and cut it out of its background.
06. Go to Image – Adjustments – Color Balance to give the animal more blue color for it to suit better on the background. Press Ok, if done. Then drag the giraffe layer between the big cloud and small cloud layer to give the feeling as if the giraffe is standing on the clouds.
07. Merge all the layers by selecting them all, right click and Merge Layers. Now go to Image – Adjustments – Curves and make a slight S curve to give more shades to the sky. Press OK if satisfied with the results.
08. For the last toutch give some sharpness to the picture by going to Filter – Sharpen – Smart sharpen and adding a bit of sharpness to your picture. Be careful not overdoing it. Press OK.
And your giraffe is ready to admire the wiew on the clouds!
