This tutorial will show you how to use the new shape features in Photoshop SC6. In the older versions of Photoshop when we made a shape and wanted to change the color, add a gradient or a stroke, we went to Layer Styles. That is still possible, but now there is even easier and much faster way to do all those things.
01. You can choose any shape – either a rectangle, rounded rectangle, ellipse etc. In this tutorial we choose the Custom Shape tool, but the things that this tutorial will show can be applied to any other shape exactly the same way.
02. If you don’t want to drag your shape, you can just click one time on your canvas and a small window will open where you can manually insert the width and height and other options. Click ok to add the shape.
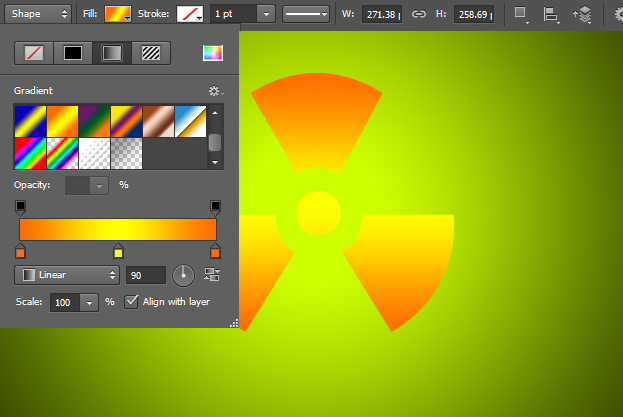
03. If you have your shape tool selected then you notice also some more options at the upper level. First lets look at the Fill. There you can choose either no fill, just a plain fill, a gradient or pattern. Clicking any of these will immediately bring up the options of that kind of fill.
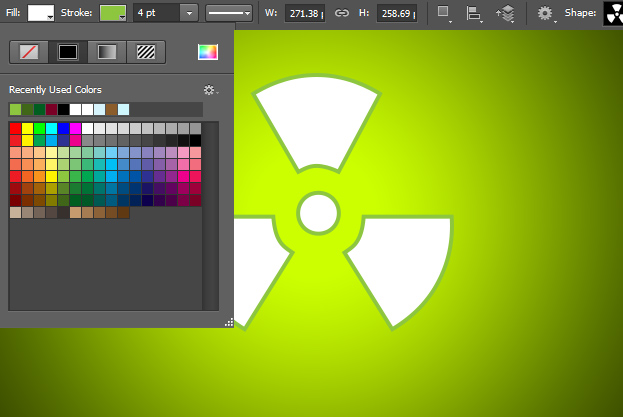
04. You can also add stroke the same way, changing it either to no stroke, fill, gradient or pattern. The width of the stroke can be changed right next to the color.
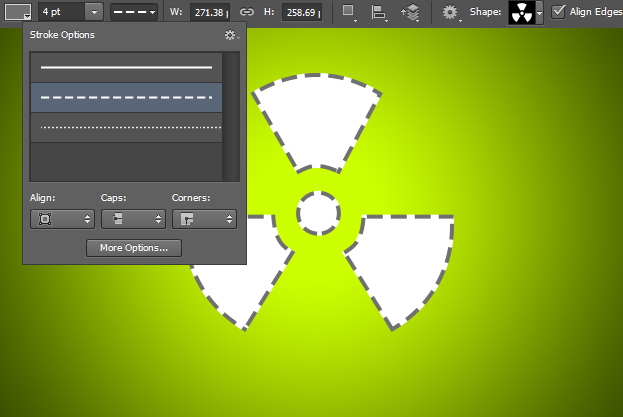
05. You can also change the type of the stroke right next to the stroke width. If none of the three options are right for you then you can adjust any of them by clicking on the More Options button.
06. Don’t forget to take advantage of these new features to make your working in Photoshop much easier and faster.


