This tutorial will show you how to create a simplistic logo for fitness in Photoshop.
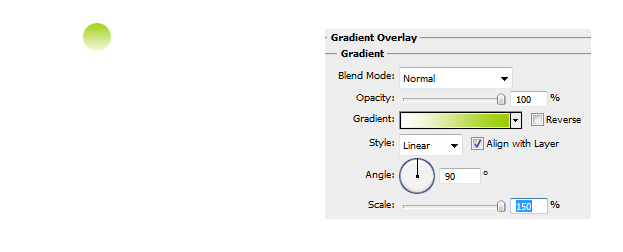
01. Take the Ellipse Tool and draw a circle.
02. Double click on your circle layer and go to Gradient Overlay. There set the angle to 90 and color from green to white.
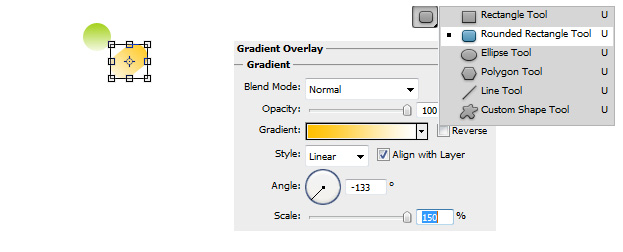
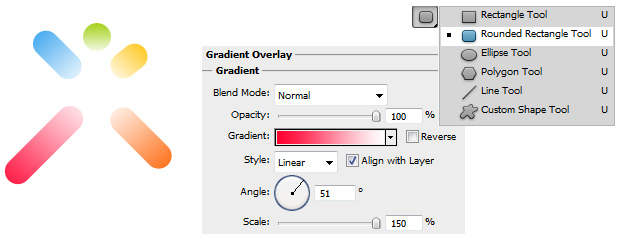
03. Now take the Rounded Rectangle tool and draw a bit longer shape. Double click on it, enter Gradient Overlay, set the angle to -133 and color from yellow to white. Press OK.
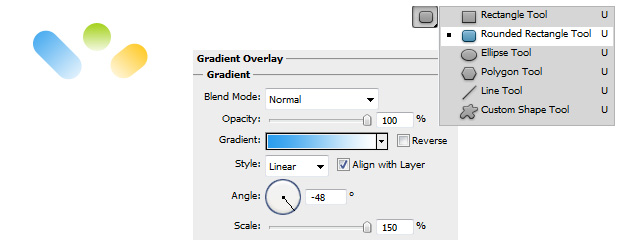
04. Again, using the Rounded Rectangle tool and draw a longer shape. Double click on it, enter Gradient Overlay, set the angle to -48 and color from blue to white. Press OK.
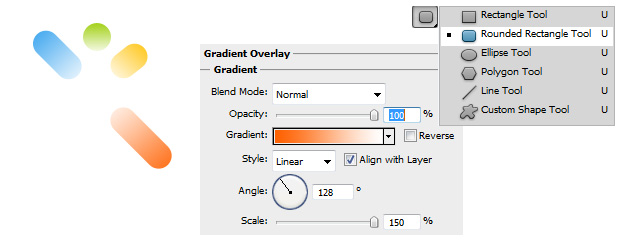
05. Again, using the Rounded Rectangle tool and draw an even longer shape. Double click on it, enter Gradient Overlay, set the angle to 128 and color from orange to white. Press OK.
06. The last time, using the Rounded Rectangle tool and draw the longest shape. Double click on it, enter Gradient Overlay, set the angle to 51 and color from pink to white. Press OK.
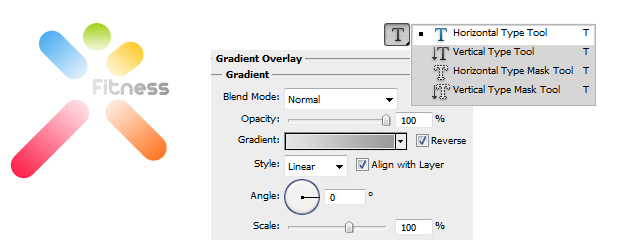
07. Now take the Type tool and enter your text. Double click on your text layer, go to Gradient Overlay, set the angle to 0 and color form lighter grey to darker.
And your logo is ready for use.

