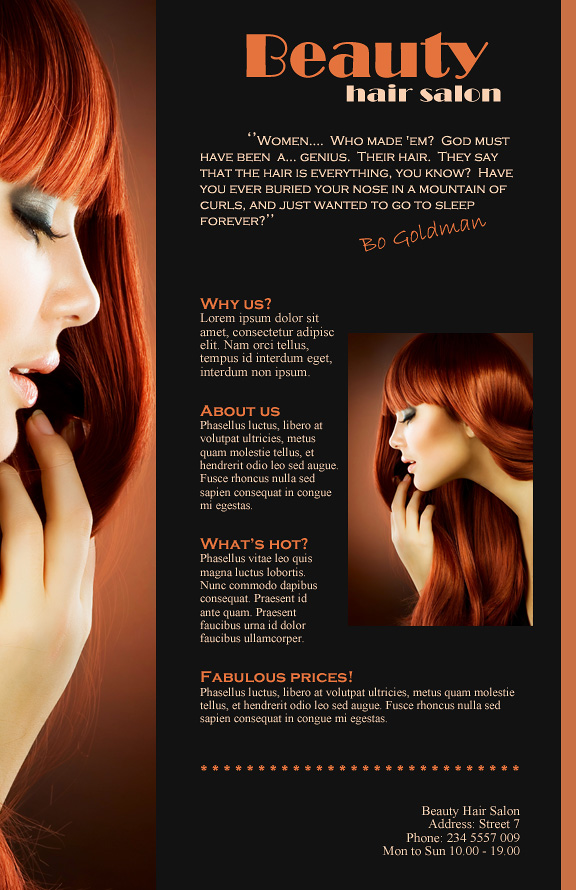
This tutorial will teatch you how to make a simple flyer. This type of flyer is suitable for any company and any type of pictures can be used. In this tutorial, a hair salon flyer is made, therefore the choice of pictures.
01. First create a document that has more length than with. Choose your flyer’s background color.

02. Now open a picture that you’d wish to use as a side strip. Keep in mind that only a thin stripe of the picture is going to be used.

03. Now move the picture on its right position, select the Rectangular Marquee Tool, select the area to delete and press Delete.

04. Now with the same Marquee Tool, select a thin stripe on the right side and fill it with the sam shade of color that majority of your picture has.

05. Now choose Type Tool. On top write your service name or your company’s name, then either a short introduction about your company, service or just a nice quote that is about your flyer. The colors of the text should also be the same as the major colors of your picture to achieve the cleanest look. Also play around with fonts.

06. Then add a smaller picture on the flyer. To edit its size, go to Edit – Transform – Scale.

07. Now add some more text about your product. Try to be short and precice.

08. Fot the last toutch, still with Type tool, add some symbols, a line, or dots to end the section of your product and underline provide the contacts of your company. Here play around with alignment.

And your flyer is ready for use!
