This tutorial will show you How to Get and Add New Photoshop Custom Shapes Inside Photoshop.
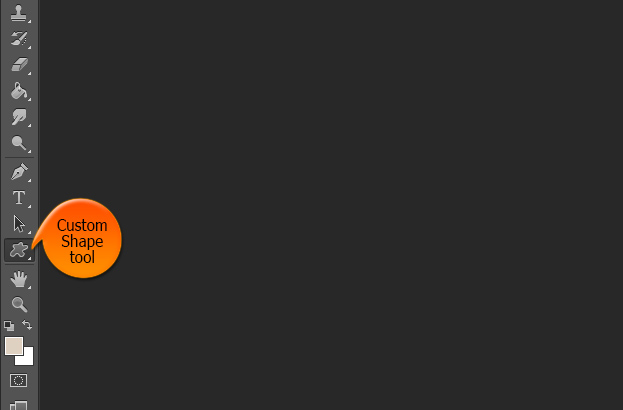
01. Photoshop custom shape tool can be found at the toolbar where the rectangular and ellipse tool is. Just click on it once to bring up new options.
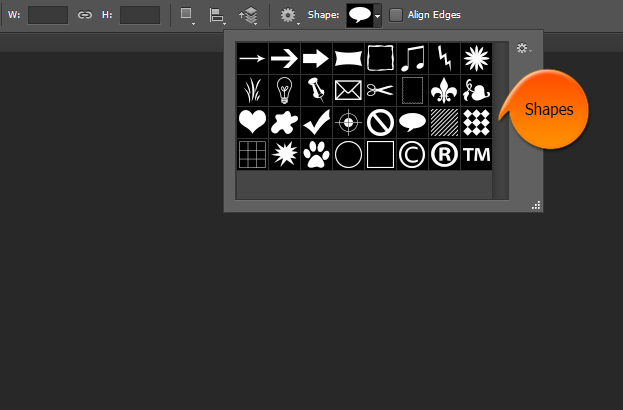
02. When opening the shapes selection we can see that by default Photoshop doesn’t have very many shapes to choose from. How can we get more shapes?
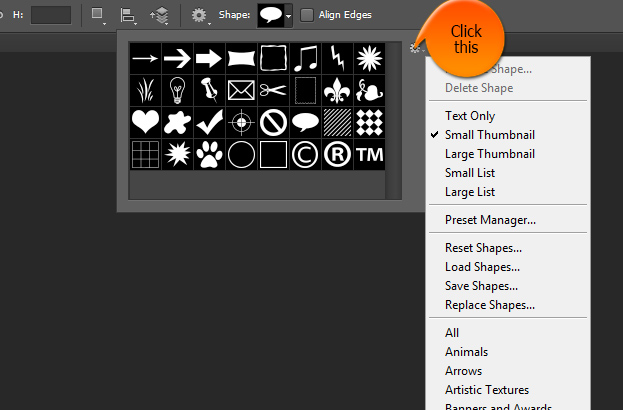
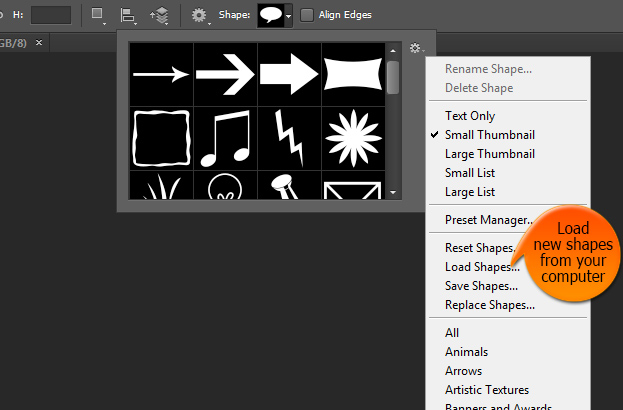
03. When you open the shape selection, on the right side there is a small icon. When you press on it, all sort of shape options will become available.
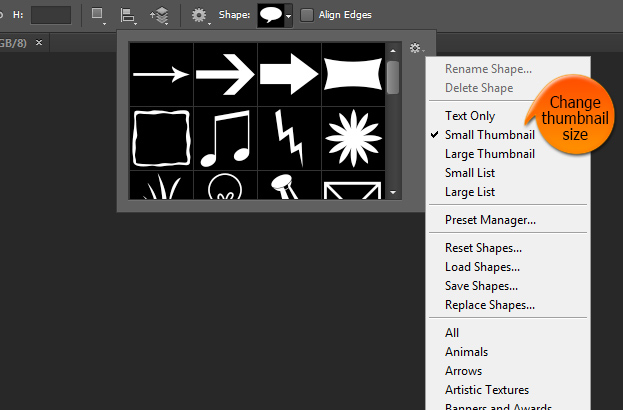
04. One of the options is the thumbnail view options to display them smaller, bigger or just as text.
05. If you have downloaded your shapes outside Photoshop then the only way you can add them into your shape list is to press the Load shape oprion, locate the shape and press OK. Then your shape is loaded into Photoshop and you can always find it under your shapes.
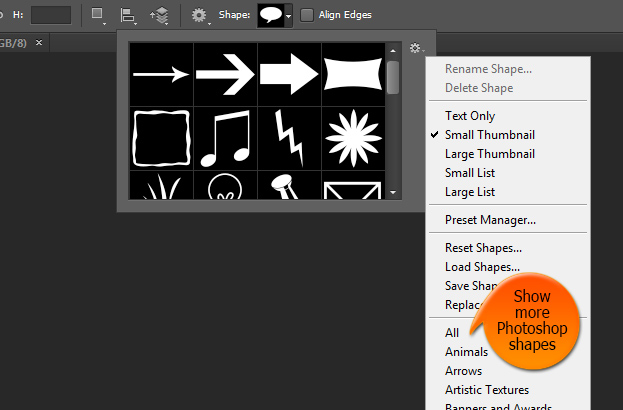
06. But what if you don’t want to download any shapes or don’t know how to. Well, then you can use Photoshop shapes and to get more of them, just press the All option or either of the categories.
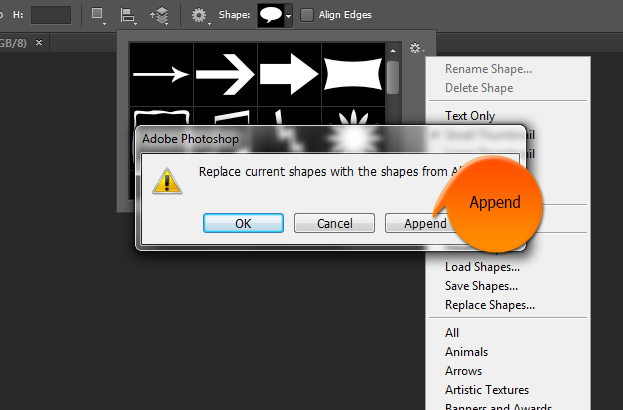
07. A small popup will appear. There select the Append to add the shapes without replacing anything.
08. And voila! You now have a lot more shapes to choose from!
How to Get and Add New Photoshop Custom Shapes Inside Photoshop
