This tutorial will show you How to Create a Beauty Salon Web Design in Photoshop.
01. Create a new document and fill it with darker gray or any other color that you wish your design’s background to be.
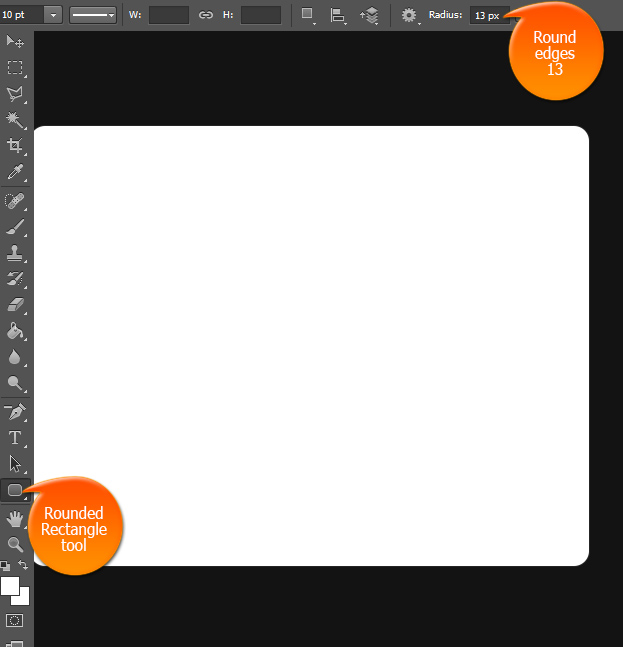
02. Select the Rounded Rectangle tool, set the edge roundness from 10 to 20 and create any color of rectangle in the middle of the background.
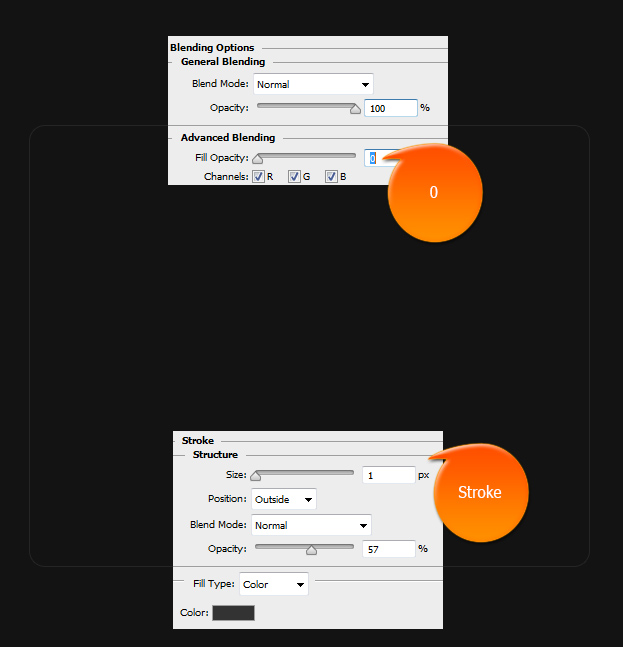
03. Now double click the rectangle layer and select the very first tab. There lower the fill Opacity completely to zero so that the rectangle disappears. Then go to Stroke tab and add a thin lighter stroke. Press Ok.
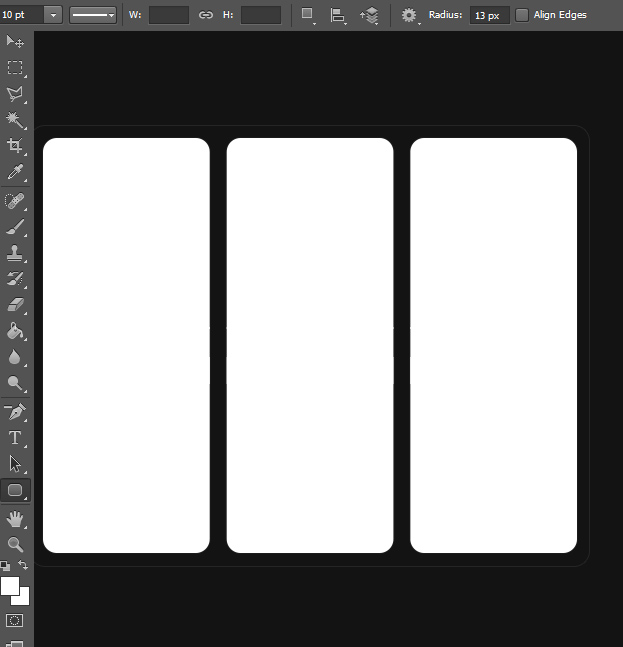
04. Take the rounded rectangle tool again and in the middle of the big rectangle create three smaller rectangles. It all depends how many catergories you’d wish to have on your beauty salon.
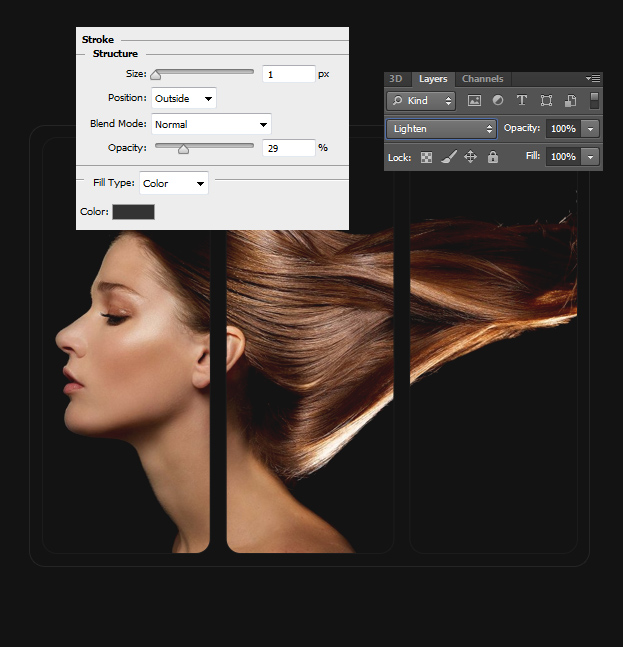
05. Now open a new picture or pictures and drag them onto your rectangles. Now select the picture layer and Ctrl + click on the rectangle layer. This way the rectangles get selected. Now Go to Select > Inverse to invert the selection and press delete.
06. You can set the picture to Lighten blend mode for it to blend into the background. Now hide the rectangles since they were there only for guide. Then select the picture layer and go to Layer > Layer Style > Stroke and add a thin lighter stroke around the picture edges. These are the three main category big buttons that represent the Beauty salon services.
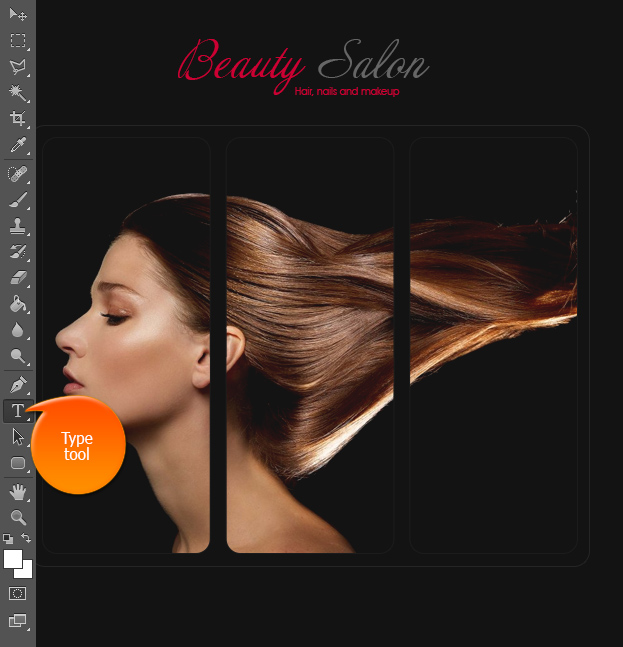
07. Take the text tool and add your salon’s name and some more text if wished.
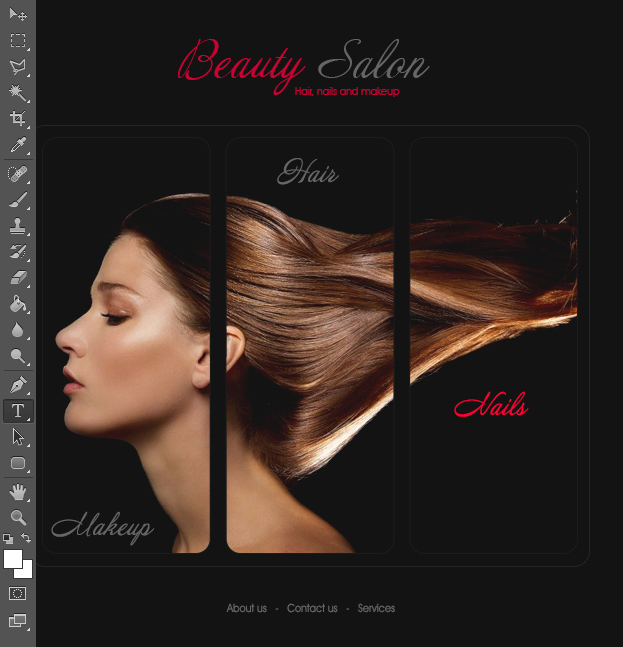
08. Add names for the services and at the footer add some more menu that can also be in the header if wished.
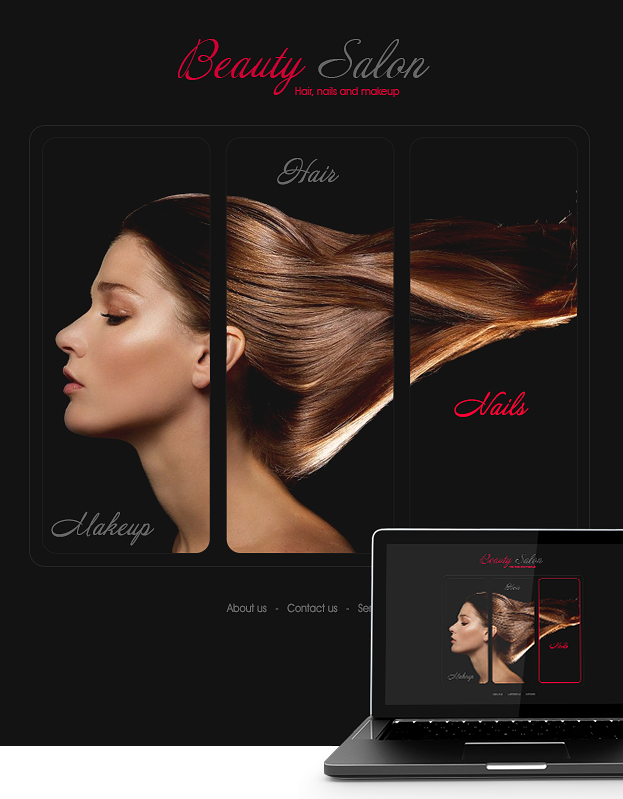
09. And your beauty salon website design is ready to view!
How to Create a Beauty Salon Web Design in Photoshop

