This tutorial will introduce you one of the new features in Photoshop CS6.
Lets say you’d wish to fill an area with pattern. For that, you go to Edit – Fill and a new window will open where you choose the pattern and other options.

If you choose any of the pattern, Photoshop is going to repeat that pattern and the pattern will look very regular and orderly. What if you’d want your pattern to be shown differently? Here the new feature will come to help.

The new feature can be found from the same place by checking the box Scripted Patterns that is a bit below. And from there on, a Script drop down menu will be available where you can choose different options to show your pattern. If you set it to Brick fill, then you are going to get different shades or colors of squares.

If you choose Cross Weave then the pattern will also show in squares but each box is turned around.

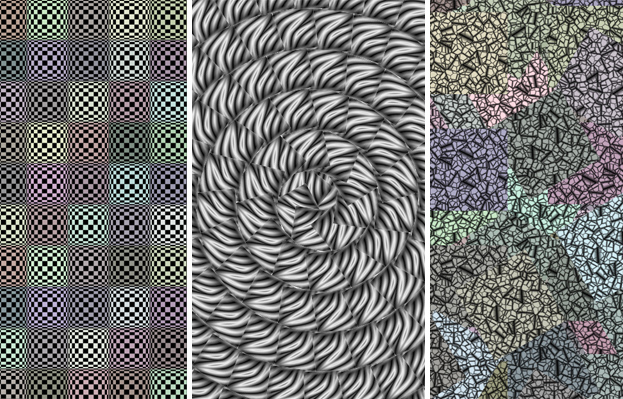
If you choose Random Fill, then the area will be filled with randomly set boxes. It may not look best with darker patterns like below because of the slightly white edges that stay, but it’s used as an exaple to exactly see how the squares will be put.

If you pick Sprial then the pattern will be put in a round way.

And if you choose Symmetry Fill then the pattern will be set randomly yet orderly.

Now you know all about the Scripted Patterns in Photoshop CS6. Everyone should definitely test it out themselves, not only to get interesting results, but also, every pattern gives you completely different outcome that is worth to experiment on.