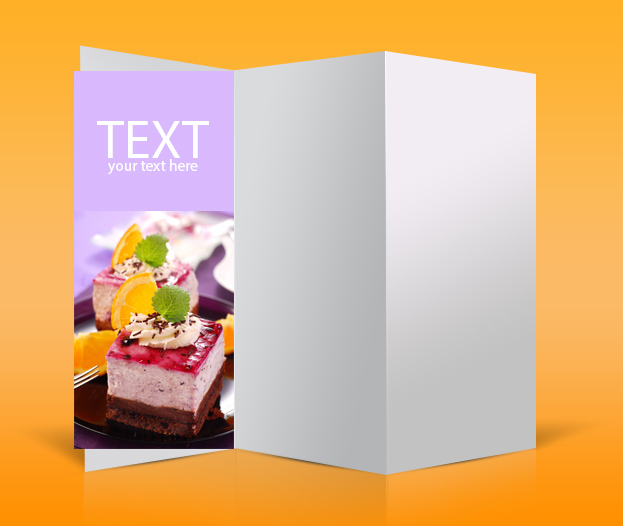
This tutorial will show you how to create a realistic flyer presentation in Photoshop.
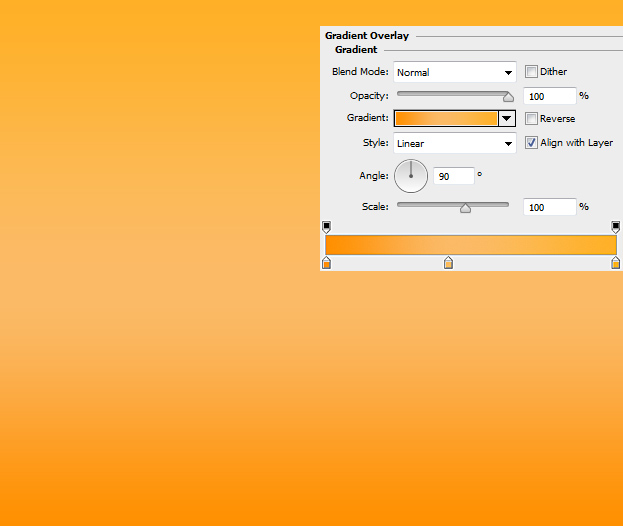
01. Open a new document and make sure the document has plenty of height and width. Then double click on your background layer, a new window opens, press ok to make it into a regular layer. Then go to Layer – Layer Style – Gradient overlay and set the color to three shades: darker – lighter- darker. Press OK.
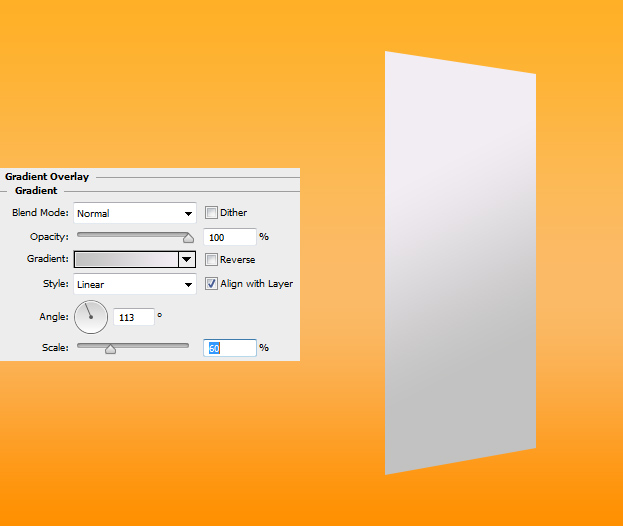
02. Now create a new layer (Layer – New – Layer), take the Polygonal Lasso tool and draw a shape that is taller from the left and gradually goes shorter to the right. Fill it with with any color.
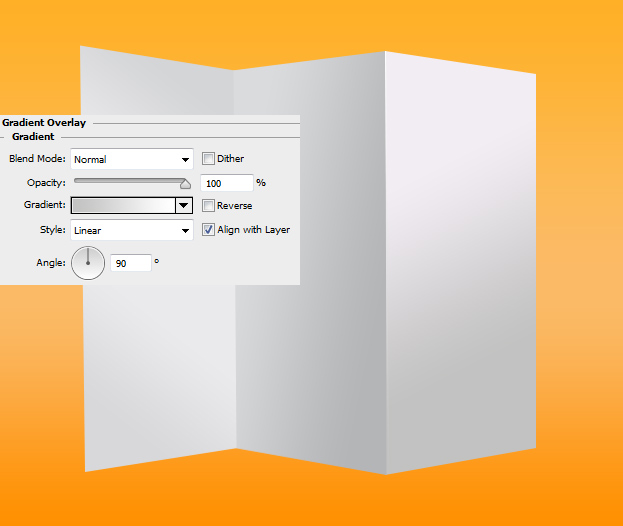
03. Now go to Layer – Layer Style – Gradient Overlay and set the color from light gray to even lighter gray. Also change the angle of the fill so that the darker color would be downwards. Press OK.
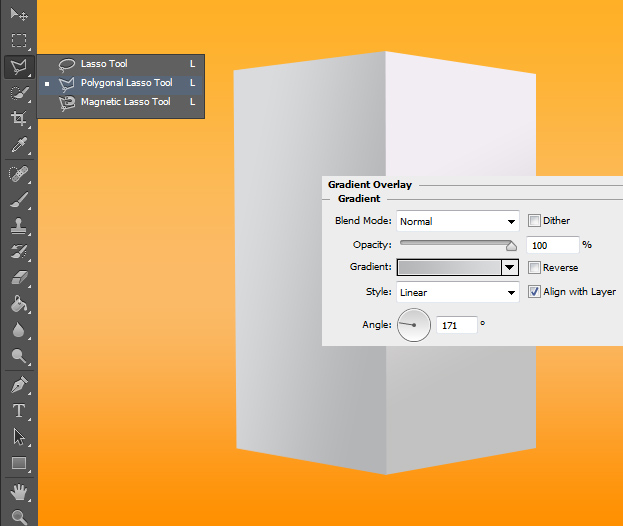
04. Again, create a new layer, take the Polygonal lasso tool and daw a shape that is opposite to the previous shape. Then add gradient overlay setting the angle so that the darkest part would be on the right. Press OK.
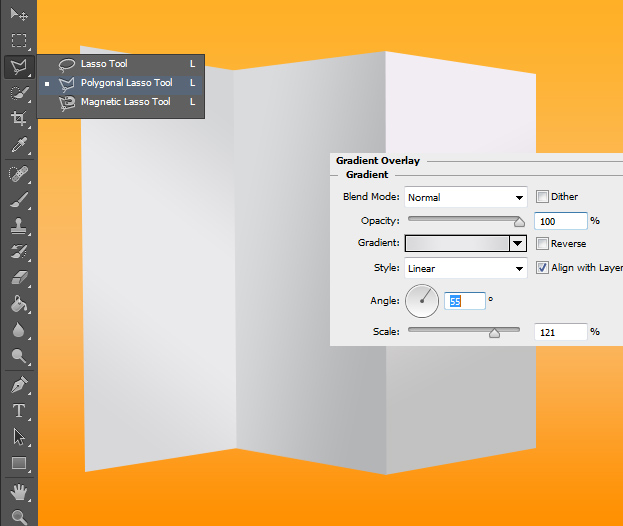
05. For the last shape, repeat making a shape with the Polygonal Lasso tool and then setting the gradient where the lightest part would lay in the middle. Press OK.
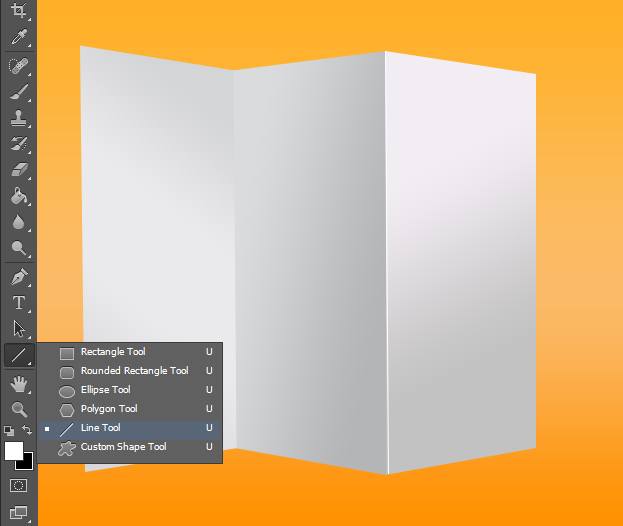
06. Now take the Line tool and draw a line on the breaking parts of the shapes.
07. Then go to Layer – Layer Style, Gradient Overlay and set one end of the line to gray. Press OK.
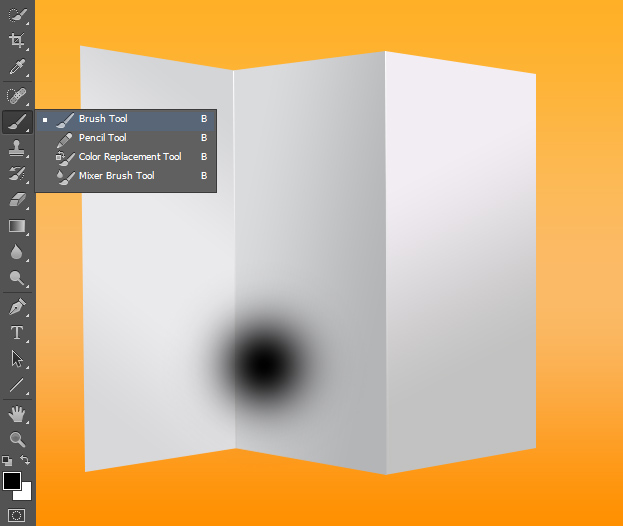
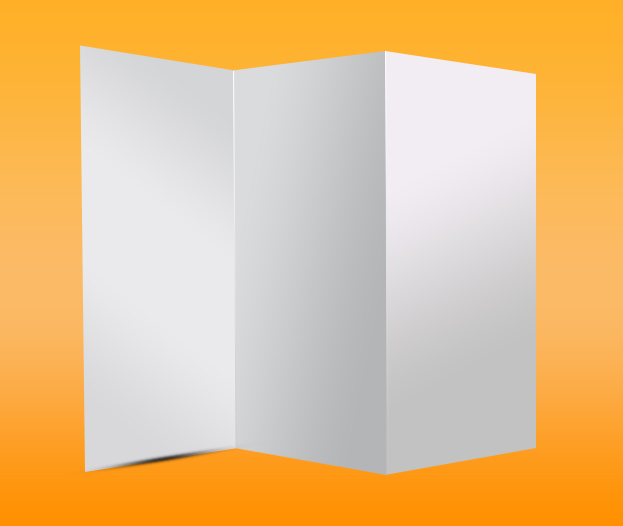
08. Duplicate the line by right clicking on the line’s layer and choosing Duplicate Layer. Then move the second line to the other breaking point. Now create a new layer, set the color to black, pick the Brush tool and make one click on the canvas to get a soft edged circle.
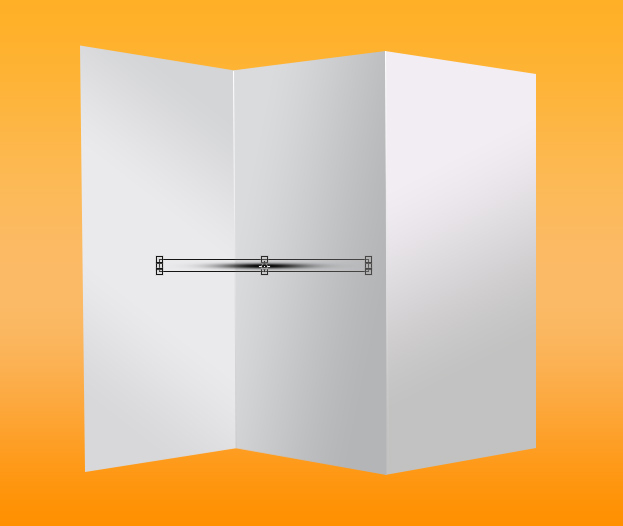
09. Now go to Edit – Transform – Scale (or press Ctrl + T) and flatten the shape. Press Enter.
10. Move the shape so that half of it is on the paper and other half not. Rotate the shade according to the paper’s angle using the Transform – Scale (Ctrl + T).
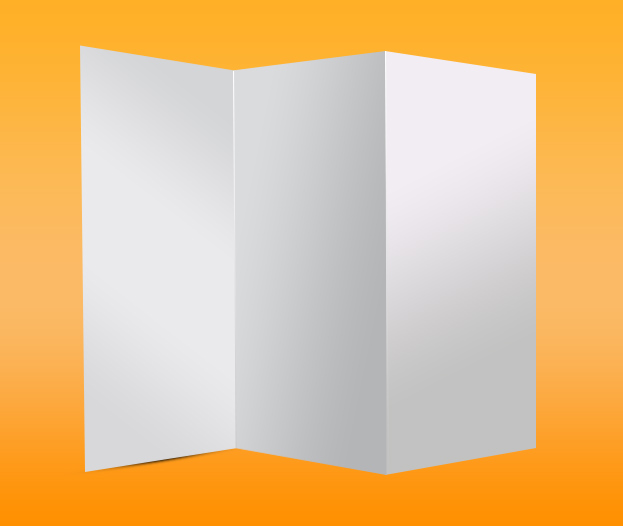
11. Now move the shade layer under the paper’s layer so it would create a nice shadow under the paper.
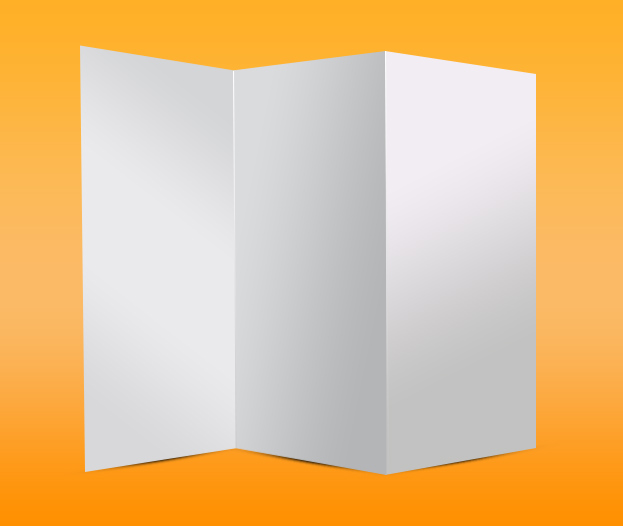
12. Repeat the step with all other sheets so every one of them would have a shadow.
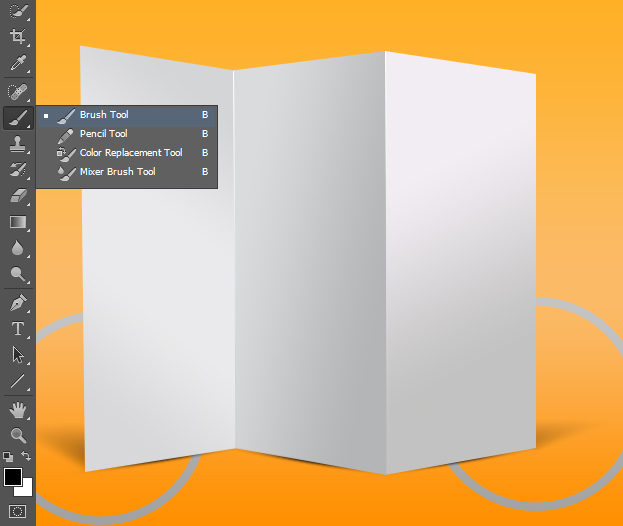
13. If you wish to, you can add more shadow behind the flyer. For that just take the brush tool, set the color to black, create a new layer, drag the new layer under your flyer layer and softly paint a triangular shaped shadow. You can also lower the opacity a bit. Now you have a perfect flyer presentation base on which you can add your flyer design.
14. To add your flyer design, just place the picture on the flyer and make sure it is about the same width and height by using the Transform – Scale.
15. Now go to Edit – Transform – Perspective (or Distort) and use the squares on the edges to change the shape of your design so it fits perfectly with the flyer base.
16. Now set the design’s blend mode to Multiply so that all the shadows of the flyer base would come through.
17. Like this you can create a nice and realistic flyer presentation in any color for any flyer.
