In this Photoshop Tutorial we are going to create a really amazing space nebula with stars and nearby planet.
1. Let’s start with a 1440x900px document so it can be saved as a Wallpaper later:

2. Double click the background Layer to unlock it and set the Background Color to Black, fill with the Paint Bucket (G):

3. Right click the Background Layer and select a Gradient Overlay. We want a Radial Gradient so use these settings:

4. Create a new Layer and Fill it with White. Then go to Filter > Render > Lighting Effects:

5. Choose RGB from the Presets:

6. Now go to Filter > Blur > Gaussian Blur and set the Radius Pixels to 100.

7. Set this Layer to Overlay and you have this effect:

8. Let’s create some Stars now, create a new Layer, Fill it with Black and set the Blend Mode to Screen. Then go to Filter > Noise > Add Noise and use these settings:

9. Now on this same Layer go to Image > Adjustments > Levels and play with the black and white sliders, I used these settings:

10. And of course my favorite Filter Clouds needs to be applied. Create a new layer and choose Filter > Render > Clouds and set the Blend Mode to Overlay. You should see this amazing effect:

11. Now lets create a planet. Grab the Ellipse Tool, hold Shift on the keyboard and drag out a small/medium Circle for our Planet.

12. Grab the Brush tool, create a new Layer and resize the brush to match the dimensions of the Circle. Then click to use the Brush once.

13. Go back to the Planet Layer and right click to choose Pattern Overlay and use these settings:

14. Put these two planet layers in a Folder and move the Layer below the RGB Lights layer:

15. Now you see the Clouds layer is at the top, go ahead and right click this Layer and use these Gradient Settings:

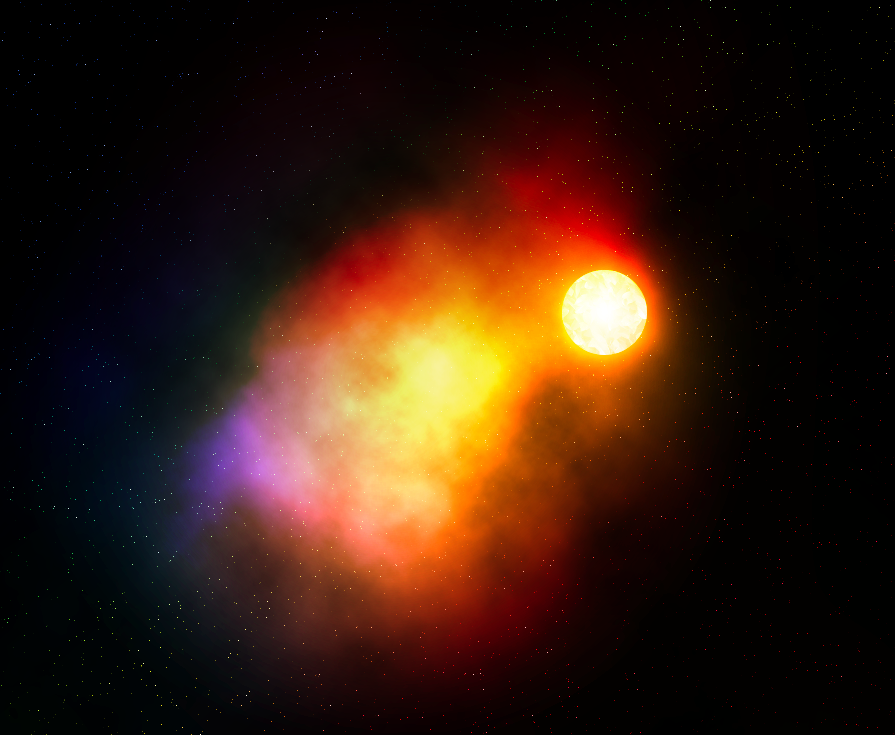
16. There are two settings that you will want to focus on and tweak to get your own desired effect. You want to adjust ANGLE for the Gradient and also set the 4 points colors to your liking.
At this point you can resize the Planet by pressing CTRL + T to transform to get the appropriate size for your Nebula. You can also select the Planet Folder Layer and drag the Planet around the canvas and place it in a saturated color so that it blends better.
I tweaked both settings and rendered two different Final Results.
