This tutorial will show how to Create a Vintage Snowflake Christmas Card in Photoshop
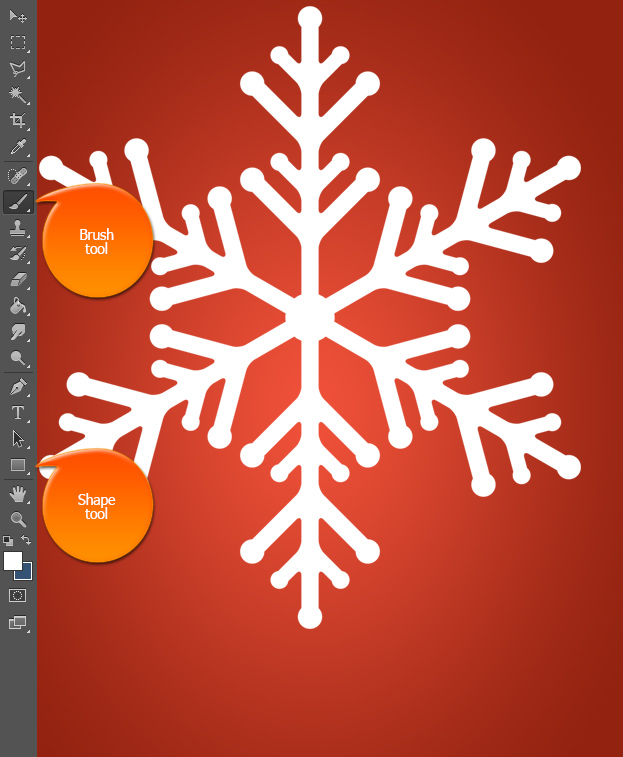
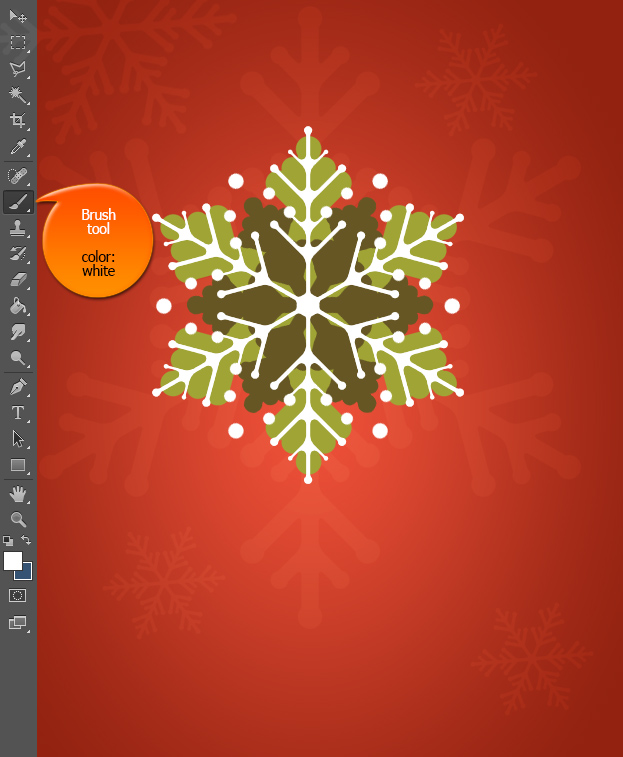
01. Open a new document and fill the background with color red. Then create a new layer (Layer > New > Layer), take either the Brush tool or Shape tool (wherever your snowflakes are) and put a large white snowflake in the middle of the background.
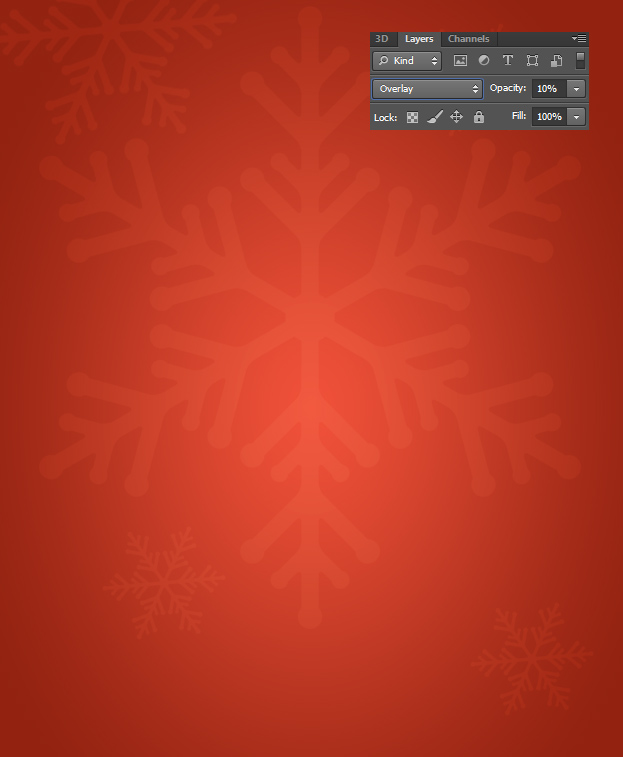
02. Then lower the opacity to about 10% and set the blend mode to Overlay. Also set some smaller flakes with the same setting around the background. But keep it minimal.
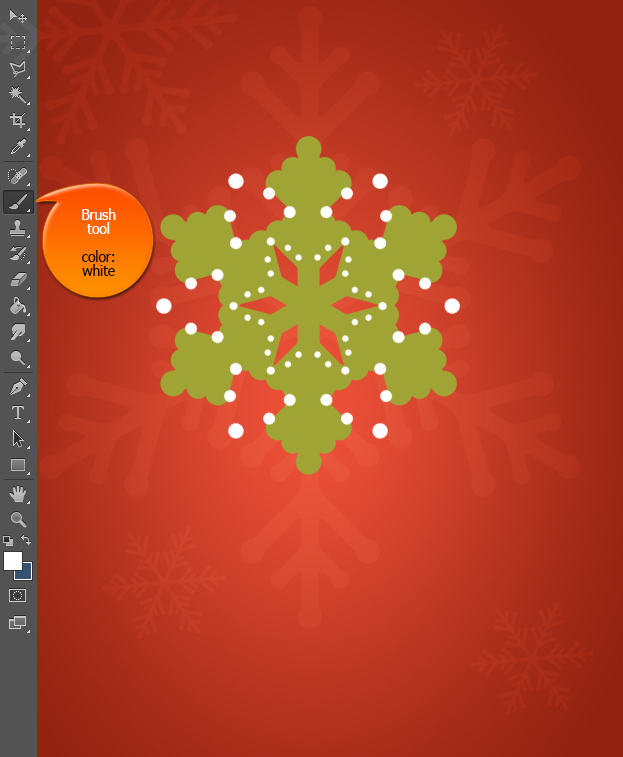
03. Create a new layer again and set a thicker snowflake on top of the biggest transparent snowflake. Set the color to matte green.
04. Create a new layer again and make some white dots in a shape of a snowflake.
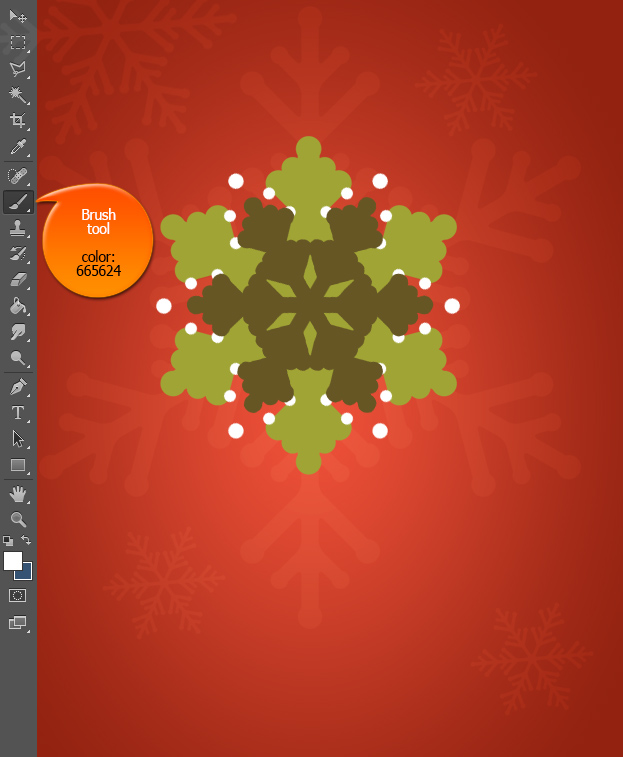
05. Create another new layer and add the same thick snowflake only darker green, smaller and rotated to fill the gap parts of the lower snowflake.
06. Create a new layer and add the last snowflake shape that’s the thinnest and on top of the other flakes.
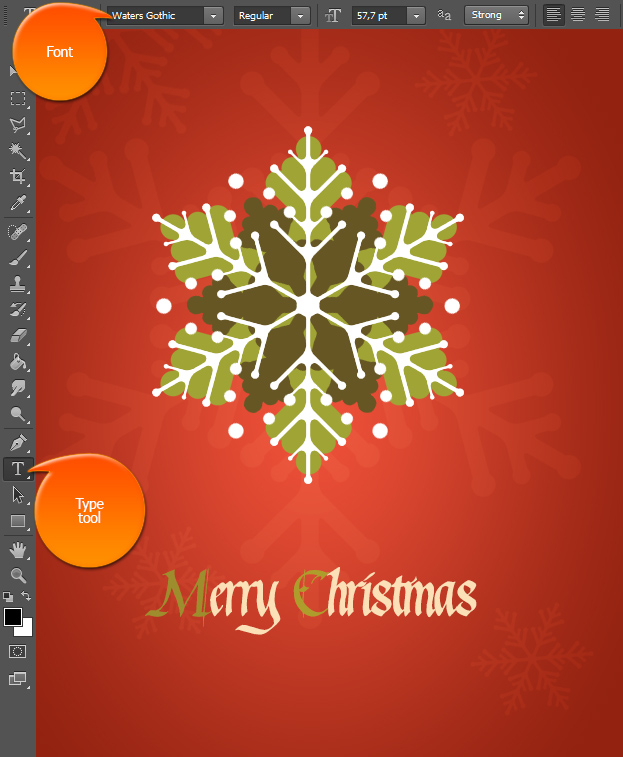
07. Time to add some text. Select the Type tool and write your message under the snowflake. The font that has been used in this tutorial is Waters Gothic.
08. Now, on top of all layers, add an old paper picture/texture. Just open a picture of an old paper and drag it on your card.
09. Set the old paper’s layer to Multiply for it to leave a nice paper texture effect all over the card.
10. And your card is ready to print out, send by e-mail or just post on a social website all to see.
Create a Vintage Snowflake Christmas Card in Photoshop
